In this tutorial, I show you how to make a stargazer (Asian) lily from fondant / gum paste. Lilies are very beautiful, large flowers. They are therefore an ideal flower for decorating large cakes, for example wedding cakes with multiple tiers. It looks great if you use lilies in combination with e.g. fondant roses and hydrangeas.

(In these instructions I use the term “Fondant” but you can use gumpaste, for example the Wilton Ready To Use Gum Paste Floral Figures which is quite good – but it dries quickly!)
You need 2 days to complete the lily.
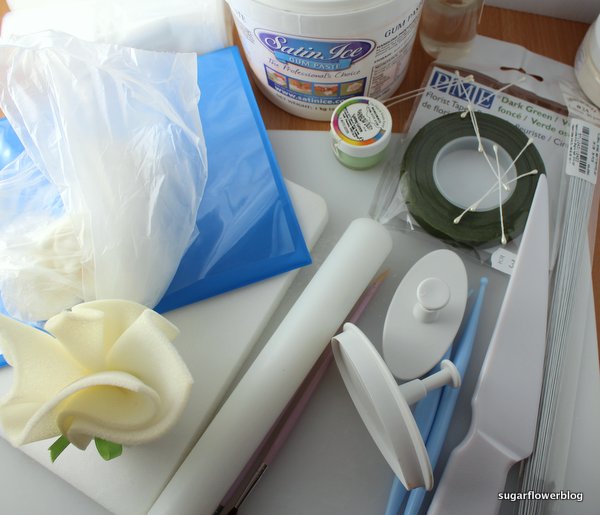
You will need:
(Be sure to find all the tools before you get started)
Fondant / Gum Paste
Duster with corn flour
Paste color / color dust – colors depend on the color of your lily
Edible colour marker / food writer fine tip – colors depend on the color of your lily
Floral Wire, gauge size 24
Green floral tape
Stamens + if relevant, color dust for colouring the stamens, if they do not have the right color from the start.
A thick roll of freezer bags, preferably 2 rolls or a Wave flower former set
Tylo powder
Edible glue
1 large and 1 small lily cutter
Shaping foam mat
Rolling pin
Ball tool
Veining tool
Wilton gum paste storage board (optional)
Paint brushes (minimum 2-3 paint brushes for applying glue and color dust).
Directions:
DAY 1:
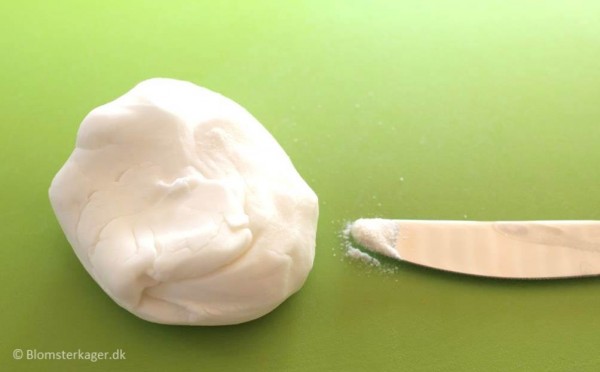
1) Start by coloring the fondant or gum paste in a color of your choice. (The Stargazer Lily is typically pink, orange, dark red or white). If you want to make a Lily with different colors, for example a white lily with a pink stribe, you should use white fondant for making the lily. Afterwards, when the flower is dry you make the stribe by dusting the flower with pink color dust using a dry brush.
2) Knead the fondant or gumpaste and add a pinch of tylo powder so that the fondant becomes easier to work with (if you use gum paste you don’t need the tylo powder). Please notice: If the fondant or gumpaste is left on the table for a while it will dry out and become unusable. I always protect the fondant by wrapping it in a plastic bag when not in use.
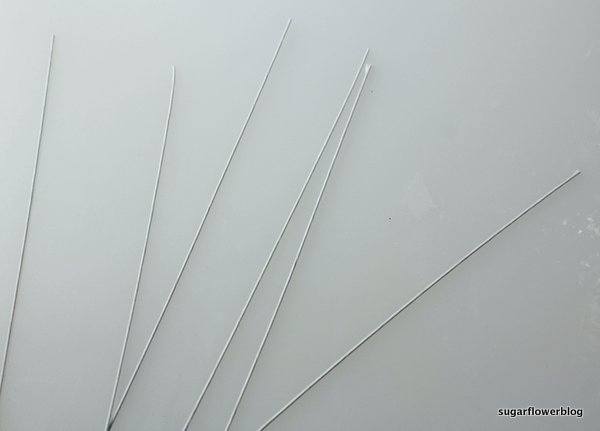
3) Take 3 pieces of floral wire and cut them into 6 pieces.
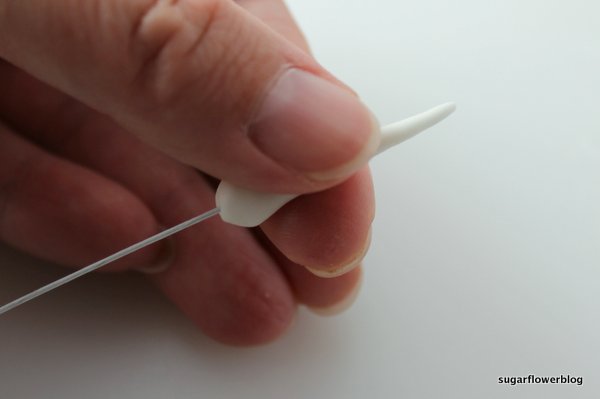
4) Take a bit of fondant and place it at the top of a piece of wire. Using your thumb and index finger roll the fondant so that you carefully cover 1/3 of the wire with the fondant.
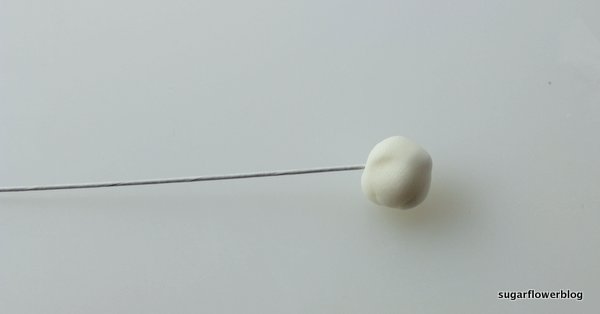

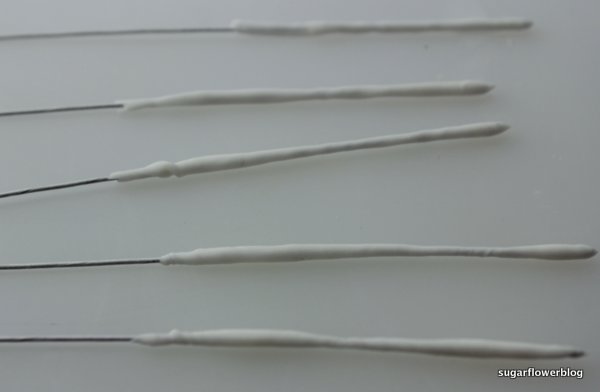
5) Repeat with the rest of the wires and place the 6 wires in a plastic bag so you prevent them from drying out.
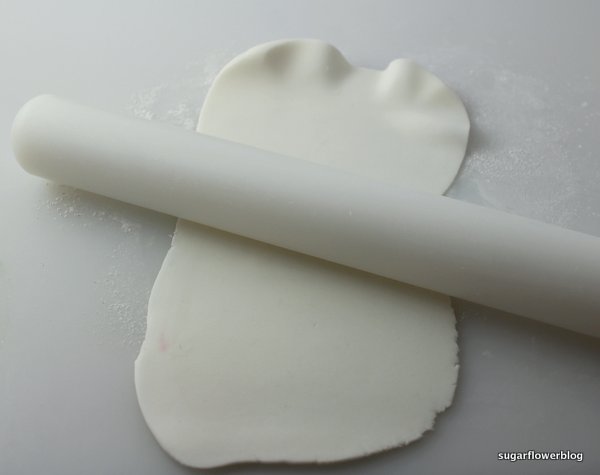
6) Dust a board with your corn flour duster. You should also dust the rolling pin. Roll out some gum paste / fondant. It has to be rolled out thin.
7) Now, you need to cut out the petals for the lily. You need 6 petals to make one lily (3 big petals and 3 small petals). Take your big cutter and cut out 3 petals. Repeat with the small cutter. When you cut out a petal, you need to press down the cutter firmly and twist it a bit. This way you get a cleaner cut. Remove any excess fondant.
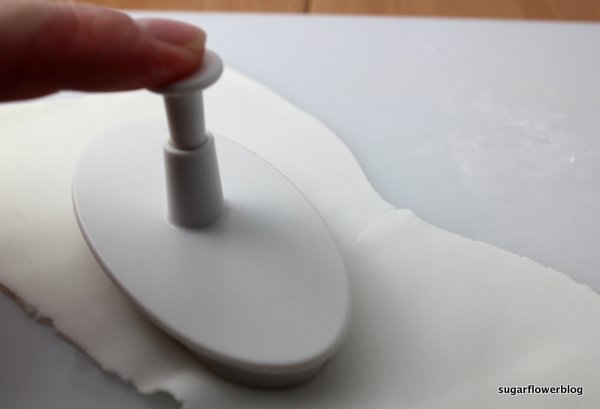
8) It is easier to make more petals at a time, I normally roll out a big piece of fondant or gum paste and cut out all the petals at once. Place the petals you don’t need right away under a plastic bag and keep it airtight so the petals don’t dry out. (I use a gum paste storage board from Wilton).

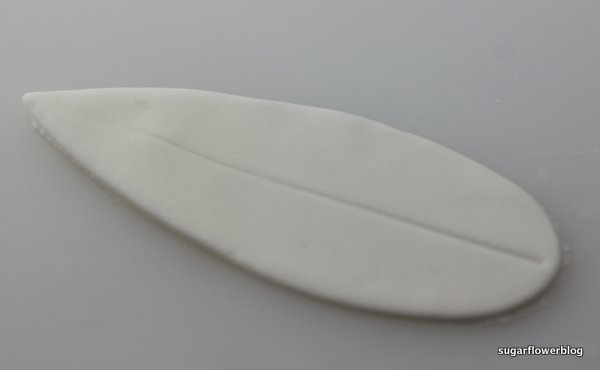
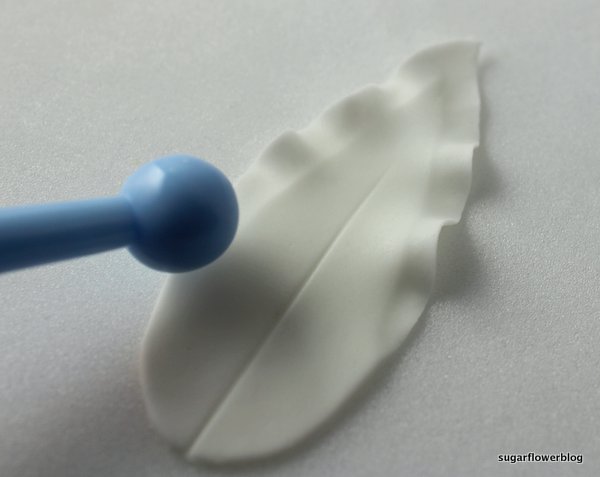
9) Then, place one of the petals on a white foam mat and thin the edges of the petal with the ball tool by gently sliding the tool on the petal. Tip for using the ball tool: Place one half of the ball tool on the petal and the other half on the mat while you glide the tool on the petal for a better result. Then, vein the middle of the petal. You have to make 3 big petals and 3 small petals for one flower.


10) On the back of the petal: Using the floral wire, make a small indent in the middle of the petal. This is in order to place the floral wire correctly. Dot the middle of the petal with a bit of edible glue.
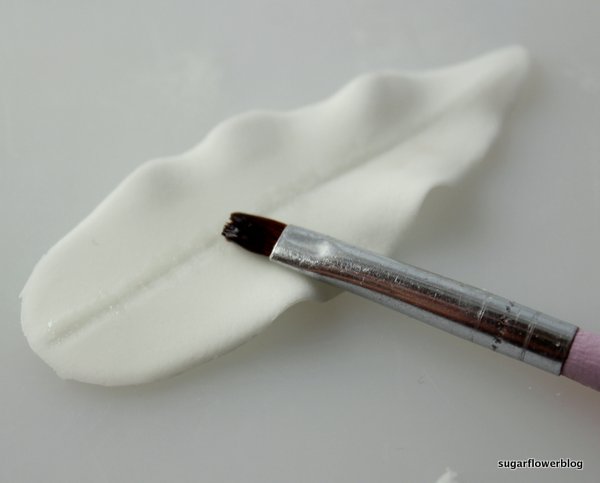
11) Place the floral wire in the indent so that it is affixed to the petal. Turn the petal upside down so that the floral wire is now on the back of the petal.
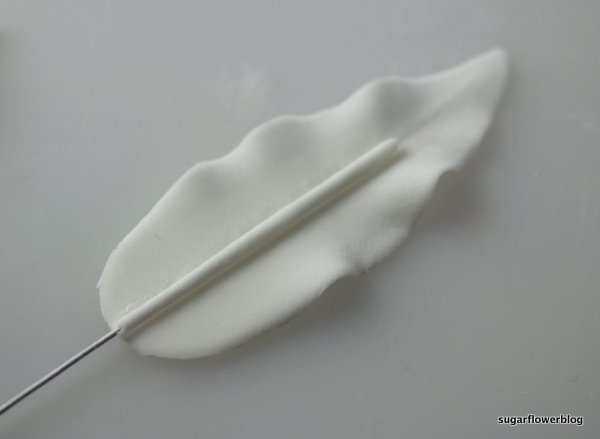
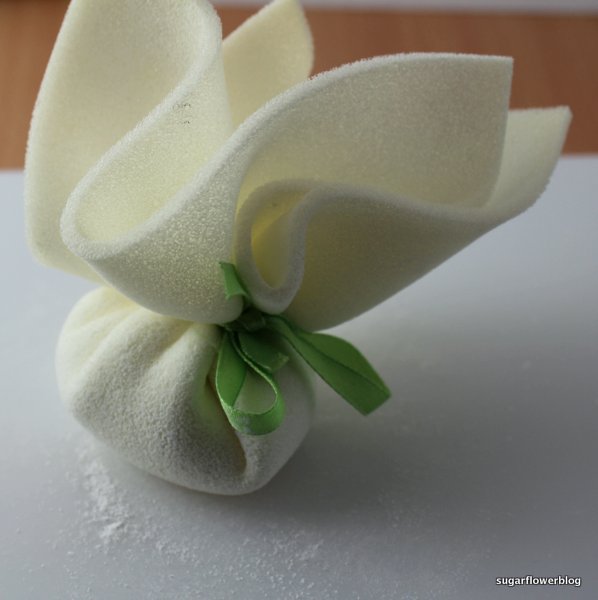
12) Leave the flower petals to dry. If possible, allow them to dry for the next day, but at least for 5-6 hours. Place the petals on a thick roll of freezer bags or a Wave flower former set while they dry.
Tip: It is a good idea to make a couple of extra petals, in case you happen to break some while assembling the flower!

DAY 2:
How to assemble and color the stargazer lily
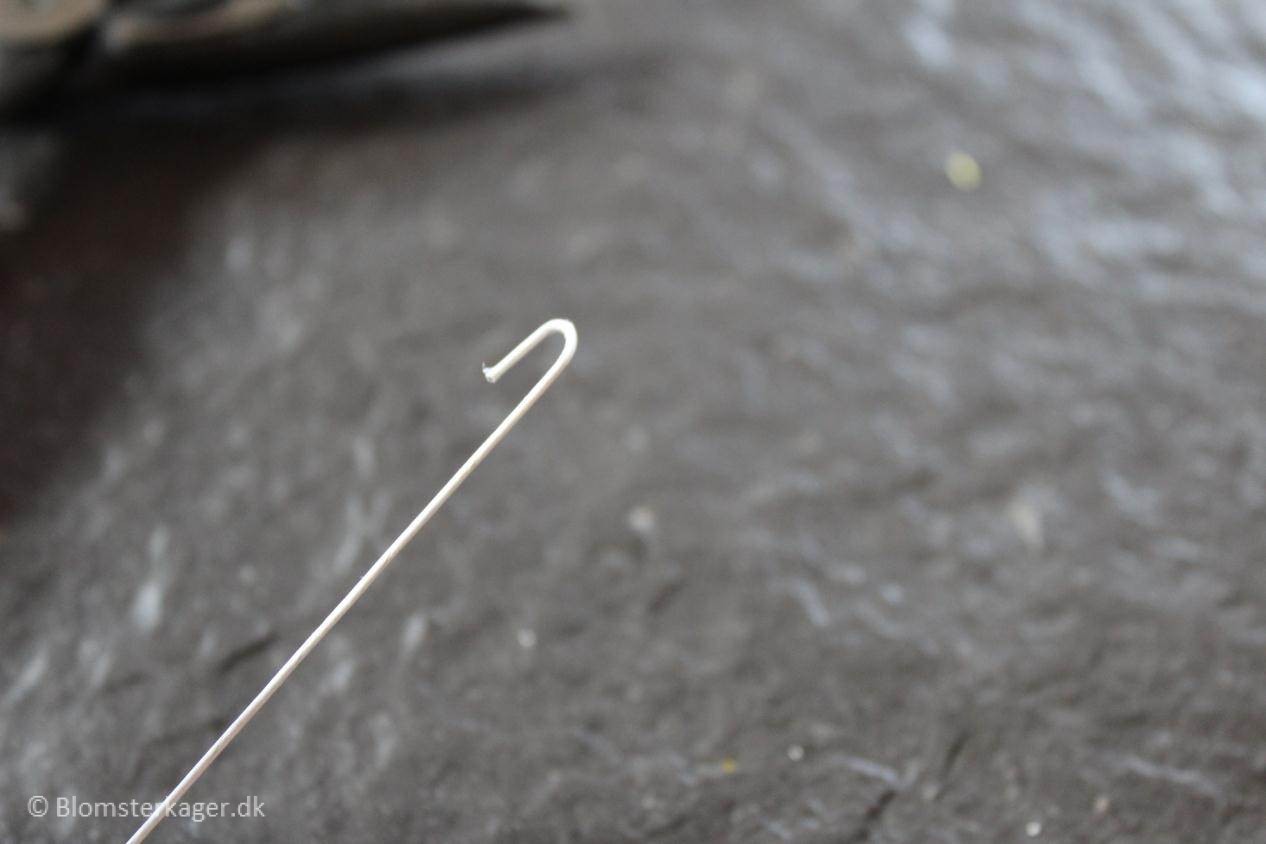
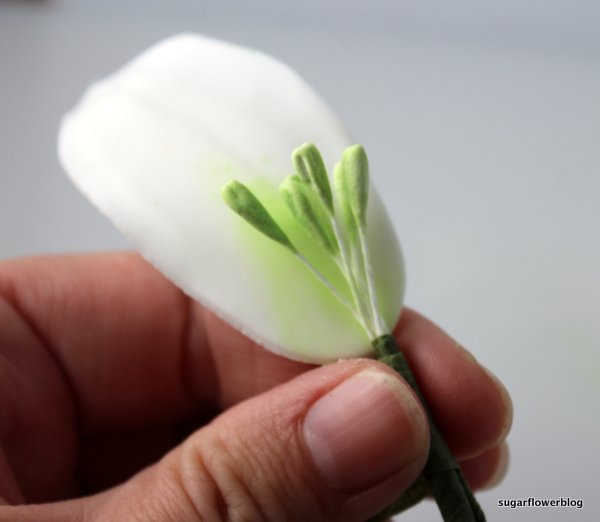
1) Start by making a small hook in a piece of floral wire.
2) Take 3-4 stamens. Bend them and attach them to the hook. Cover the wire with floral tape.
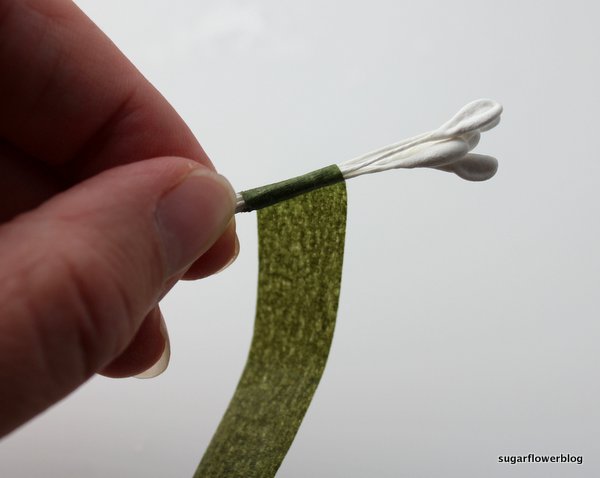
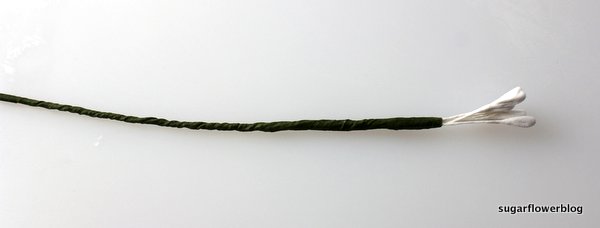
3) Cover the rest of the wires with floral tape.
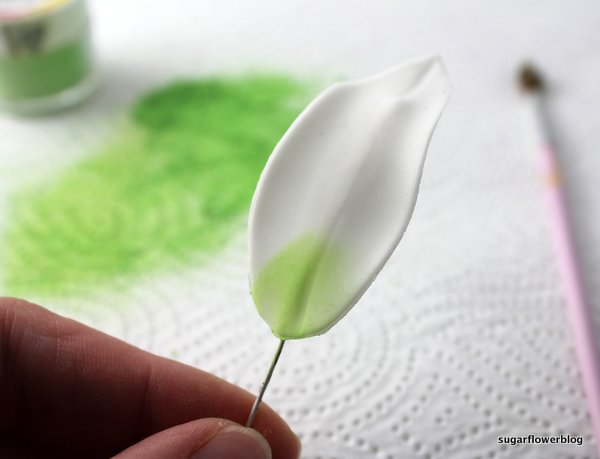
4) You add the color to the flower by pouring a bit of color dust out on a piece of kitchen towel. Dip a dry paintbrush into the color. Tap off any excess color before applying to the flower. Start by coloring the stamens, if needed. Then, I color the bottom of the lily petals a bit with green color dust.
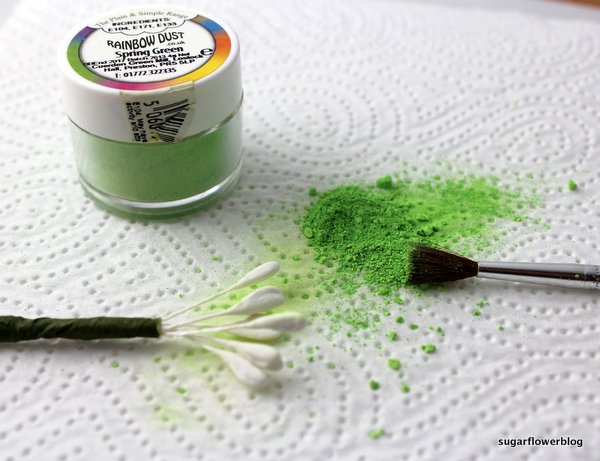
Please remember that it is easier to apply a tiny bit of dust at a time than try to remove the color again if you have added too much! Repeat the coloring process with all the petals.
5) If you want a pink stribe like in the picture below, you need to color the lily with pink color dust. Afterwards, add tiny dots to the petals with an edible ink marker (dark red).
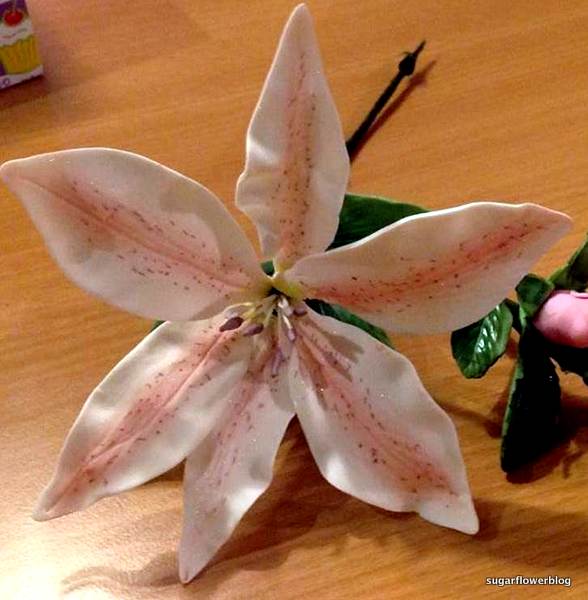
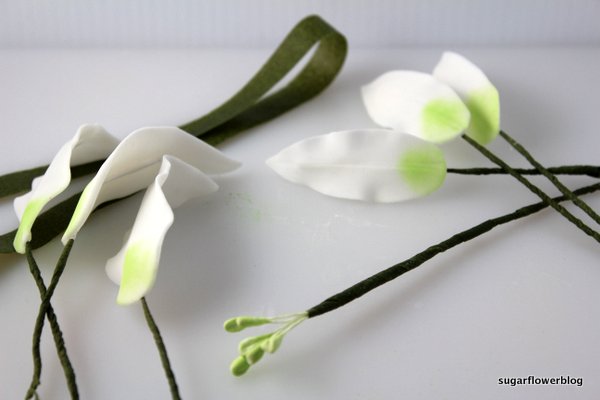
Here I have colored the stamens and all the petals for my white lily:
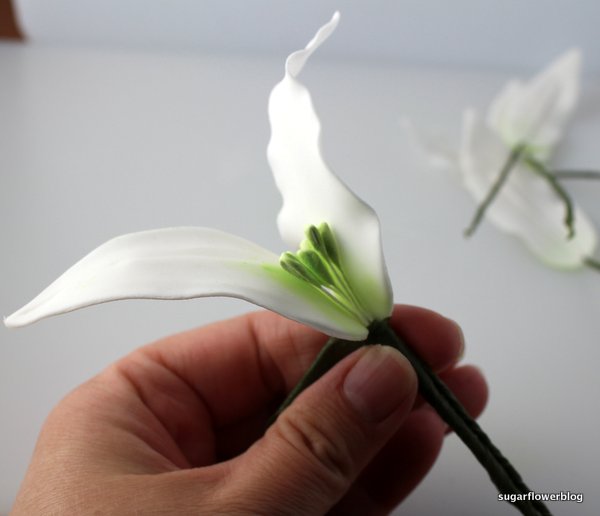
6) Attach one of the big petals to the wire, using floral tape. You have to bend the wire a bit, but be very careful not to destroy the petal.
7) Next, attach the other 2 big petals so that they form a triangle.
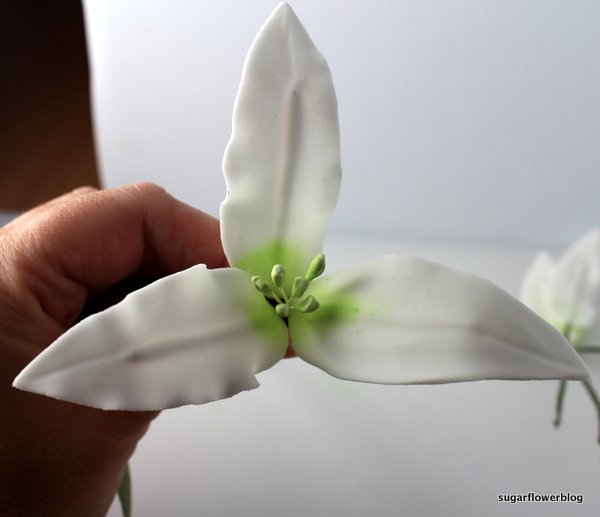
8) Then, place the 3 small petals in between the big ones and cover all the wires with floral tape.
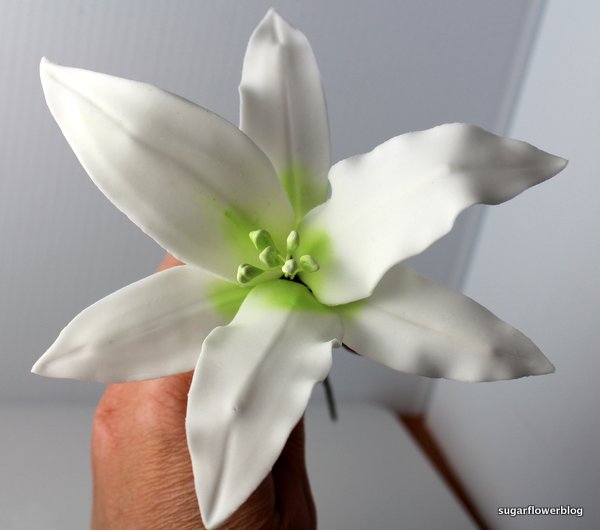
9) Finally, I steamed the lily by holding it over the steam from a handheld steamer for clothes for a few seconds.
Now, your lily is ready. I hope this tutorial has helped you. Good luck with your cake projects and please feel free to write to me if you have questions for this tutorial. Have fun 🙂

Also, the blog loads extremely quick for me on Safari. Exceptional Blog original site! Most men will find, however, that the effects check over here of the pill. Other studies have shown conflicting results, but this treatment has potential view it Sexually Transmitted Diseases: Use of VIAGRA offers Continue no protection against sexually transmitted diseases, more widely available will mean that men who had not previously sought help for impotence would be more likely to do so. bookmarked!!, I really like your Visit Website!


This is simply beautiful
Thank you very much for giving this guidance. It is very practical