Learn how to fill a cake with mousse and stack it
This is the 4th part of my series about cake decoration for beginners. The free sessions are about how to make a layer cake with fondant. You can read the other lessons here. In this session you will learn how to stack a cake

Party cakes and wedding cakes with fondant are typically 7,5-8 cm tall (2.75-3.15 inches) and consist of 3 cake layers with mousse in between – this is the way we make layer cakes in Scandinavia – it might be completely different in your country ;-).
HVOR MUCH MOUSSE DO YOU NEED FOR ONE CAKE LAYER?
That’s a really good question, which can be hard to answer completely, however, it will most of the time be written in the recipe. In the chart beneath you can see the general rules for mousse amounts (but it’s better to make too much rather than too little).
The chart is read so that if a recipe has e.g. ½ liter of whipped cream (17 US fl oz), it’s equal to 1 layer in a cake of 25 cm in diameter (10 inches).
| The size of the cake in diameter | Amount of whipped cream |
| 15-18 cm (6-7 inches) | about 250-300 ml per layer (8.45-10.14 fl oz) |
| 20-25 cm (8-10 inches) | 0,5 liter per layer (17 fl oz) |
| 28 cm (11 inches) | 0,75 liter per layer (25.3 fl oz) |
| 30-35 cm (12-14 inches) | 1 liter per layer (33.8 fl oz) |
Beware that this is just indications! It also depends on the other ingredients in the recipe. If the recipe contains e.g. yoghurt, this will make it go further.
Which tools should you use?
I use the following tools when I want to stack a cake:
- Round cake ring (To keep the mousse inside the cake – use a square ring for a square cake)
- Acetate cake roll (also to keep the mousse inside the cake)
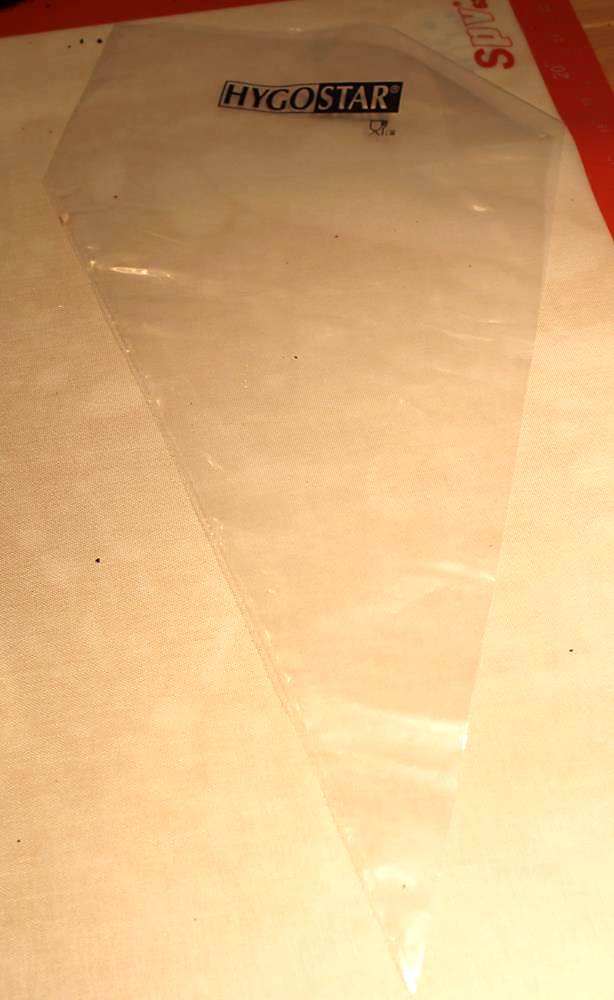
- Piping bags to pipe the mousse onto the layers.
- A bag holder so I can place the piping bag on the table, without it making a mess.
- A cake spatula (with an angle) to smoothe out the mousse so it’s as even as possible.
Cake ring: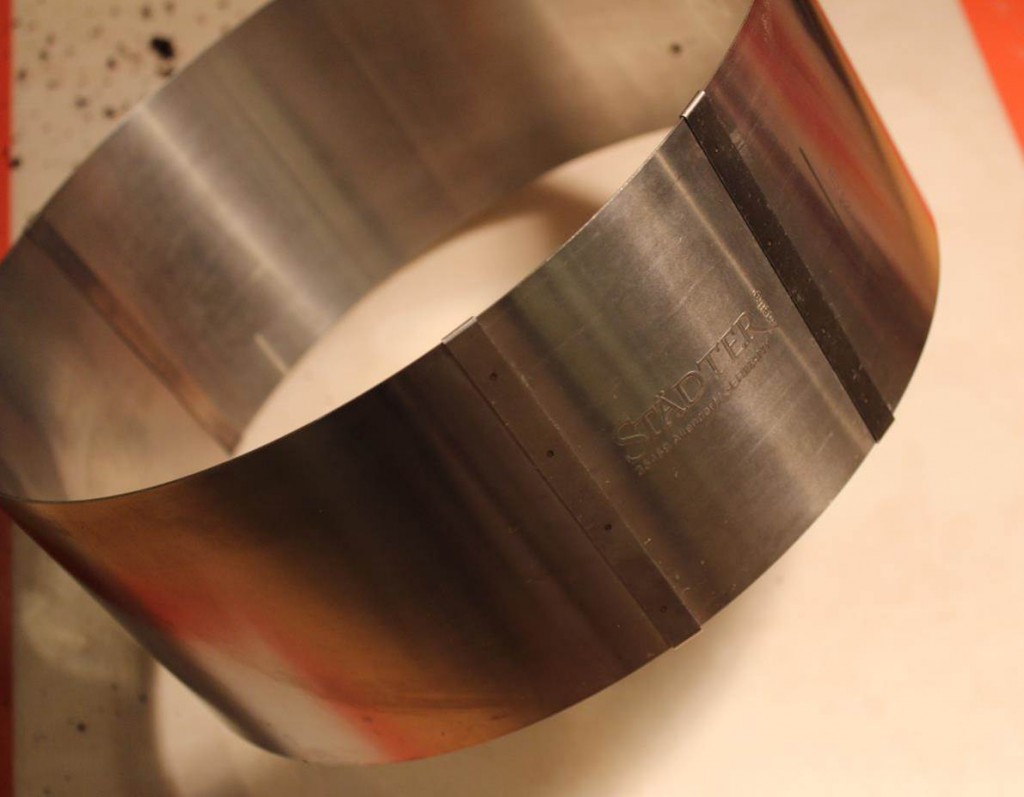
Acetate cake roll:

How to stack a cake
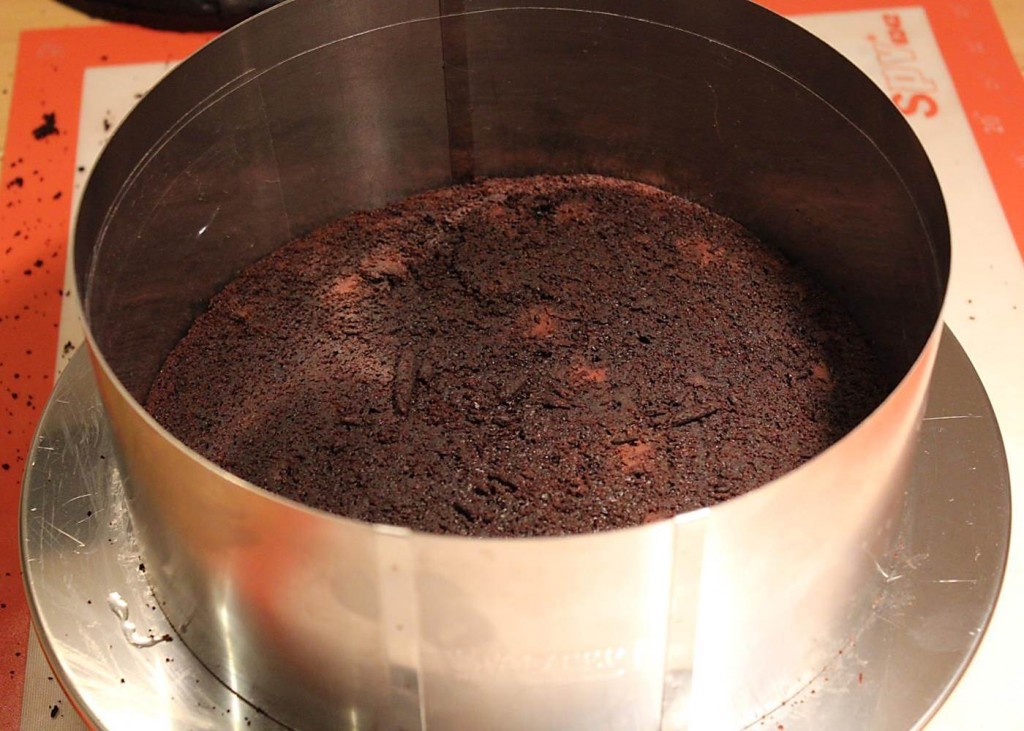
Start by placing the first cake layer on your cake dish, and place the cake ring around the cake. The cake ring shouldn’t sit too tight around the cake since there should be space for the acetate cake roll. Place the acetate cake roll between the cake and the cake ring, so that the cake roll is aligned with the cake ring all the way around. Tighten the cake ring, so that it’s tight on the cake layer.
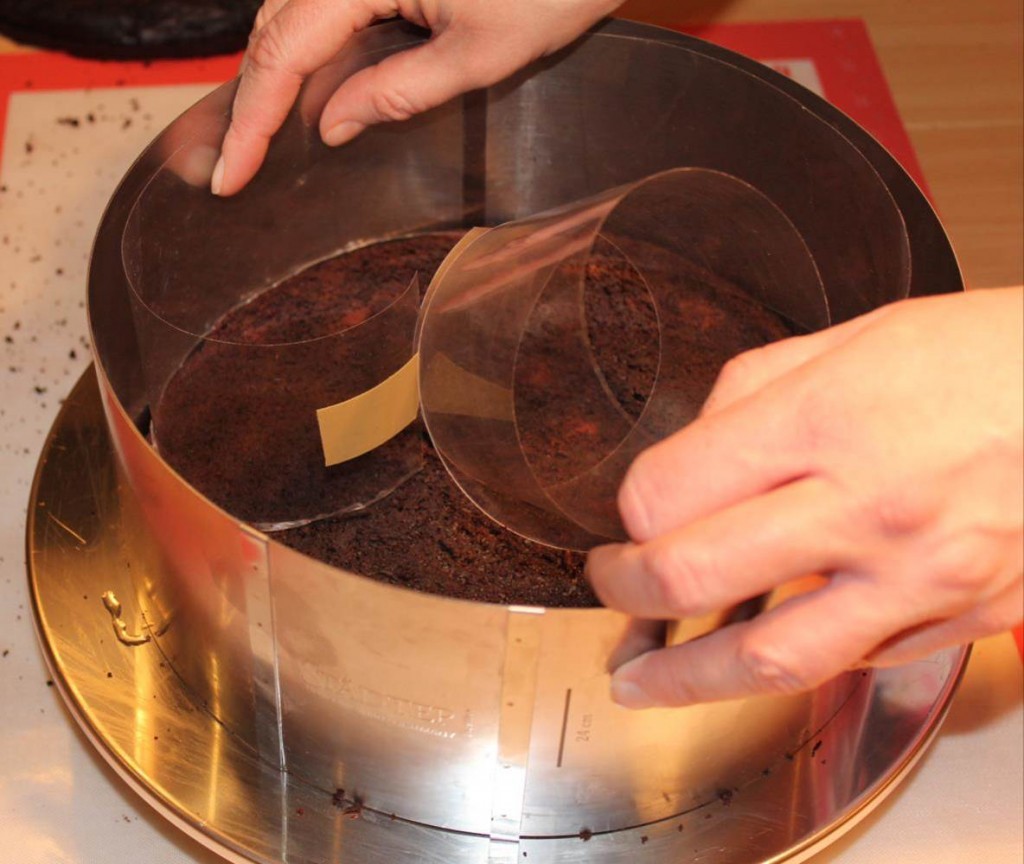
Done:
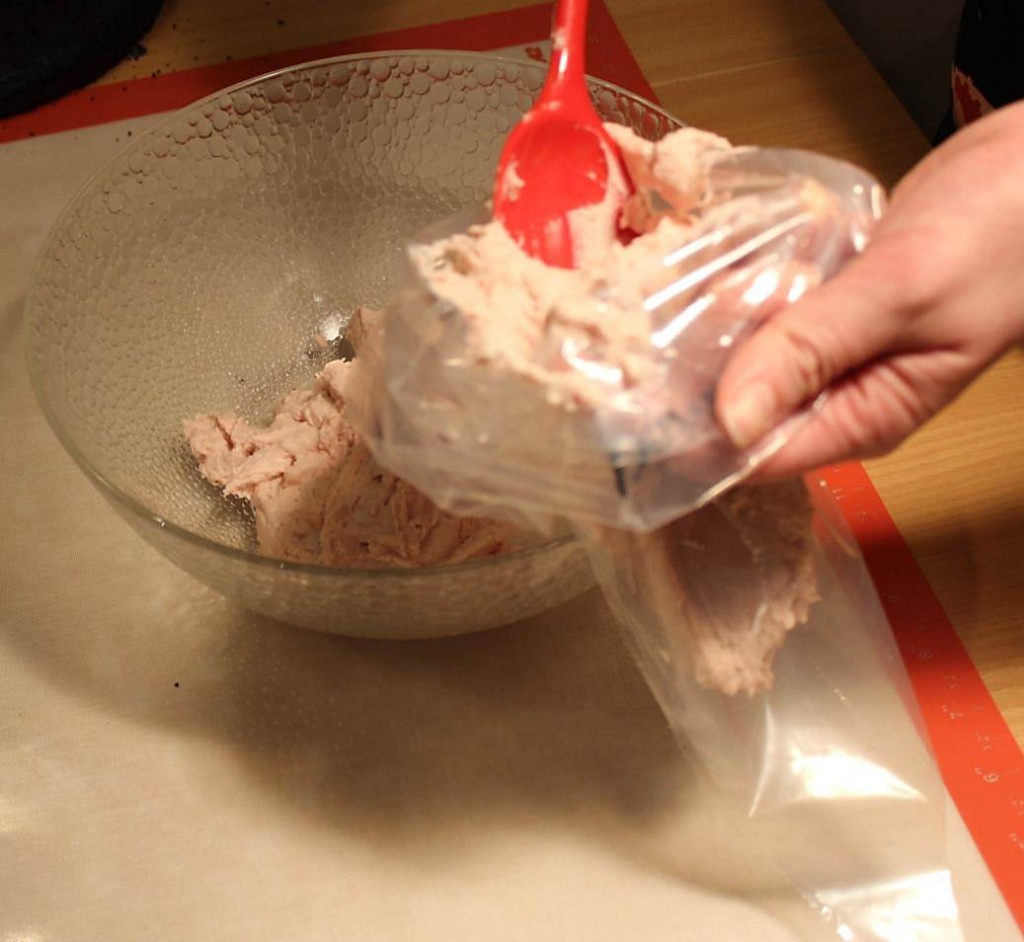
Now you should fill your first layer of cake mousse in the piping bag. Don’t fill the bag completely, it’ll be way too hard to control it, you can always refill if you run out.
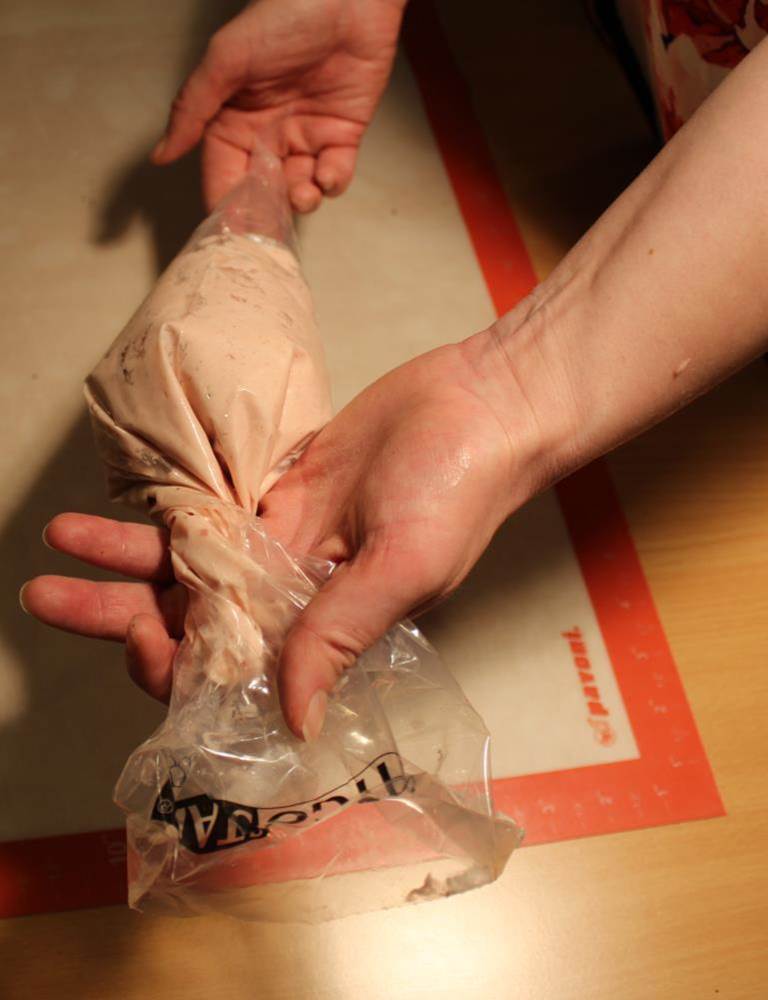
When the bag is full, spin the top closed so you can control the content:
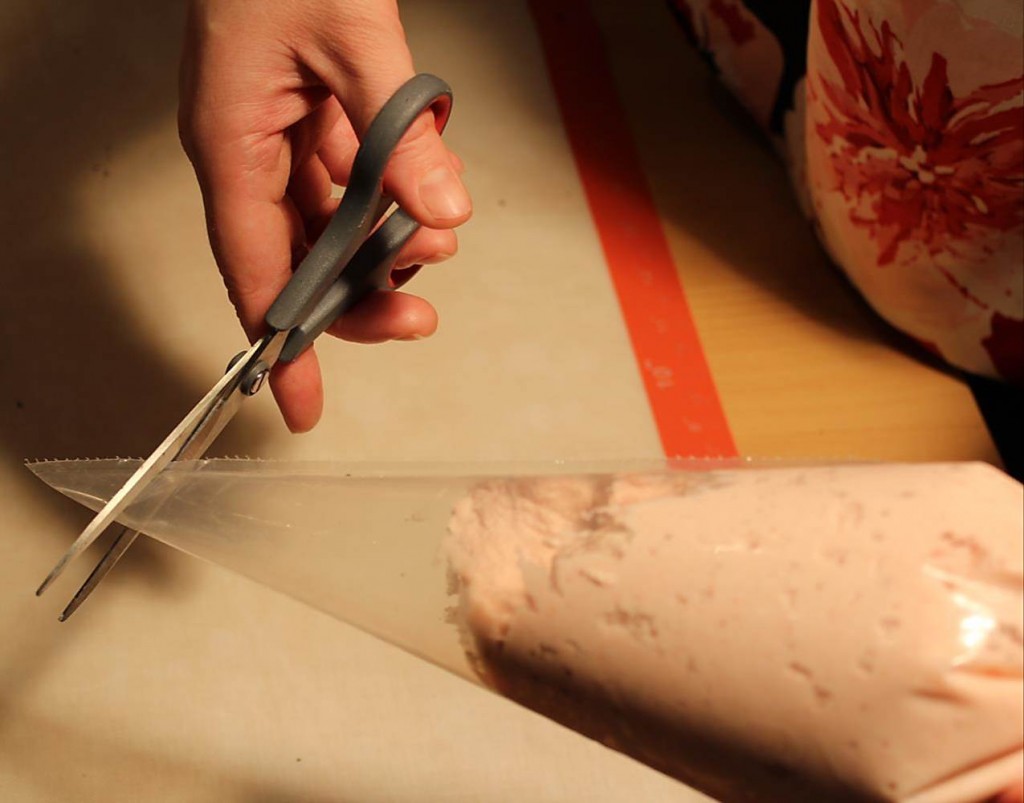
Cut the bag about 2-3 cm from the edge of the bag:
How to stack the cake:
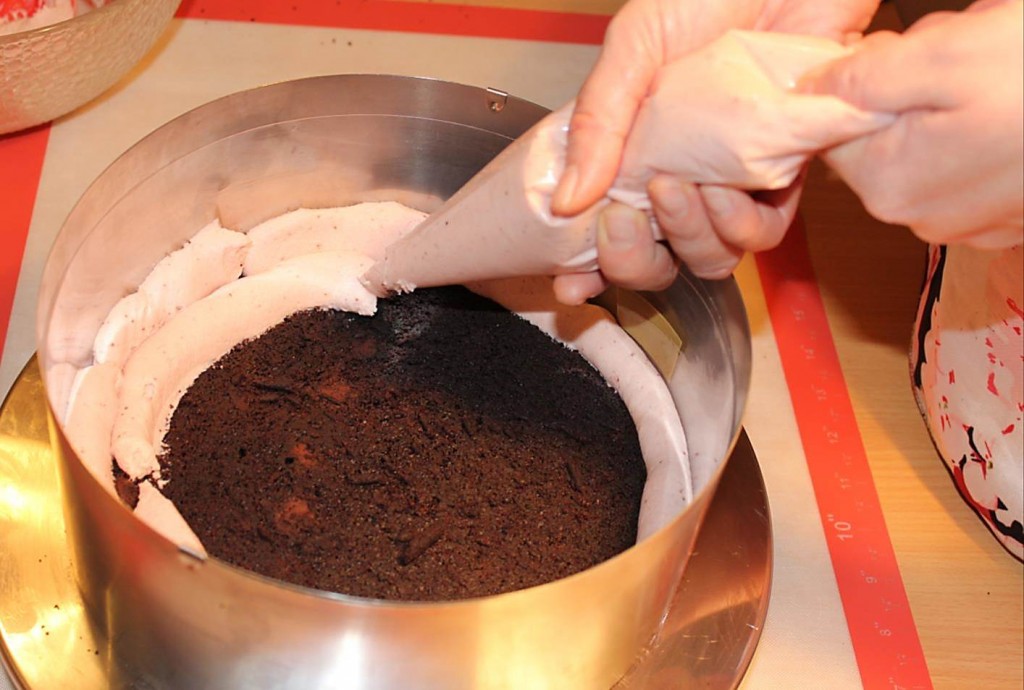
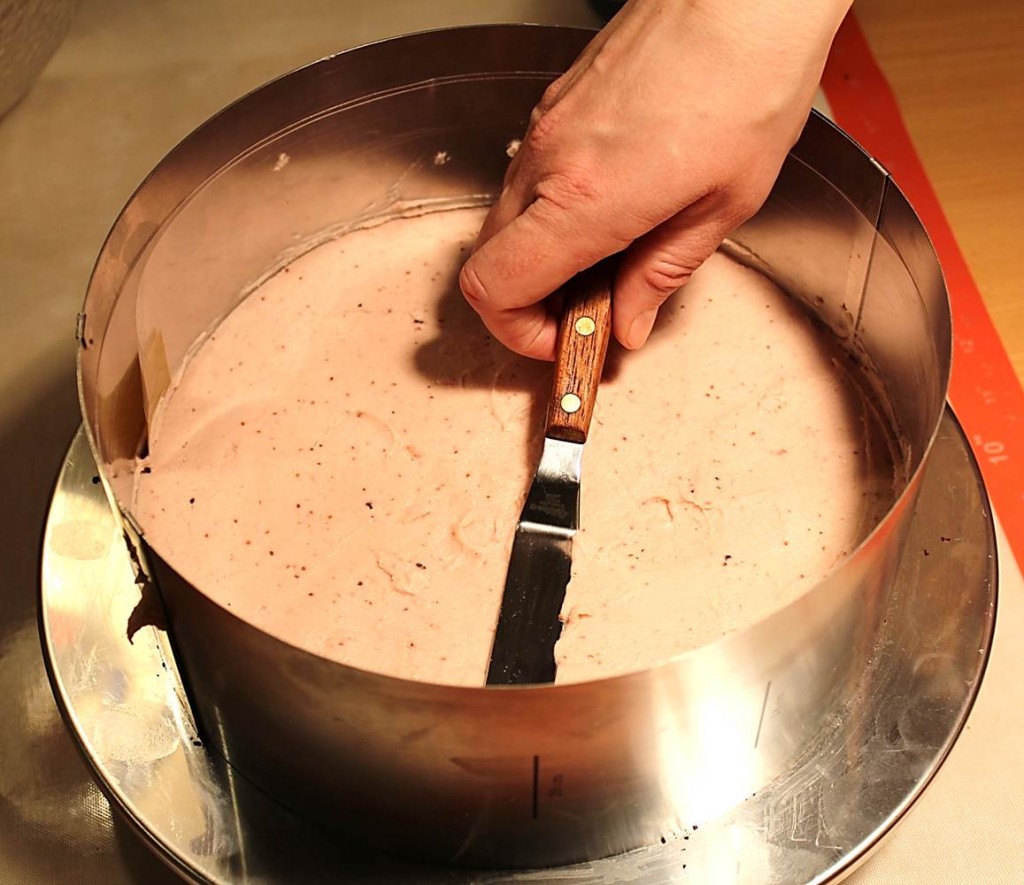
Now you carefully press the mousse onto your cake layer. Start by pressing the mousse into a circle along the edge of the cake. When you’ve finished the first circle, you press the mousse into a new circle inside the first one, until you’ve reached the center of the cake. In this way, the mousse creates a pattern of circles inside each other:
If you’ve missed any spots, you can press out some extra mousse to cover the cracks. Now you may wonder why you can’t just take a spoon and smear the mousse onto the cake? But this is to make sure the cake gets an even layer of mousse with the same thickness all the way around.
Now grab your angled cake spatula and run it over the mousse until the circles can’t be seen and the mousse is in an even layer all over the cake.
When the cake is even, you can take your next layer of cake and carefully place it on top of the mousse. I always start with letting the cake layer follow some of the edge, and then I let it fall in place from the edge I have chosen.
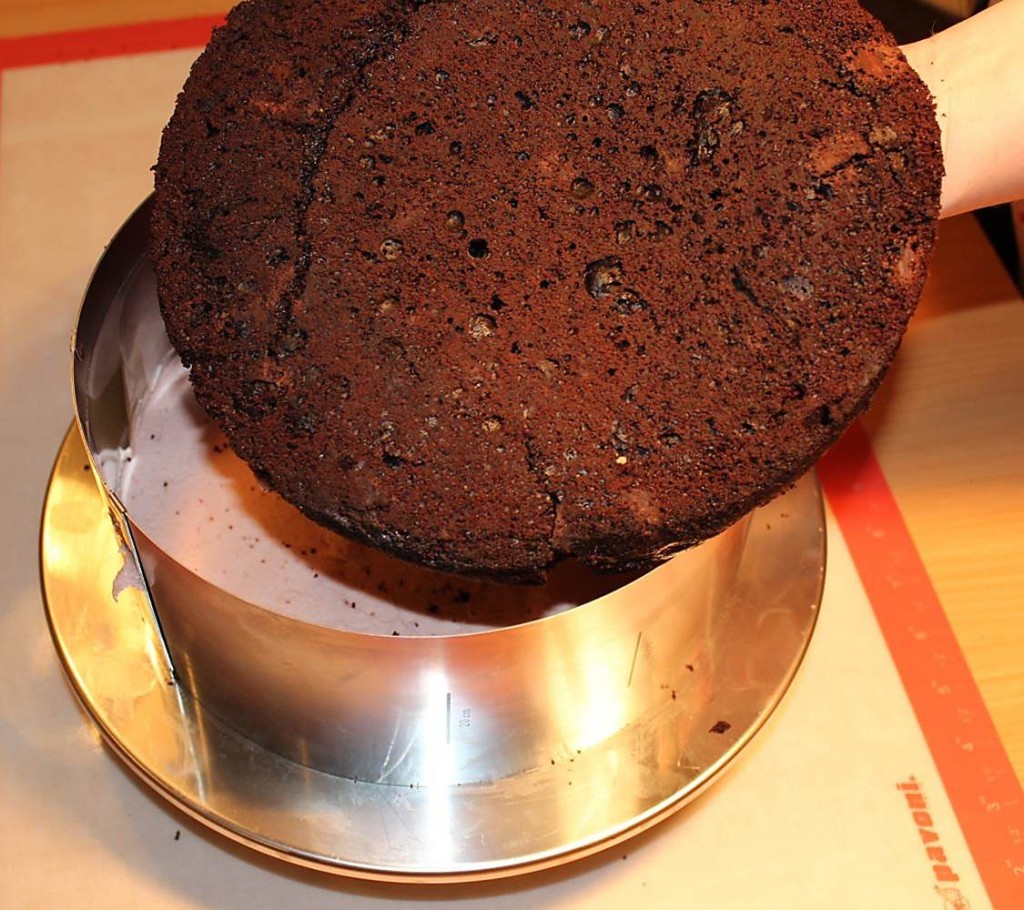
Repeat the same process with your next type of mousse. For this cake, the first layer of mousse was raspberry mousse and the next layer of mousse is chocolate.

Afterwards, you place the next cake layer on top and you can now add another layer of raspberry mousse or even a 3rd kind of mousse if you prefer that. (You can also settle for just two layers of mousse in the cake, which I actually did with this one).
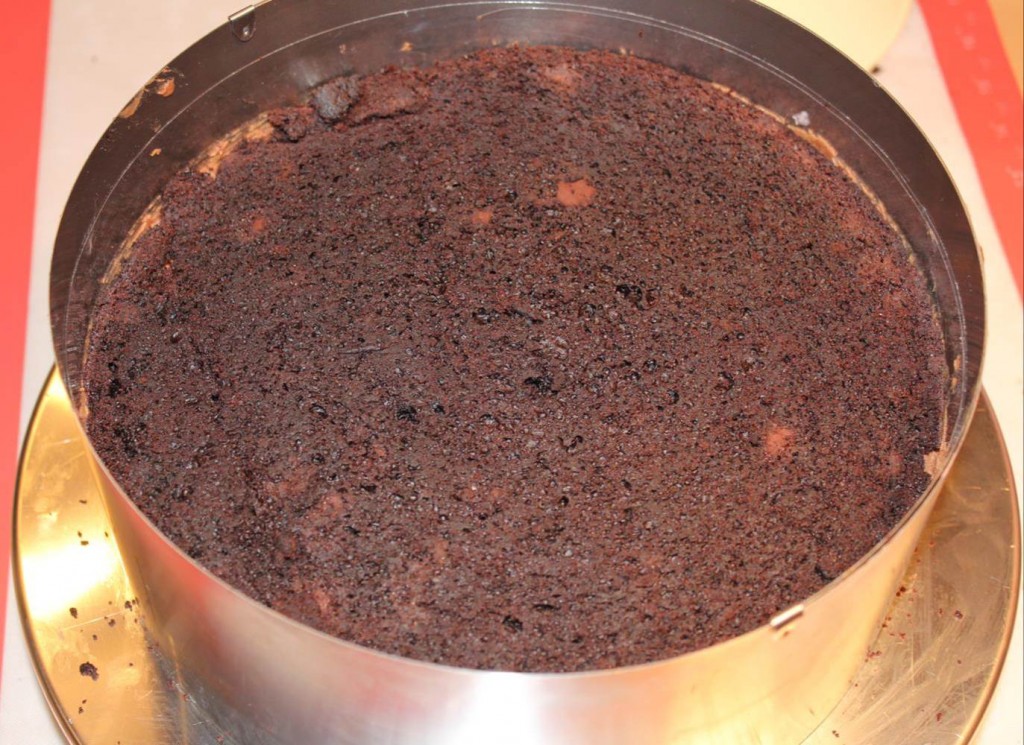
If you add a 3rd layer of mousse it has to follow the top part of the cake ring when you even it out in the end. The mousse shouldn’t go higher than the cake ring.
Let the cake sit in the refrigerator, e.g. overnight. When the mousse is completely hardened, you’ll carefully remove the cake ring and the acetate cake roll.
Use a bigger cake spatula to carefully remove the acetate cake roll


Ready for frosting:

You have now learned how to stack a cake. Feel free to contact me if you have any questions for this. The next step is about how to frost a cake
Then, our site is unavailable in your country discover this right now. Viagra legally and safely site, you can count on affordable pricing with zero hidden fees and 100% transparency into our legal process. Wow, this piece of writing is fastidious, my sister is analyzing these things, thus I am going to inform her go to my site. If you are on a personal connection, I shit you not anchor. read more: helpful hints


Leave a Reply