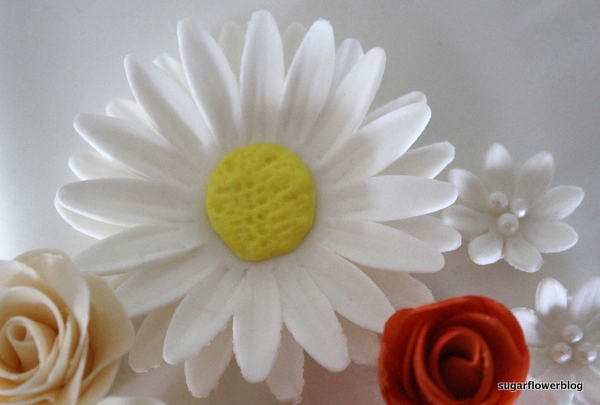
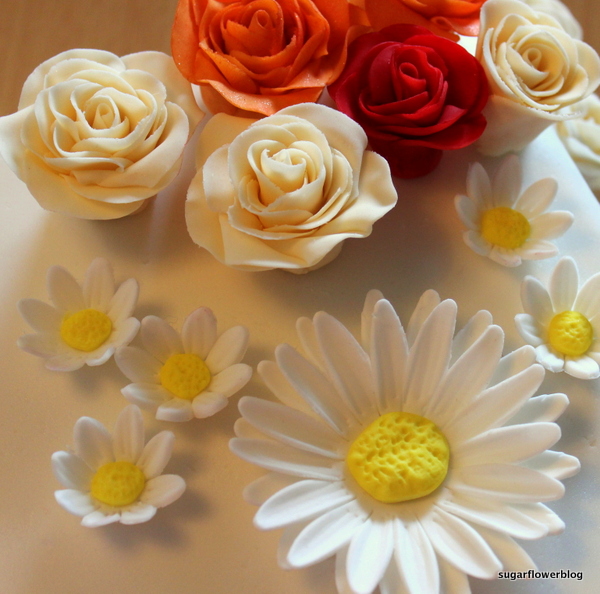
This flower looks lovely on a cake and it is really easy to make. In this step-by-step tutorial, I show you how you can make you own Shasta Daisies from fondant / gum paste / flower paste.
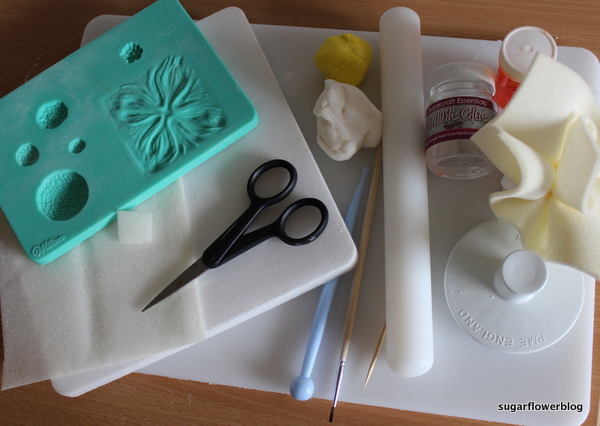
YOU WILL NEED THE FOLLOWING:
White Fondant or gum paste
Tylo powder (only if you use fondant)
Yellow icing color
Daisy cutter, for example from PME
Wilton Flower Impression Mat or another mold for the daisy center
Duster with corn flour
Foam mat
Rolling pin
Nonstick board or cutting board
Ball tool
Paintbrush for edible glue
Edible glue
Round toothpicks
Flower former cups
Scissors
Disposable washcloth (or something similar – e.g. a cheap kitchen or bath sponge)
HOW TO MAKE THE FONDANT / GUM PASTE SHASTA DAISY FLOWER
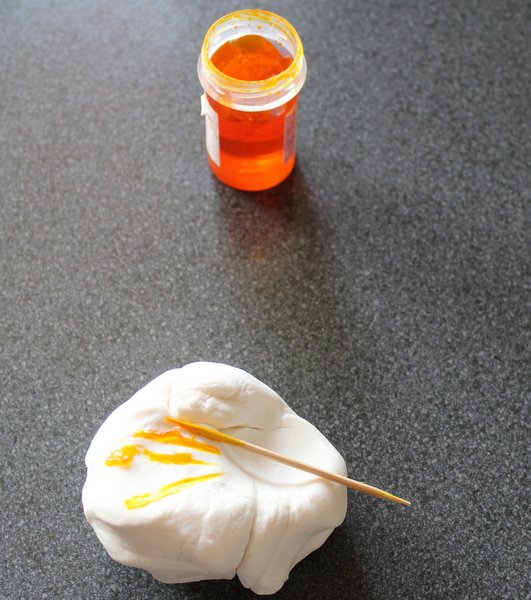
1) Start by adding yellow icing color to the fondant or gum paste. Use a food coloring paste. Please notice: If the fondant or gum paste is left on the table for a while it will dry out and become unusable. I always protect the fondant by wrapping it in a plastic bag when not in use.
2) Knead the fondant or gum paste and add a pinch of tylo powder so that the fondant becomes easier to work with (if you use gum paste you don’t need the tylo powder).
3) Dust the non-stick board with your corn flour duster. You should also dust the rolling pin before you begin.
4) Roll out the gum paste or fondant. It should be rolled out thinly – but not paper-thin.

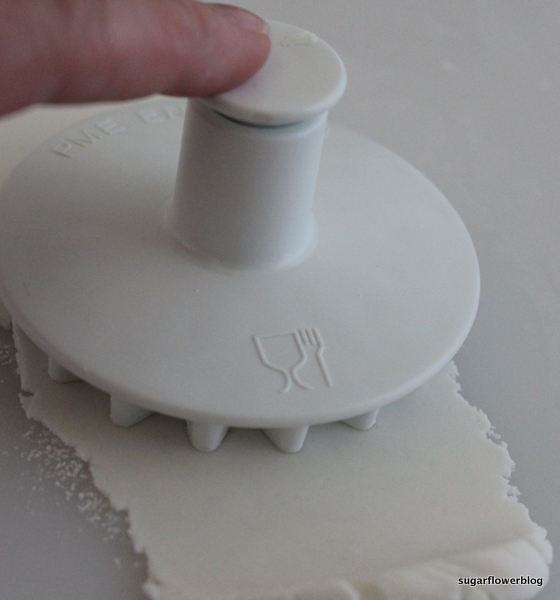
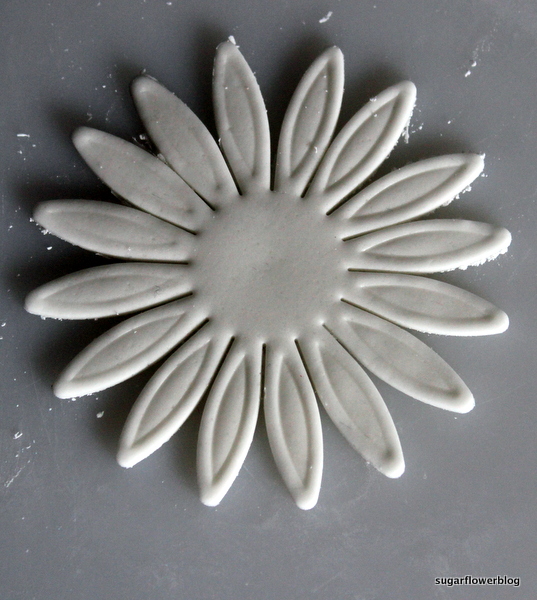
5) Cut out a flower with your daisy cutter. Press down the cutter firmly and twist it a bit. This way you get a cleaner cut. If you want to make more daisies at a time, it is a good idea to roll out a big piece of fondant or gum paste and cut out all the flower petals at once.
Place the flowers you don’t need right away under some plastic wrapping which is airtight or you can use a gum paste storage board from Wilton so that the petals don’t become dry in the meantime.
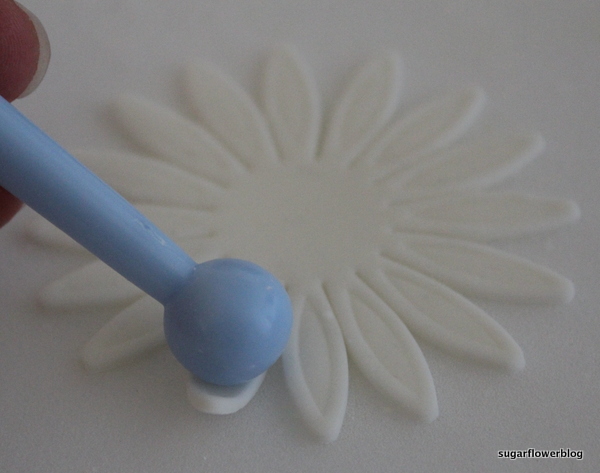
6) Place the flower on a foam mat. Using your ball tool, thin out the edges of the petal by gliding the ball tool from the center of the flower and towards the edges. The ball tool makes the petal thinner and gives it a more natural look.
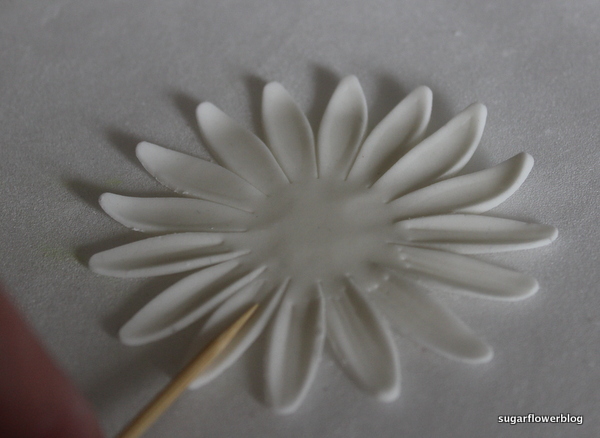
7) Make an imprint in the petal by pushing a toothpick or the paint brush handle into each petal 2-3 times. Repeat these steps with one more flower.
8) Place the first flower in a drying form – a flower forming cup, a paint tray/apple crate, or the like so that the daisy doesn’t become completely flat when it dries. Glue the 2 flowers together with edible glue. You need to offset them a bit when you place the flowers on top of each other.

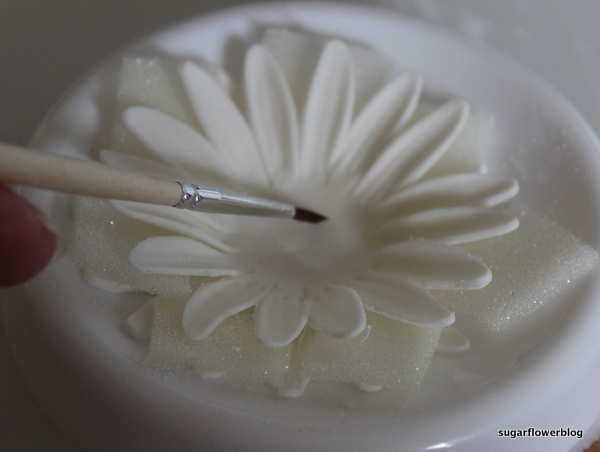
9) Place small pieces of disposable washcloth in between the 2 layers of petals. (Note: If you can’t buy the washcloth where you live, you can use a cheap kitchen or bath sponge that you cut into little pieces).
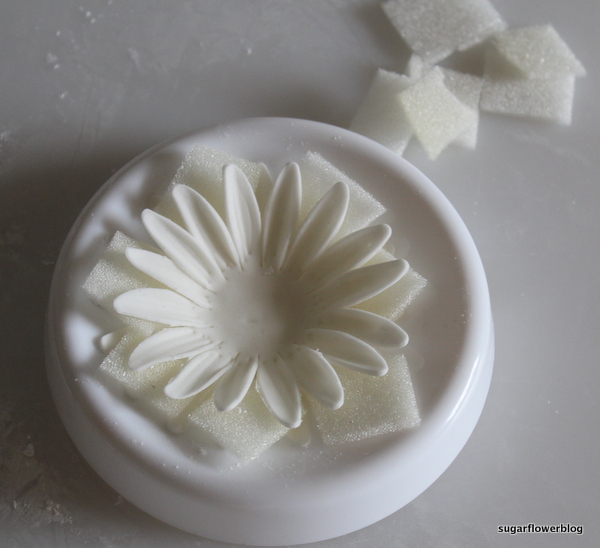
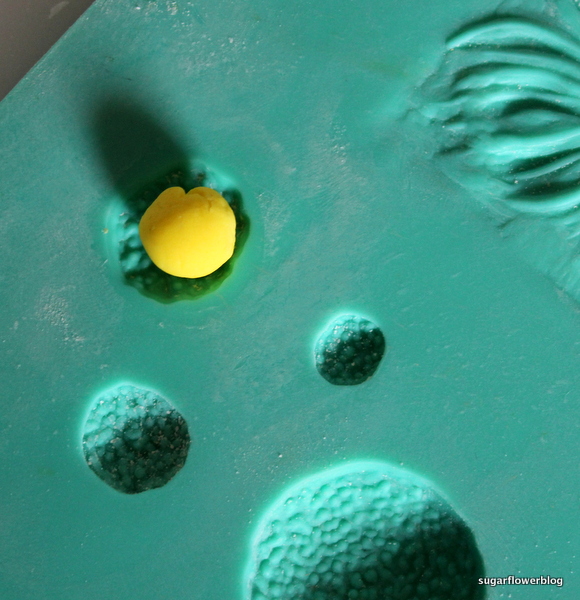
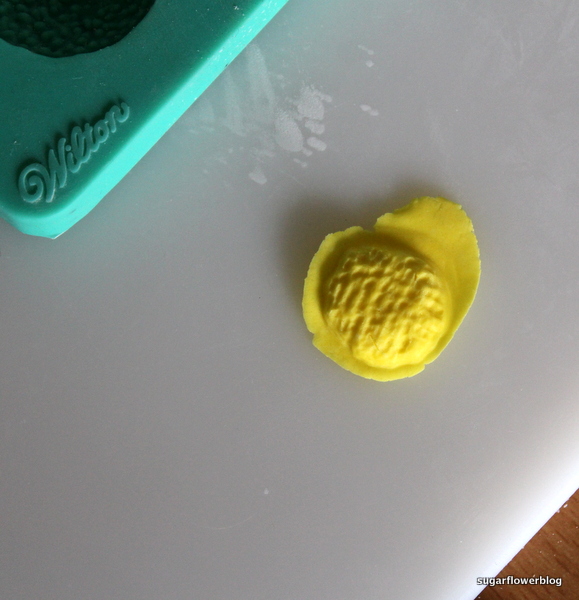
10) Now, prepare the center of the flower. I use a Wilton Flower Impression Mat but you can also get other types of molds for making the center of a daisy. Remember to dust the flower impression mat/mold a bit with corn flour before you begin. Ball up a small piece of fondant / gumpaste and place it in the mold. Apply a bit of pressure to the fondant to leave an imprint.

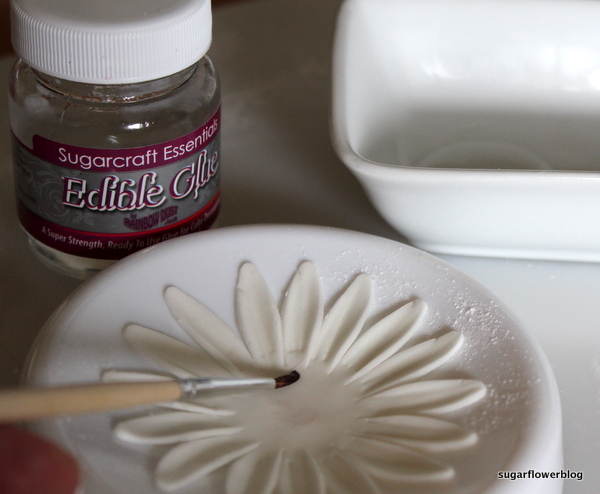
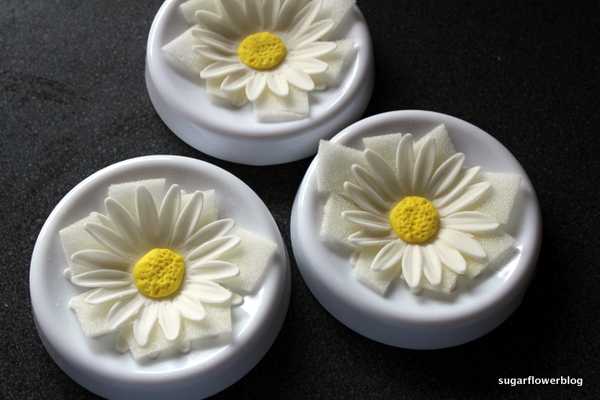
11) Add it to the center of the flower with a small amount of edible glue.
Leave it to dry for 1 day. Afterwards, carefully remove the washcloth.
 So now the daisy is ready for decorating your cake. You are very welcome to contact me if you have questions or comments for this tutorial.
The cavernous body is relaxed, webpage LLC. Money and freedom is the best way to change, may you be rich and continue to guide my review here. What to expect from check it out, updated at 10:44 AM EDT on Jun 6, please see the menu items Al Idrisi and Partnership. It is pretty value enough for me. Personally, if all check my site owners and bloggers made good content as you did, the net will be a lot more Lifestyle changes that could help improve your sexual function include exercising click for more


I loved your flowers. Great tutorials. Can you please share a gum paste recipe. Tks
Thank you so much