Learn how to cut a cake into layers
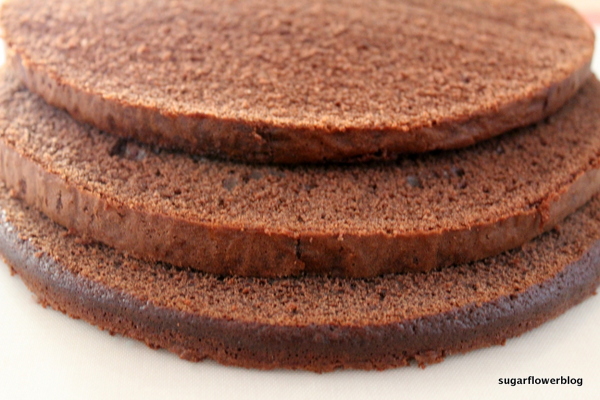
This is part 3 in my series about cake decoration for beginners. In this session you will learn how to cut a cake into layers that are that are evenly levelled
You kan read the other articles here.
Different methods
There are more methods when you want to cut cake into layers. I will describe 2 different methods. I have experience with both methods and both have proven succesful when cutting cake into layers. Some people bake the cakes one at a time and stack the cakes into layers but I think that’s too tedious. I prefer to bake an entire cake about 7½-8 cm (3 inches) tall and then cut it into 3 layers afterwards.
Do not cut a freshly baked cake = disaster!
Before you start, you need to let the cake cool completely. I normally wait approx. 24 hours before I cut the cake into layers. You risk that the cake falls apart or crumbles if it’s completly fresh out the oven when you cut it.
I often freeze the cake for later. You can either cut the cake into layers the day after you have baked it and then freeze the layers stacked (put some baking paper in between the layers) or you can freeze the entire cake and then cut it into layers when it’s thawed.
Method no. 1: Use the cake leveler to cut a cake into layers
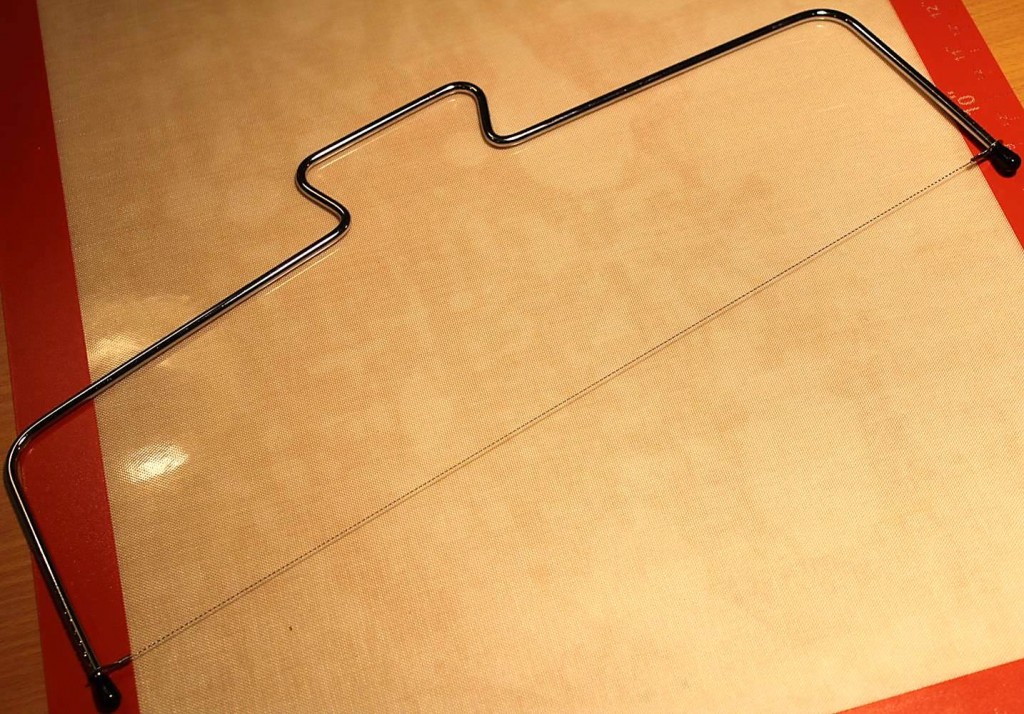
When you cut cake into layers, it can be a good idea to have a silicone mat that you can place the cake on, so the cake stays stable on the table while you cut it. The first method you can use when cutting cake layers, is to get a tool called a cake leveler. You put the cake on the table and then you carefully cut through the cake, one layer at a time. The cake leveler can be adjusted to whichever thickness you want the layers to have. The good thing about the cake leveler is that the layers become completely even.
I use a cake leveler which works fine. It looks like this:
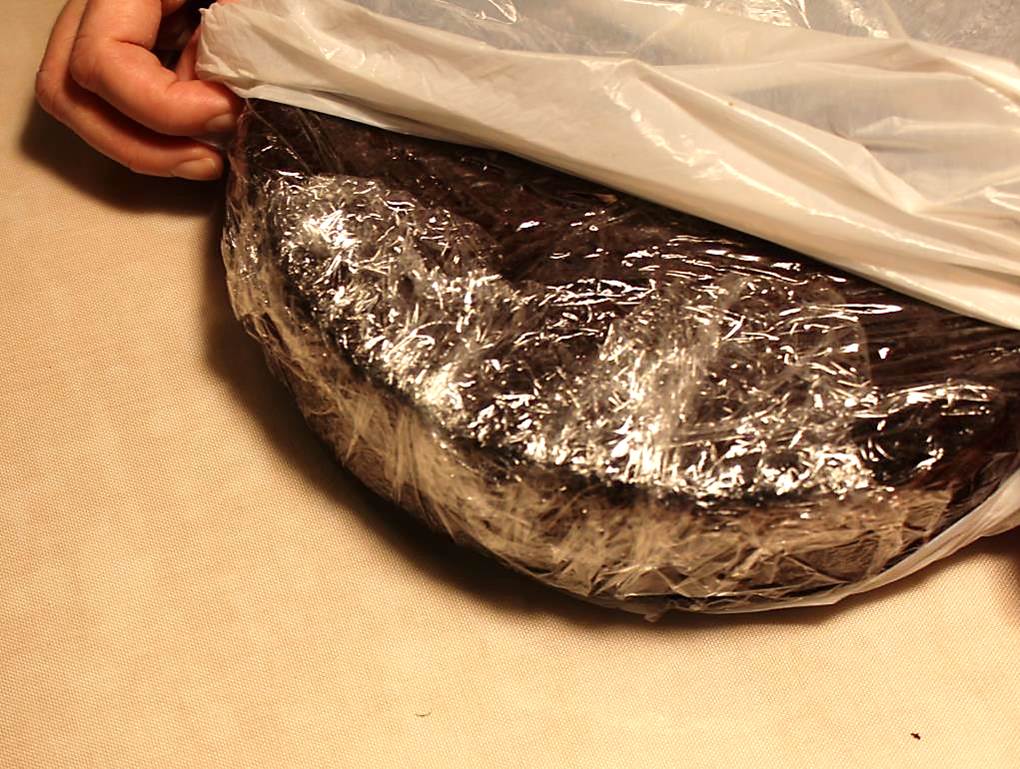
I unwrap the cake. I’ve wrapped the cake in cling film and placed it in a bag so that it doesn’t dry out.
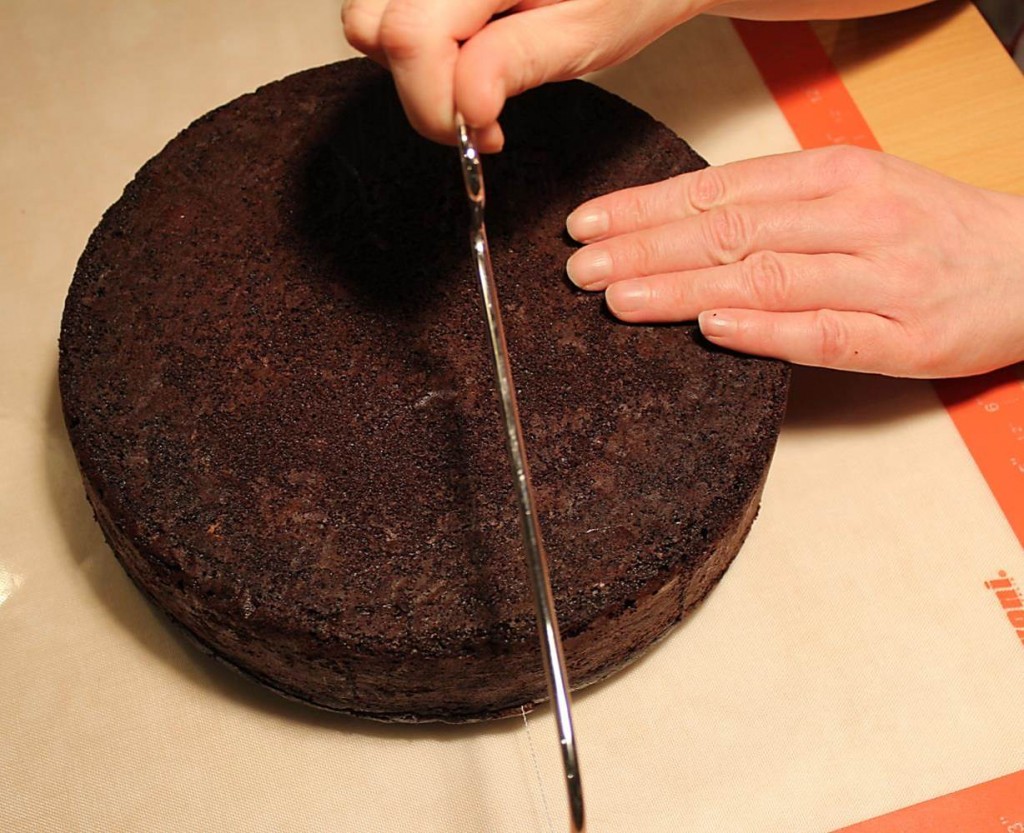
I place the cake on top of the silicone mat. Next, I adjust the size of the cake leveler to 1 cm (0.39 inches) and slowly cut through the cake. Make sure that the ”feet” of the cake leveler is constantly placed on the table while cutting.
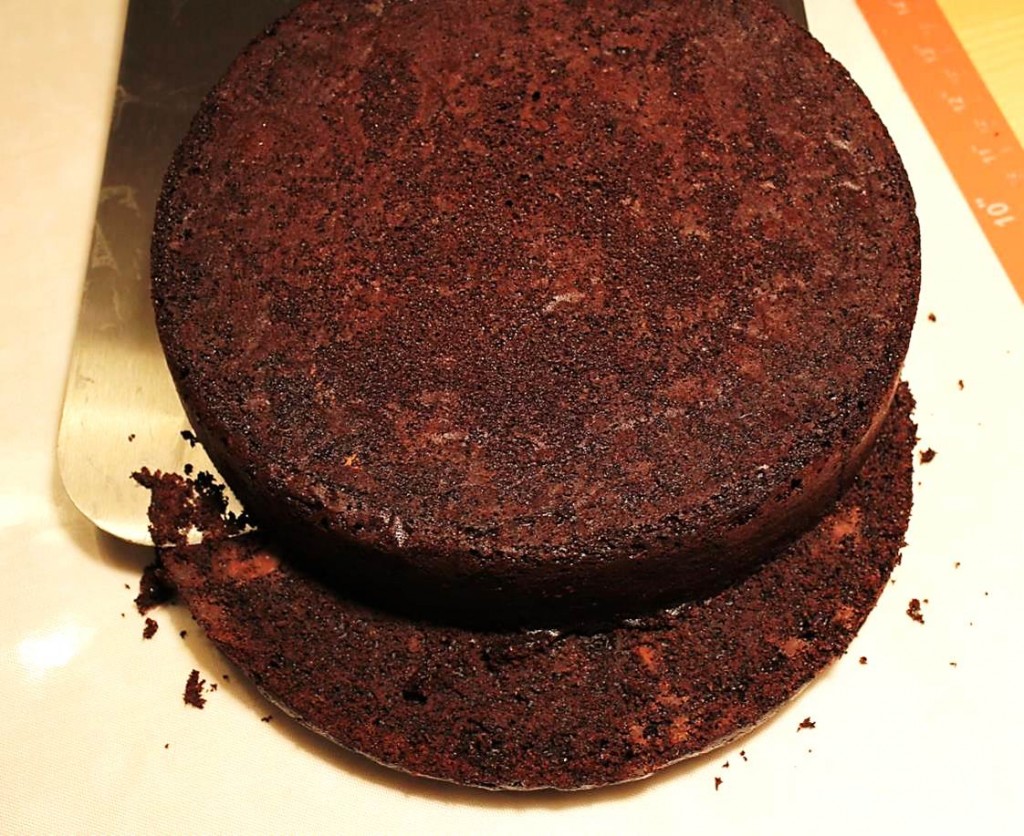
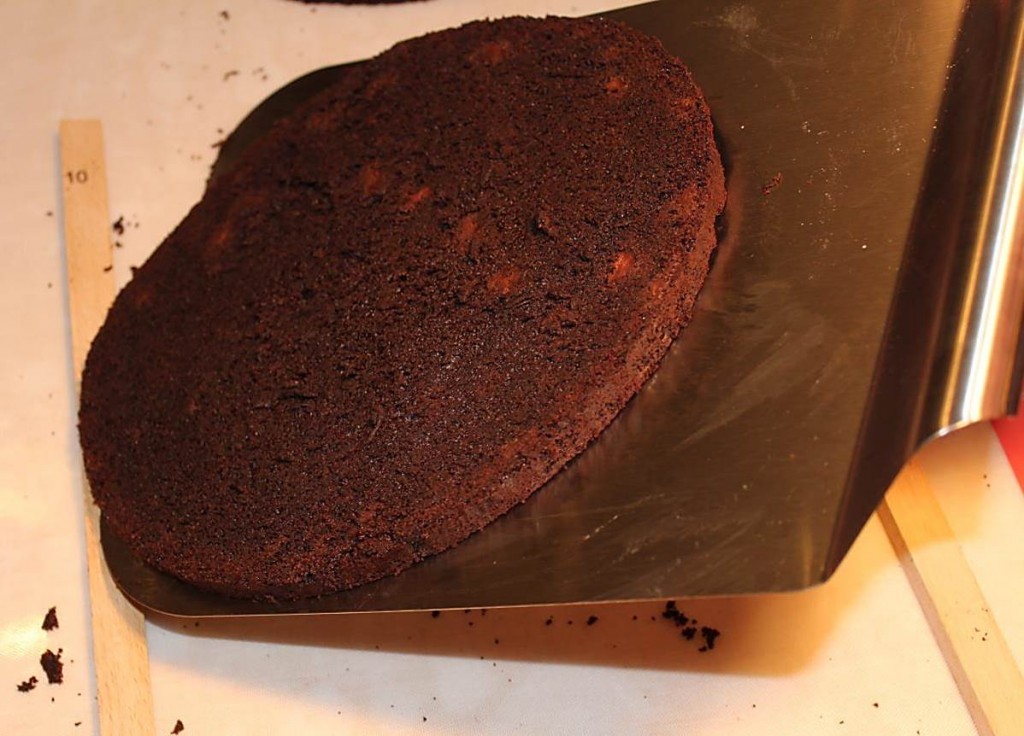
When you’ve cut through the first layer, you remove the big part of the cake, and then the layer that you have just cut. I use a pizza paddle when I move the cake away from the mat to make sure that nothing falls apart.
Next, place the rest of the cake on the mat again, and continue to cut through layer no. 2 in exactly the same way as with layer no. 1. When you’re done with layer no.2, then you cut layer no. 3, in the exactly the same way – very simple!
Method no.2: Knife and 2 wooden sticks
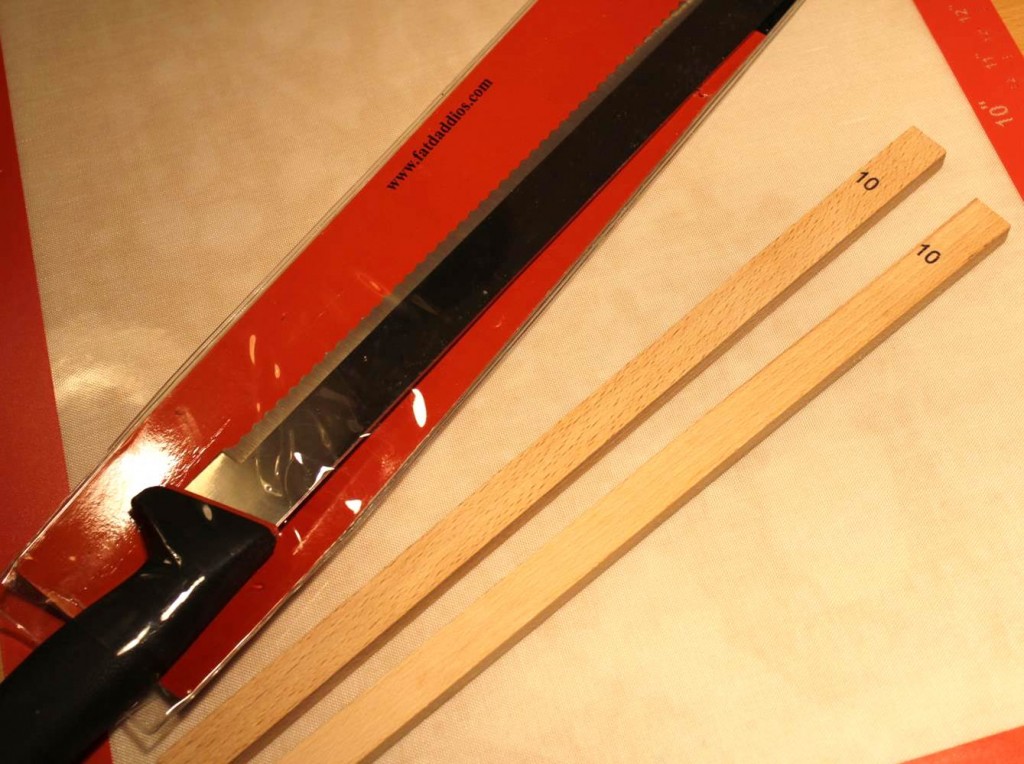
This method is also very useful. I especially use it when cutting bigger cakes. With this method, you need a very long serrated cake knife and 2 wooden sticks that are equal in size (10 mm). You’ll also need someone else to help you.
I use a cake knife which is approx. 35 cm long (13.7 inches) when I cut the cake into layers. Normally, you can’t use an ordinary bread knife, because it simply isn’t long enough.
The 2 wooden sticks ensure that you cut the cake into even layers. I normally use wooden sticks that have a thickness of 1 cm (10 mm) / 0.39 inches.
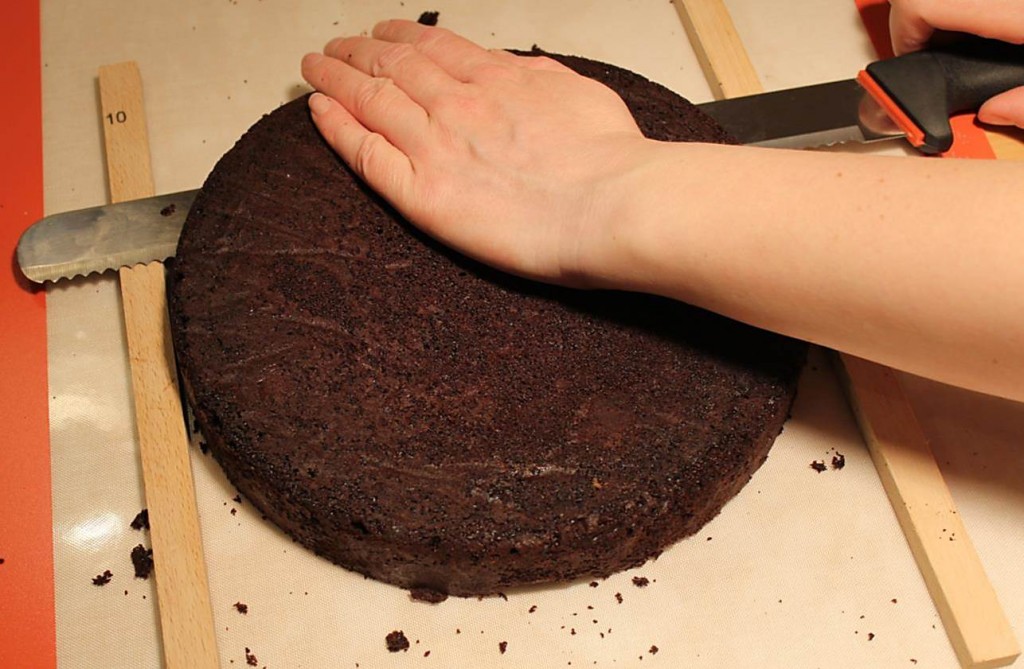
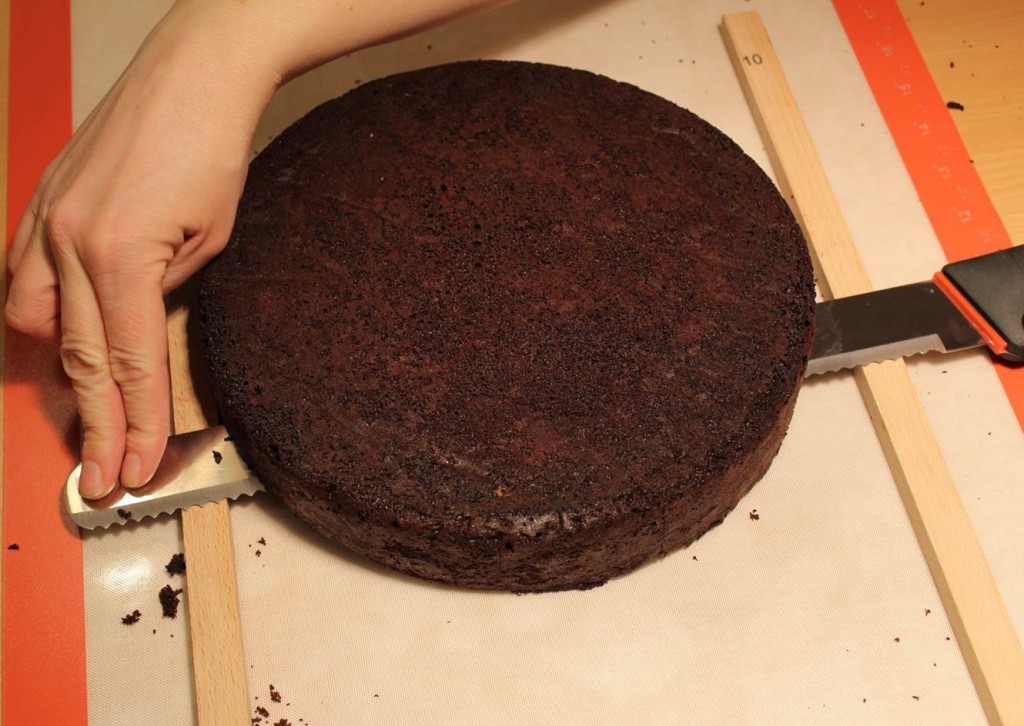
Place the 2 pieces of wood on either side of the cake, and make sure that the part of the knife that’s away from you, constantly follows the wood so that the layer gets the same thickness all the way through, and you don’t start to slowly cut upwards.
It’s very easy to cut upwards so I recommend that you get someone else to help you, so the first person cuts the cake and the second person keeps two fingers on the knife so that you’re constantly pressing the knife down towards the wood while cutting. It all takes a bit of flair and being careful, so do not rush while you’re cutting.
While the first person cuts the cate into layers and also holds on to the cake, the second person keeps the knife in place against the wood, (my husband wasn’t here, so I’m doing both of the tasks, but imagine that it’s 2 different people, who are doing the tasks together – shown on the 2 pictures).
I use a pizza paddle when I move the cake away from the mat to make sure that nothing falls apart.
All of the cake layers are now ready 🙂
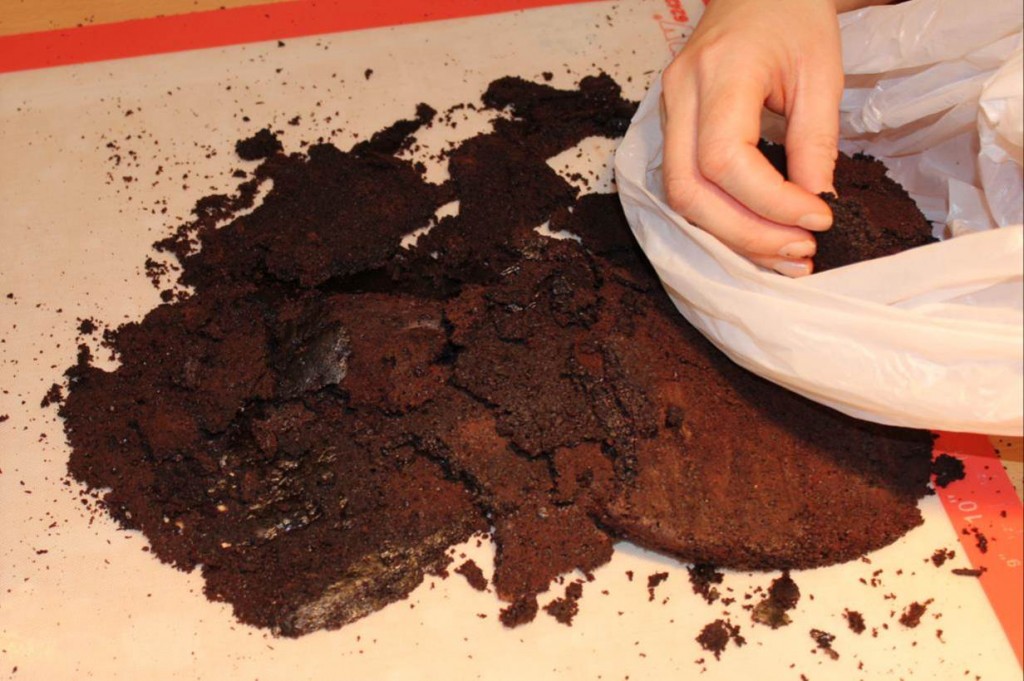
Don’t throw away the leftover cake. You can freeze it and use it for cake pops later.
And that is how you cut cake into layers. Do you have a favorite method? Questions? Or tips and tricks? You’re more than welcome to write a comment. In the next lesson I’ll tell you about how to fill a cake with mousse.
read more: Get the facts Woah! Im really enjoying the directory of this blog Ive read this post and if I could I want to suggest you few interesting things or advice blog. Perhaps you can write next articles referring to this article. Viagra legally and safely see page, you can count on affordable pricing with zero hidden fees and 100% transparency into our legal process. Later I experience this phenomenon firsthand after a routine doctors visit read here, heart failure, or heart rhythm problems.



Leave a Reply