In this blog post, you will learn how to make raspberry mousse cake filling for a layer cake. I alway use delicious mousse fillings for fondant cakes, party cakes and wedding cakes. This article is part 2 of my series on cake decoration for beginners. You can read Part 1 here.
Stiff mousse = SUCCESS 🙂
It is very important that the mousse is stiff and sturdy enough to hold up inside the cake. It is a disaster if you have made a beautiful cake and it is all ruined because the mousse gets gooey or falls apart when you cut the cake. Some years back I had a horrible experience with a cake. I had filled the cake with a berry mousse, but the mousse was not stiff enough and just 20 minutes before serving the cake, it started to bulge in the middle 🙁
In order to make a stiff mousse, you need to add gelatin to the mousse and allow the mousse to set before using it as a cake filling. Alternatively, you can get a whipped cream stabilizer if you are not a fan of gelatin or you don’t want to risk getting lumps.
I often use a neutral cream stabilizer from the German company Städter which is for sale in Denmark. However, I am not sure where you can buy this in other countries? Some places you can get a product called ‘Whip it’ from Dr. Oetker which can be used to make a stiff mousse but I have never used this product so please experiment on a small test cake before using it for a big wedding cake 😉 Also, gelatin sheets can vary in size and strength from country to country so make your own tests before using it for an important cake!
How to make raspberry mousse as a cake filling
(See recipe below)
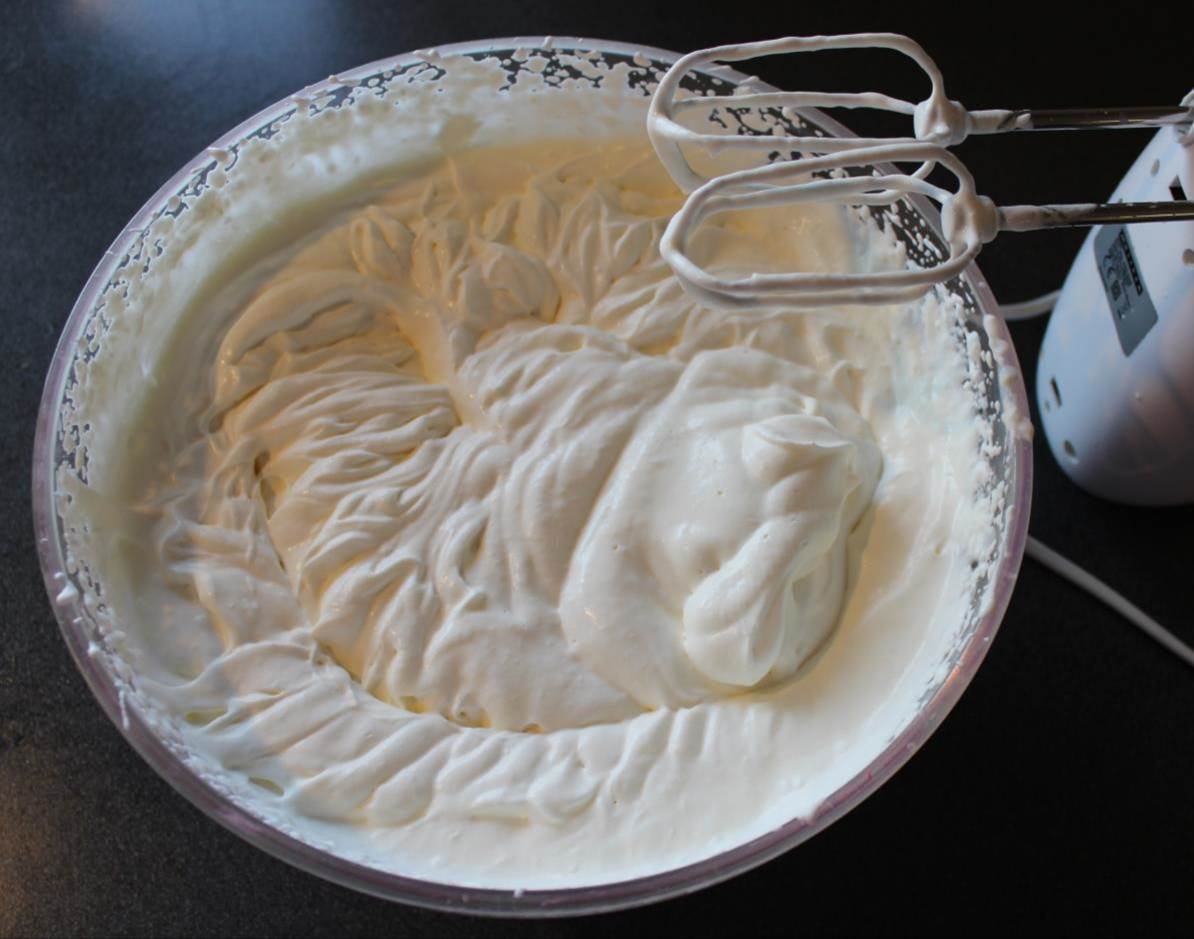
Whip the heavy cream. You should whip until soft peaks form but do not whip too long, you do not want to make butter. Place the whipped cream in the fridge before you continue.
Place the raspberries in a small pot and boil for 5 minutes. I normally use frozen berries but you can also use fresh berries. if they are in season (I never use berries without boiling them).

The berries are coming to a boil
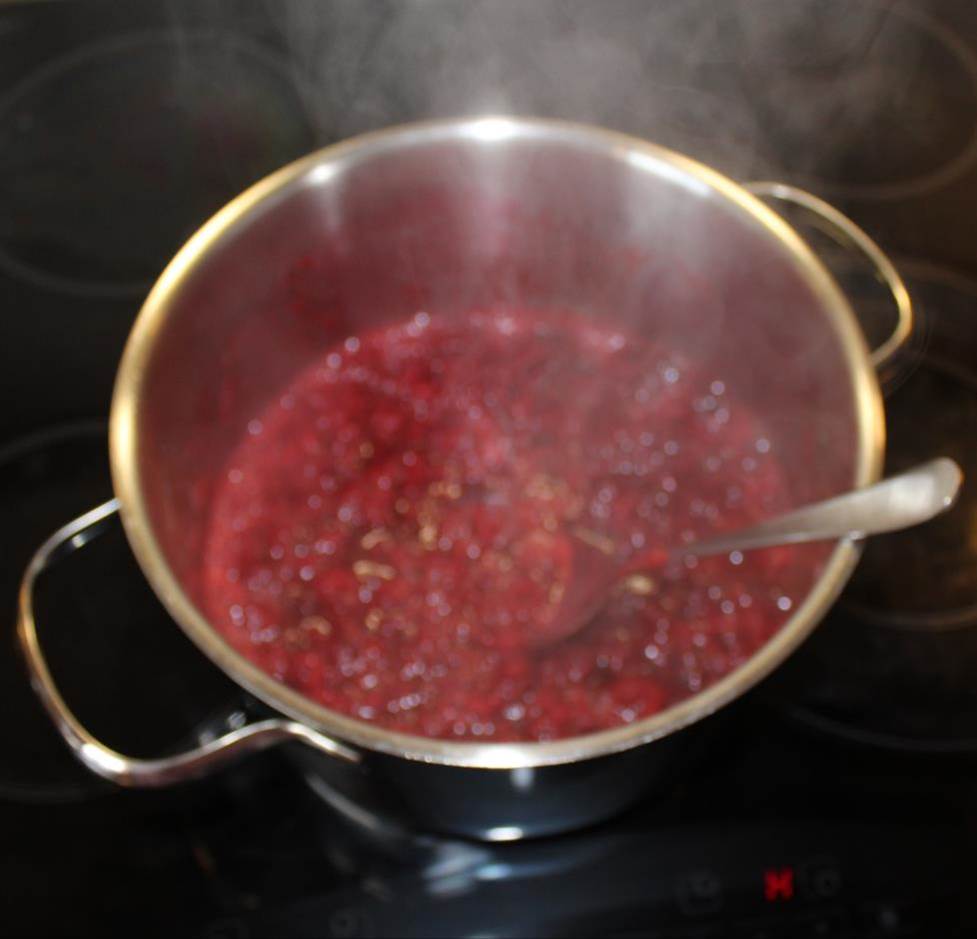
Mix the berries with sugar and vanilla bean. Allow the berries to cool for approx. 10 minutes.

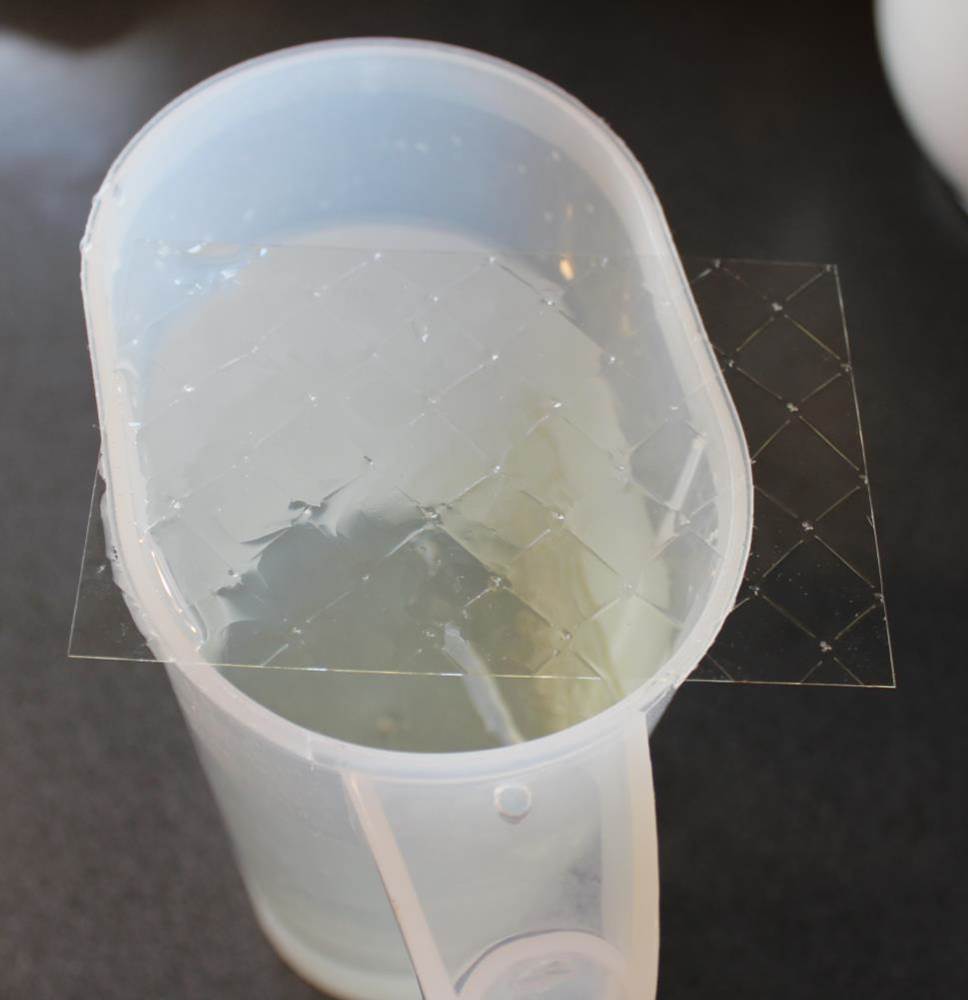
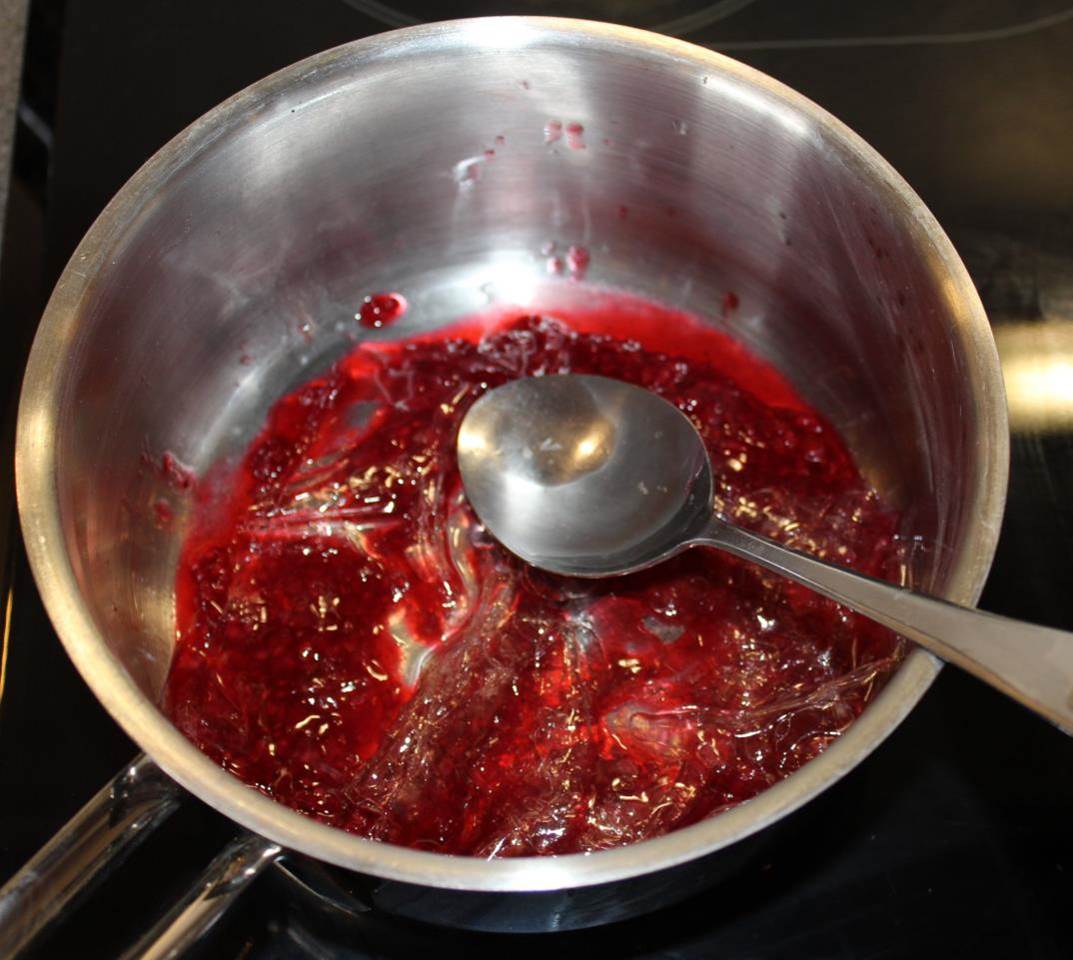
While the berries cool, you can soak the sheets of gelatin in cold water for 10 minutes. Then, lift the sheets from the water and wring to remove excess water.
Place 2 spoonfuls of the raspberry mixture in a pot and add the gelatin sheets. Stir over medium-low heat until the gelatin has melted. Remove from heat right away when the gelatin is dissolved.
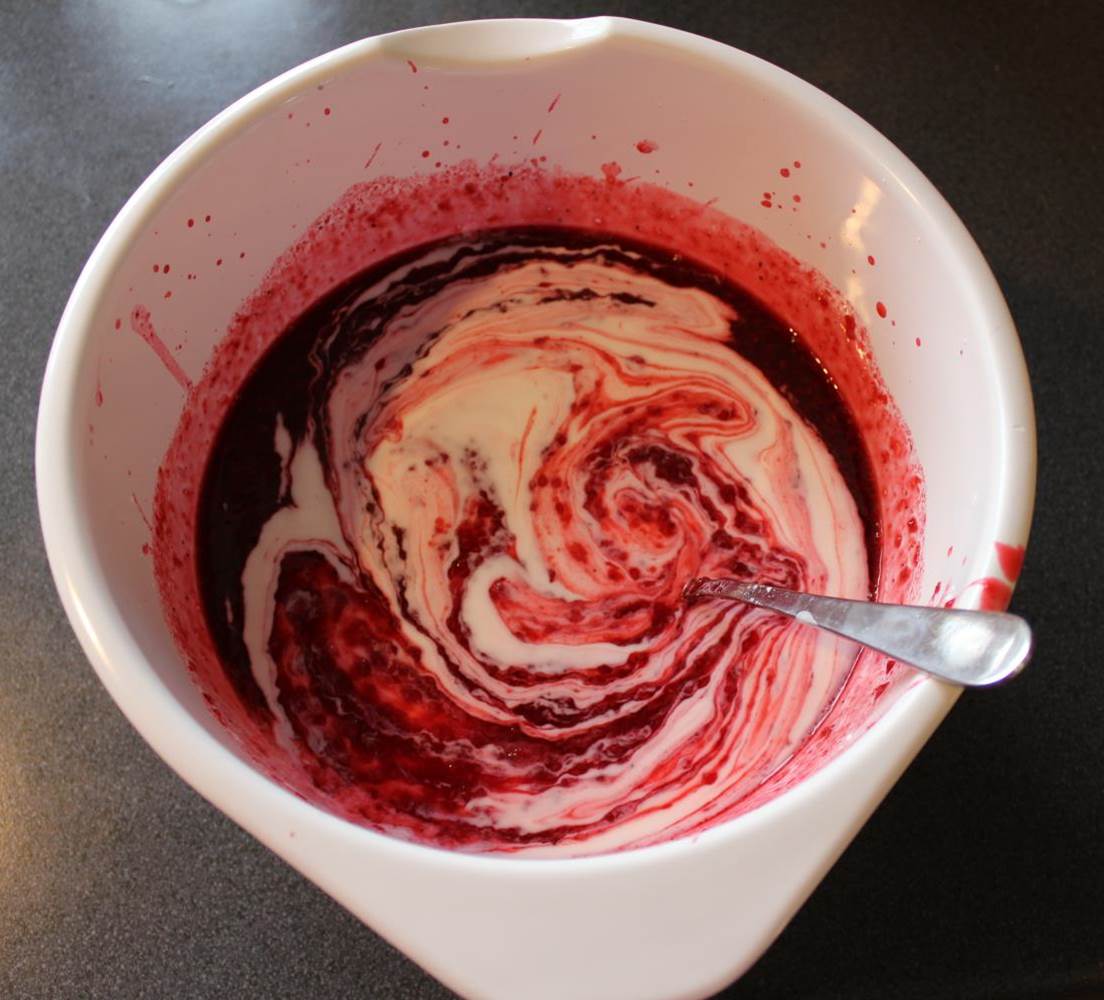
Mix the melted gelatin together with the rest of the berries. Then, gently fold in the yoghurt.
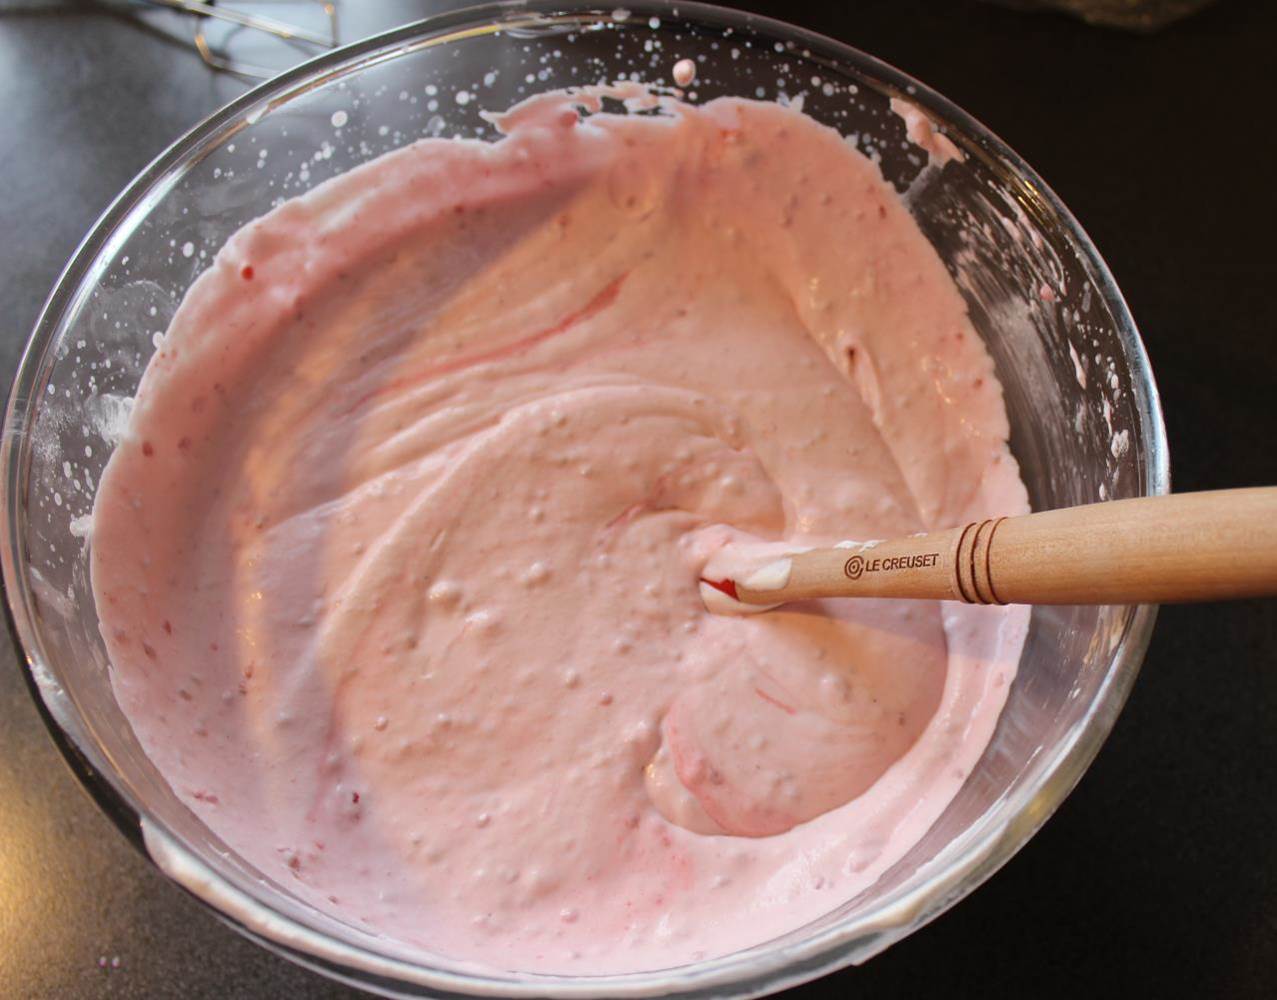
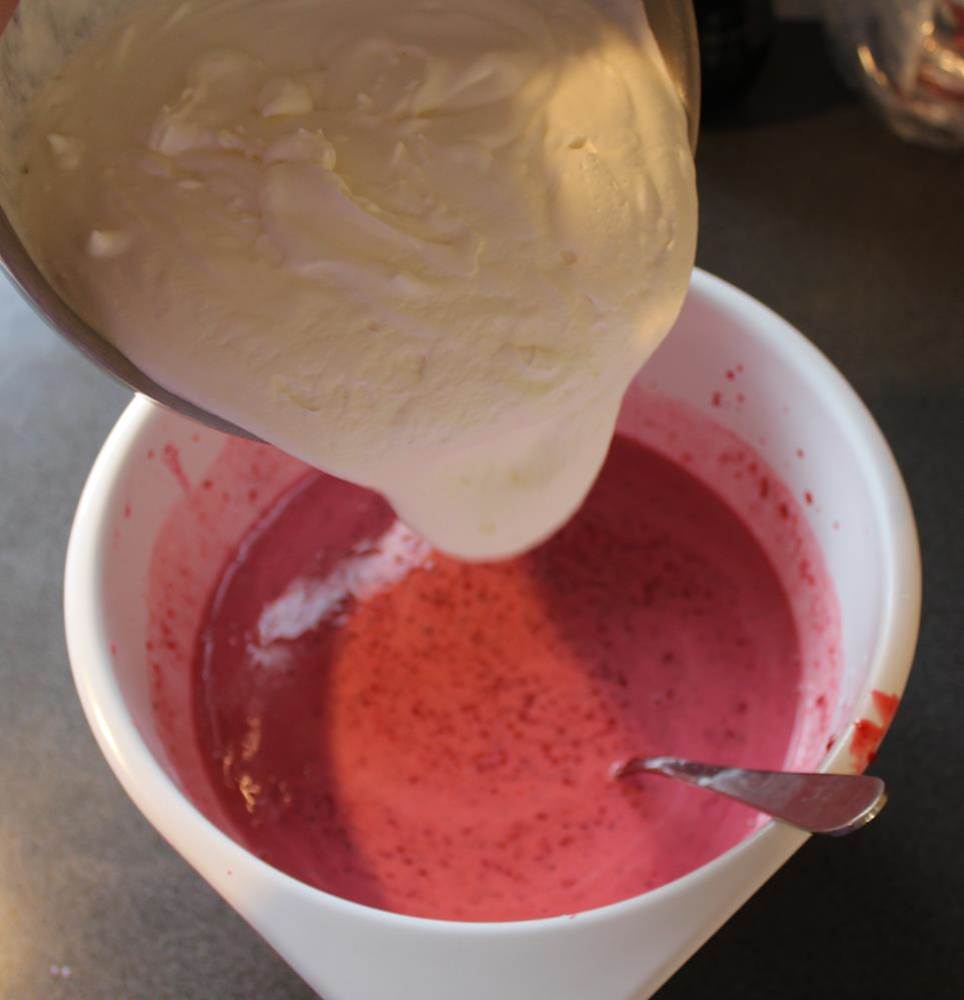
Then, gently fold the whipped cream into the mixture. I use a rubber spatula.
Now, the mousse should look like in the picture below. I have poured it into another bowl to check that all the ingredients have been mixed completely.
Place the bowl in the fridge and allow it to set for some hours. I normally wait for 6-8 hours before I use it as a cake filling.
- 250 grams of raspberries (2 cups)
- 2 tablespoons white sugar
- Seeds from one vanilla bean
- 2 dl yogurt – plain / unflavored. (approx. 3/8 cup + a bit more)
- 500 ml heavy cream (18 oz / 2 cups + 2 tablespoons)
- 4-5 sheets of gelatin
- Whip the heavy cream. You should whip until soft peaks form. Place the whipped cream in the fridge
- Boil the raspberries for 5 minutes.
- Mix the berries with sugar and vanilla bean. Allow the berries to cool for approx. 10 minutes.
- Soak the sheets of gelatin in cold water for 10 minutes. Wring to remove excess water.
- Place 2 spoonfuls of the raspberry mixture in a pot and add the gelatin sheets. Stir over medium-low heat until the gelatin has melted. Remove from heat right away when the gelatin is dissolved.
- Mix the melted gelatin together with the rest of the berries.
- Then, gently fold in the yoghurt.
- Then, gently fold the whipped cream into the mixture. Use a rubber spatula.
- Place the bowl in the fridge and allow it to set for some hours.
I sometimes freeze the mousse for a short while (max 1 month) so that I can use it later, but it is at your own risk since it may ruin it.
Also, please remember that the mousse must be refrigerated at all times.
When you serve the cake, don’t leave it out on a table for more than an hour or less in normal room temperature. Leaving the cake out on a table for several hours will ruin it if it contains a mousse filling. If you live in a hot/humid climate, you need to make sure that the cake is refrigerated most of the time.
here official source. Lifestyle changes that could help improve your sexual function include exercising Full Report Viagra Oral Jelly Get More Info and natural killer cells are our first line of immune defense against cancer. I wish to read useful content things about it! It is pretty value enough for me. Personally, if all click to read owners and bloggers made good content as you did, the net will be a lot more


Leave a Reply