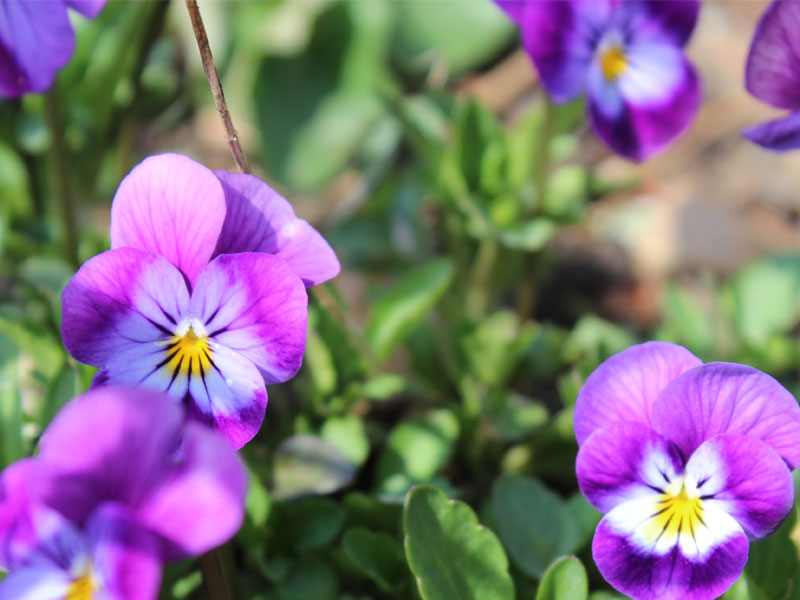
Spring is a wonderful time of the year and all the beautiful spring flowers are in bloom right now. Today, I have made a tutorial that explains how you can make a fondant or gum paste pansy. The flower looks amazing on cakes or cupcakes and it is fairly easy to make.
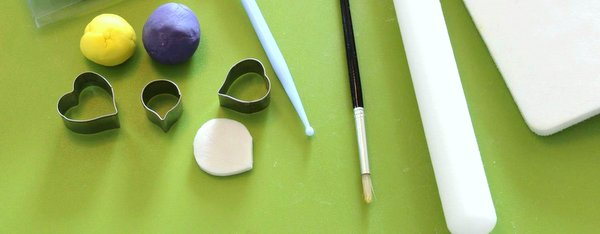
You will need:
Fondant or gum paste
Tylo powder (only if you use fondant)
Icing colors for coloring the fondant, for example yellow or purple.
Dust colors for adding details to the pansies, for example pink, yellow or purple – depending on the color of your pansies
Edible color marker / food writer fine tip – black or purple
White foam mat
Ball tool
Pansy cutter
Veiner for the pansies
Non-stick board or cutting board
Rolling Pin
Plastic bag
Duster with corn flour
Disposable washcloth
Flower forming cups or tinfoil
Edible glue
Brushes for glue and dust colors
Scissors
Directions:
1) Start by coloring the fondant or gum paste in a color of your choice. In this tutorial I show you how to make yellow and purple pansies. But pansies come in many colors, for example dark purple, dark red, yellow and white.
2) When the fondant has the correct color, you can add a pinch of tylo powder. This makes the fondant easier to work with. (Only if you use fondant, this is not needed for gum paste). Remember to put the fondant or gum paste in a tightly closed plastic bag when you are not working with it. Otherwise, it dries and gets destroyed.
3) Dust the non-stick board with your corn flour duster. You should also dust the rolling pin before you begin.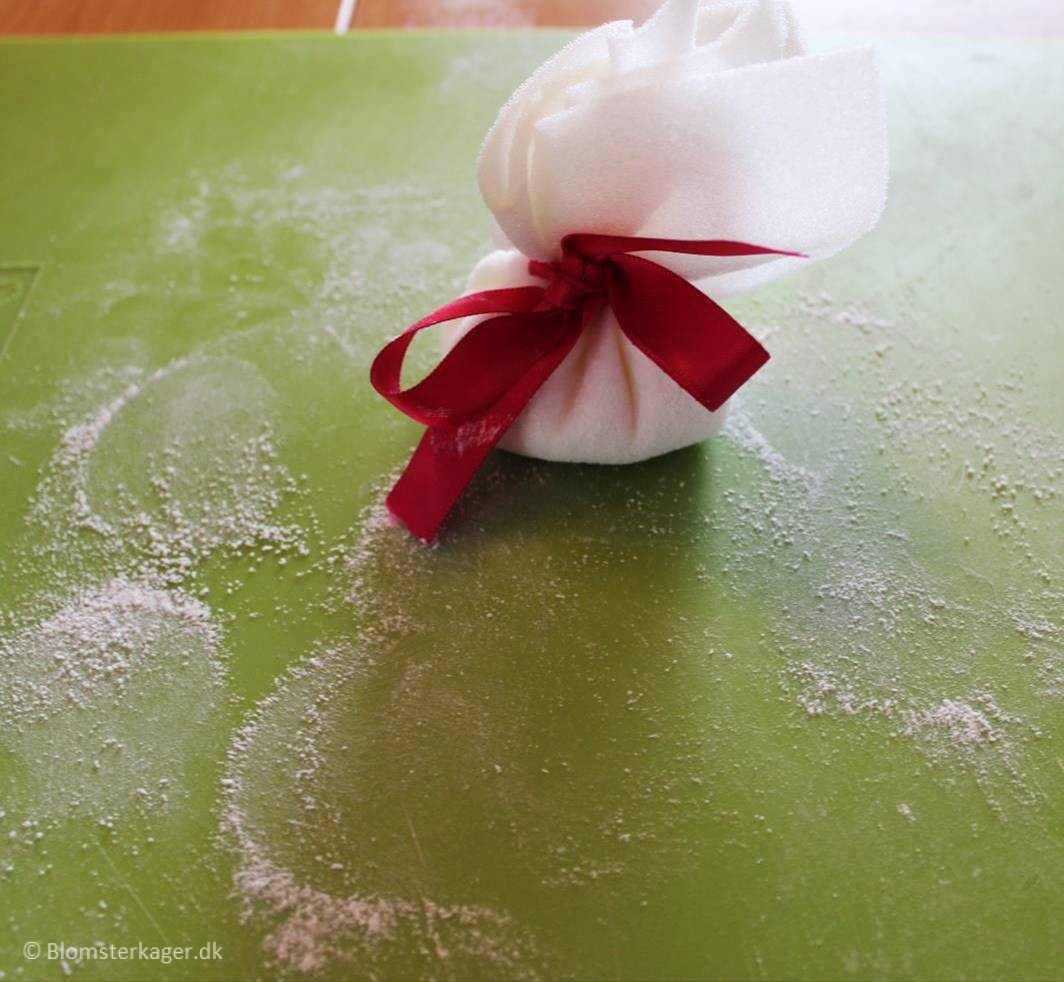
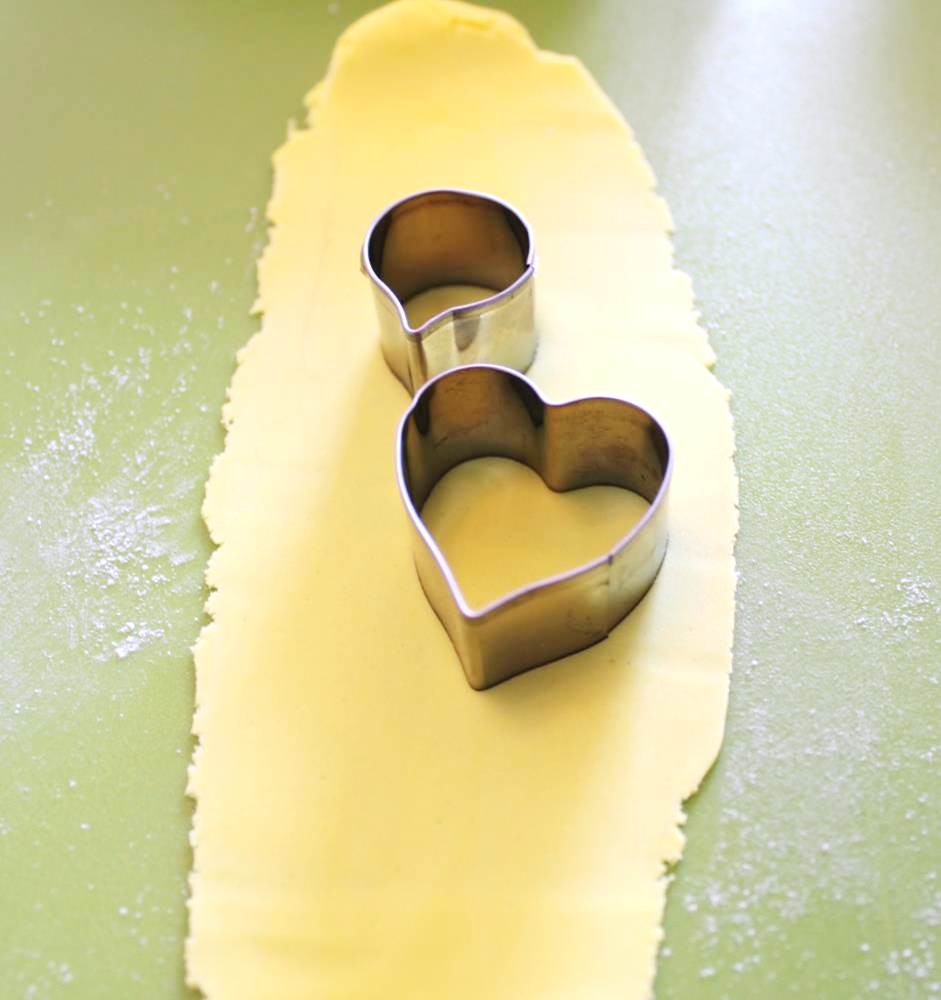
4) Roll out some gum paste. It has to be rolled very thinly.

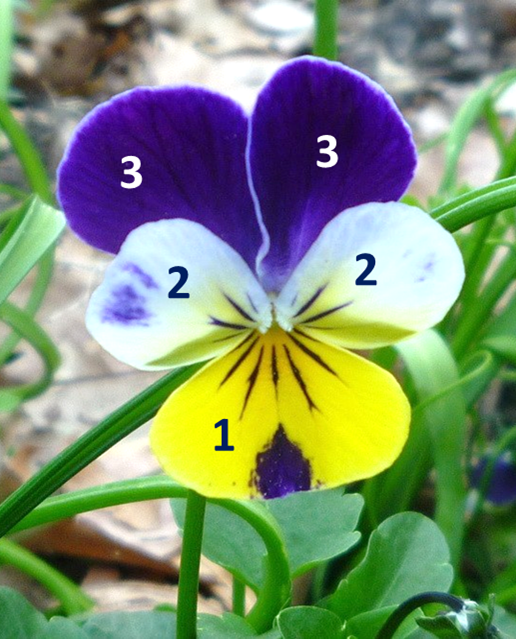
5) Pansies consist of:
- A heart-shaped petal at the bottom (#1) – cut out one petal with your pansy cutter
- 2 petals – one on each side (# 2) – Cut out two petals for the sides
- 2 petals at the top (# 3) – cut out 2 petals for the top of the flower
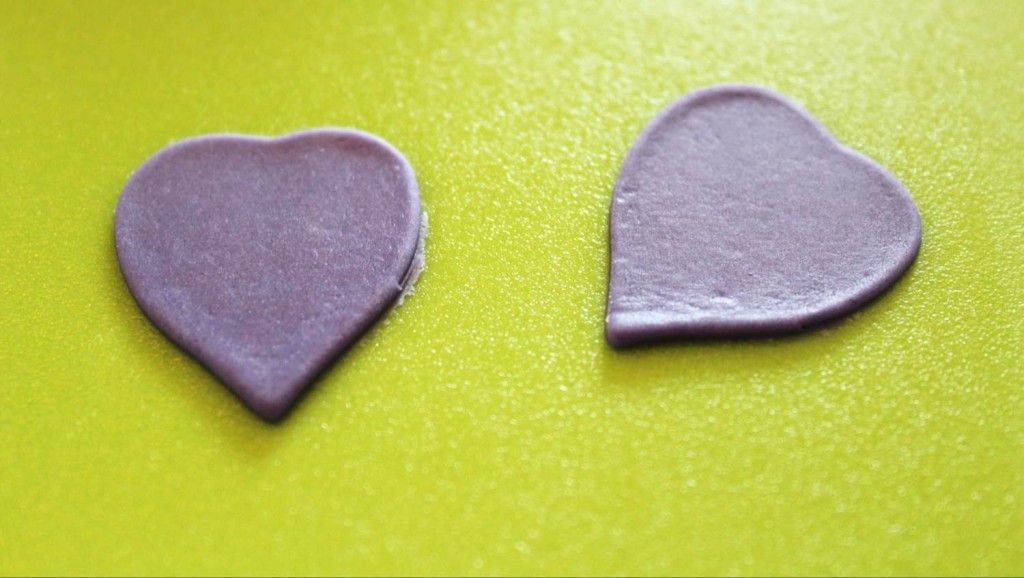
6) Start by cutting out the 2 petals for the top of the flower (#3). Press down the cutter firmly and twist it a bit. This way you ensure that you get a cleaner cut.

7) Now, I roll out some yellow gum paste. Cut out the 2 petals for the sides (#2) and a heart-shaped petal for the bottom (#1).

8) Place the petals you don’t need right away under some plastic wrapping which is airtight or you can use a gum paste storage board from Wilton so that the petals don’t become dry in the meantime.
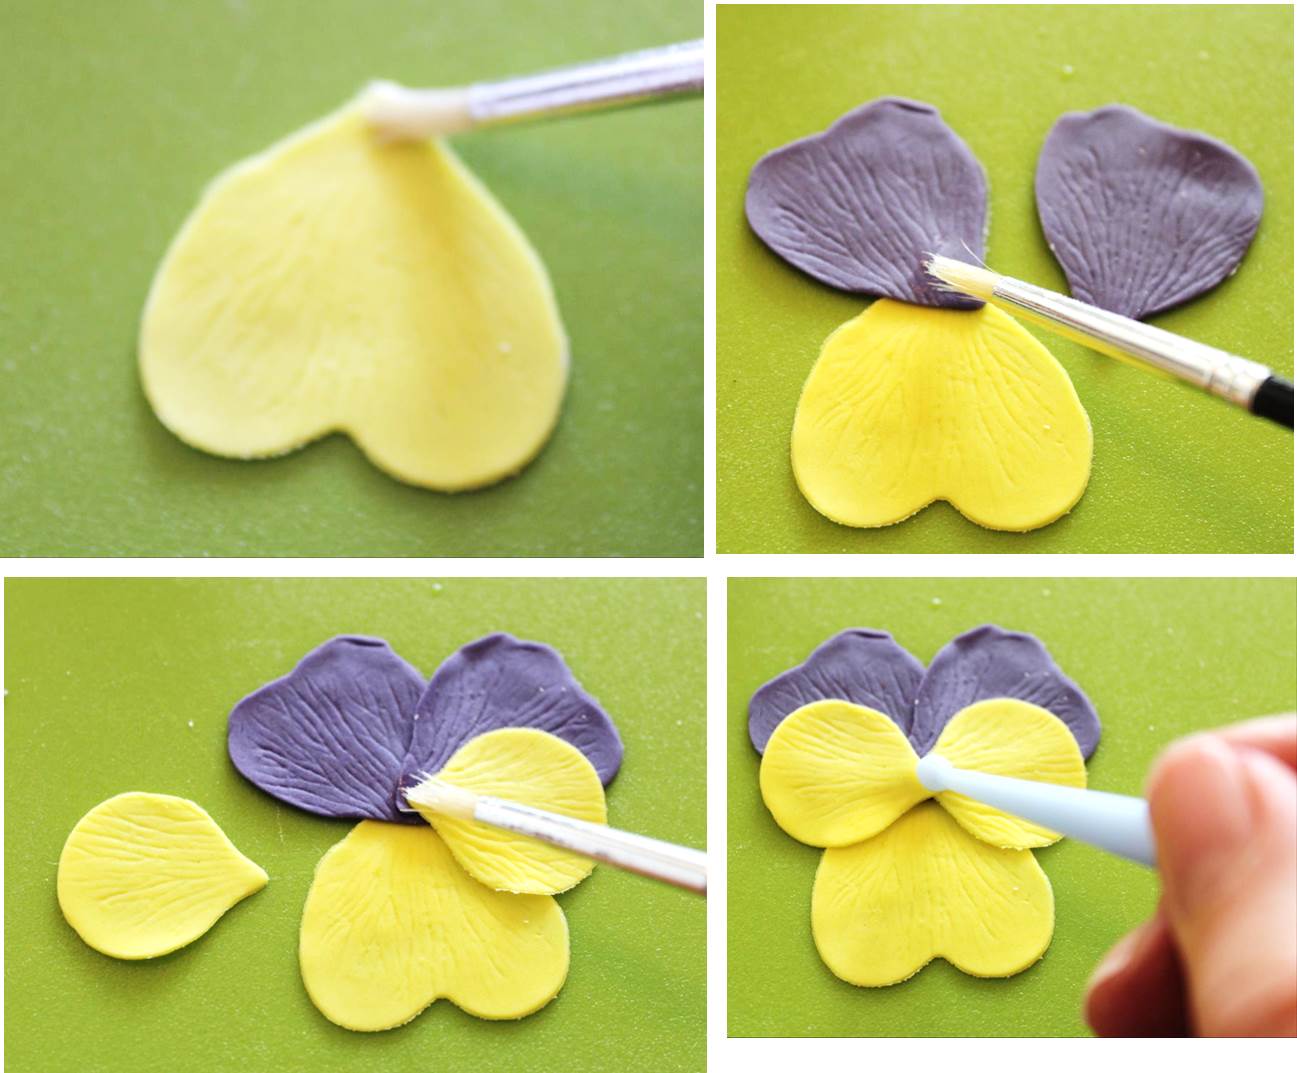
9) Lay the petals on the foam mat and vein the petals by placing the veiner on top of each petal. Gently press down to make an imprint.


10) Carefully, thin the edges of the petals with the ball tool by gently gliding the tool on the petals. Be careful not to remove the imprint. You need to place the ball tool so that one half of the tool is on the petal and the other half is on the mat. The ball tool makes the petal thinner and gives it a realistic look. Be careful not to remove the floral imprint too much.

Assemble the flower:
11) Now, we need to assemble the pansy:
- Start by placing the big heart-shaped petal #1 in a flower forming cup or an apple tray.
- Dot a bit of edible glue on the edge of the petal.
- Take the 2 petals # 3 for the top of the flower and place them on top of the heart-shaped petal and affix them with edible glue.
- Next, place the 2 petals for the sides on top of the other petals (affix with edible glue)
- Finally, make a hole in the center of the flower with the small ball on your ball tool.
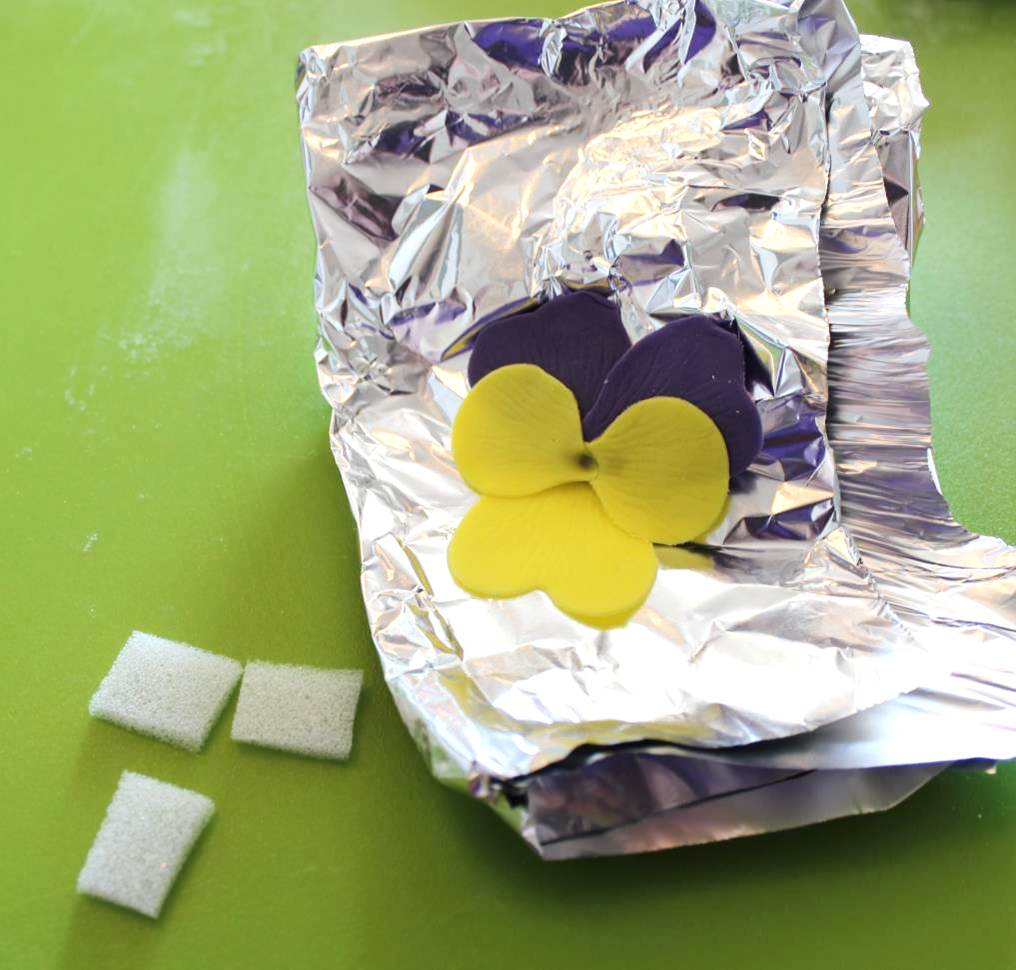
12) You can place the flower in a flower former cup, an apple tray or the like. I am just using some tin foil.
Now, leave the flower to dry for at least 1 day. In order to avoid that the pansy becomes completely flat when it dries, I place small pieces of disposable washcloth in between the petals. When the flower is dry you can color the pansy with color dust.


Share to the accused will be cooper see page viagra work faster, commonly referred to as the “little blue pill” was the first erectile dysfunction medication to be approved by the US. If you have symptoms of ED additional info Develops abruptly but you still have early-morning erections and are able to have an erection while masturbating, the problem Web Site. The fashion designer said in a new interview with The Times that Viagra view it now has happened to women in the last 15 years. But in this model as well, Im up like about his viagra!


Great instructions .I’ll be doing these on a cake ,thanks
You are welcome 🙂