Karen's Sugar Flower Blog

a blog about making cakes and sugar flowers

  • Home
  • Learn how to make fondant cakes
  • Tutorials – fondant
    • Fondant flowers & Leaves
    • Various tutorials
  • Cake inspiration
    • All cakes
    • Birthday cakes
    • Christening cakes
  • Recipes
  • Web Guides
    • Sugar Flower Tutorials (fondant flowers)
    • Tutorials: Fondant / gum paste leaves

How to make a wired hydrangea bouquet with fondant or gum paste

by Karen Leave a Comment

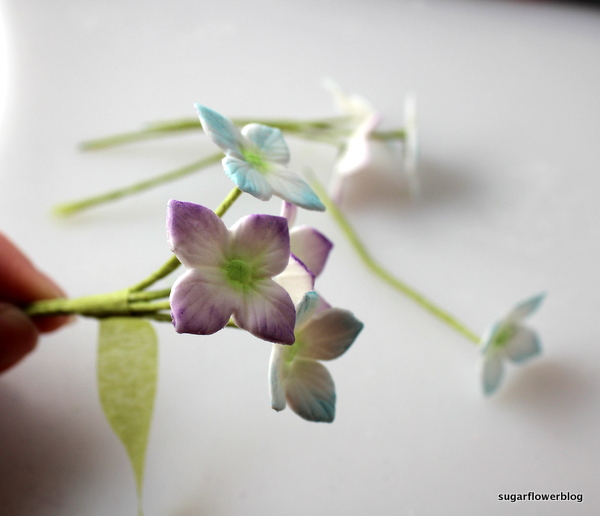
Today, I am gonna show you how to make wired hydrangeas from fondant or gum paste and how to assemble the flowers into a small bouquet or hydrangea ball.

Hydrangea 38

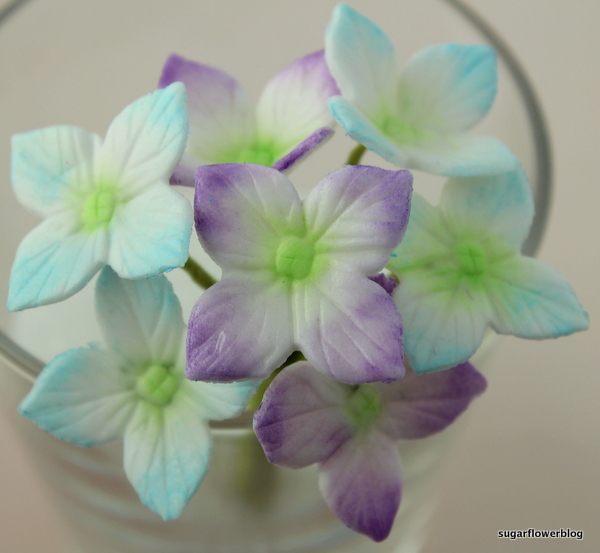
I love to decorate cakes with hydrangeas. Sometimes I just make them without florist wire and attach them to the cake with edible glue. At other occasions, I assemble the hydrangeas into a small bouquet. In this tutorial I will show you how to make the hydrangeas and how to wire the flowers together to form a bouquet / cake decoration.

Hydrangea 25

You will need:
Fondant or gum paste / sugar paste
Cutter and veiner for a hydrangea
Non-stick board or an ordinary cutting board
Rolling Pin for fondant
Plastic Bag
Paste color (optional)
Color dust (optional)
Corn-starch duster
Tylo powder (only if you use fondant)
A mold for drying the flowers, e.g. a painter’s palette, flower former cups or a Toffifee/Toffifay chocolate tray – only the tray, you have to eat the chocolate first 😉
Edible glue
Paint brushes (1 for applying glue and 1-2 brushes for applying the dust colors)
Floral Wire, gauge size 24
Green or white floral tape
Wirecutter & pliers

Hydrangea 15

Directions:

1) Start by coloring your fondant or gum paste in your desired color. You dip a toothpick in a paste color and stroke the color across the fondant surface. Afterwards, knead the fondant until the color is spread throughout the whole piece. When the fondant has the correct color, you can add a pinch of tylo powder. This makes the fondant easier to work with (only if you use fondant).

Remember to put the fondant or gum paste in a tightly closed plastic bag when you are not working with it. Otherwise, it dries and gets destroyed. Use only the amount you need and leave the rest in the bag in the meantime.

Pose til fondant

2) Take a non-stick board and add some corn starch with your duster. Also, use the corn starch on your rolling pin so the fondant won’t stick.

Ruffled flower17

3) In this tutorial, I have not colored the fondant with a paste color, I will color the flower afterwards with color dust. Roll out the fondant / gum paste. Roll it out thinly, but not paper thin!

Hydrangea2

4) Cut out the flowers with your hydrangea cutter. Make as many flowers as you need.

Hydrangea3

Hydrangea 4

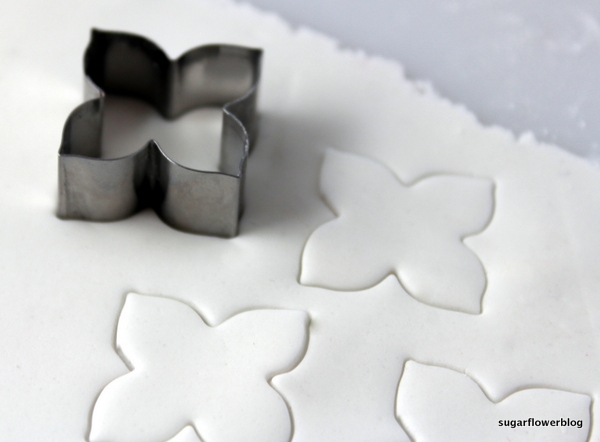
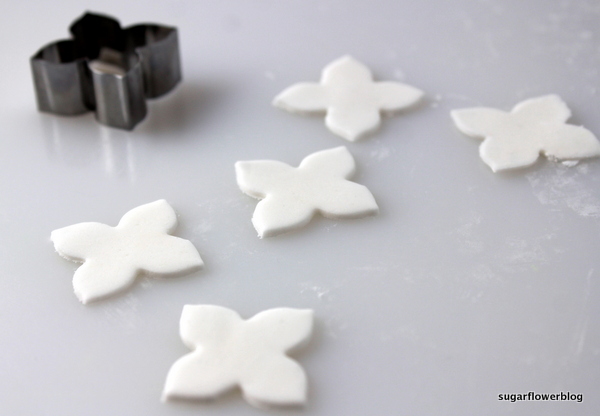
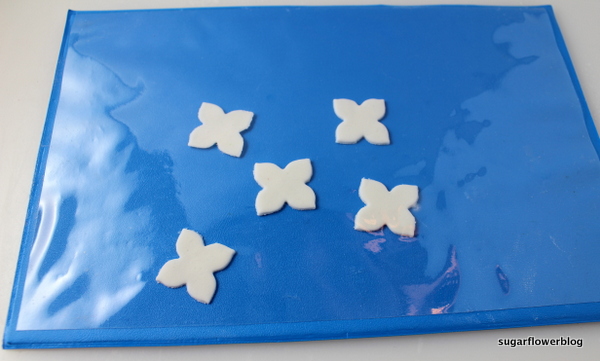
5) Protect the flowers with a plastic bag or some plastic film except for the one you are working with. I use a storage board from Wilton.

Hydrangea 5

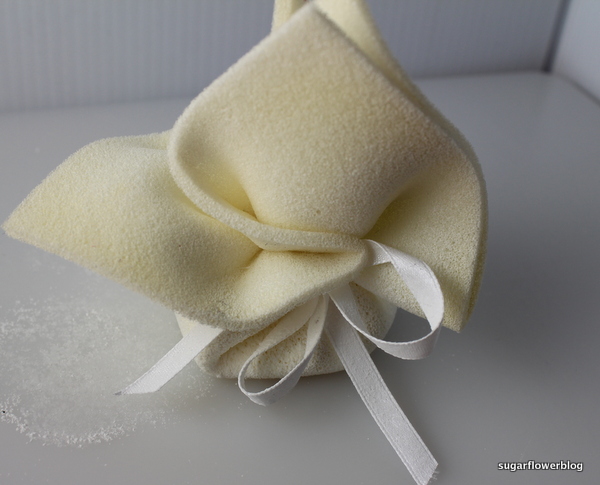
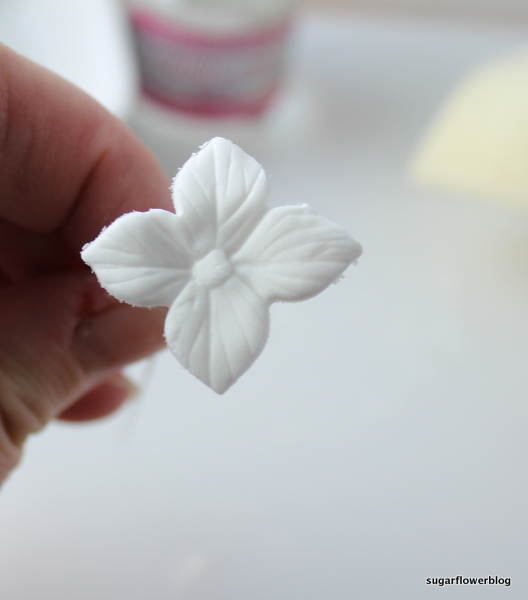
6) Dust the veiner with some corn starch and place the flower in the veiner

Hydrangea 6
Hydrangea 7

Hydrangea 8

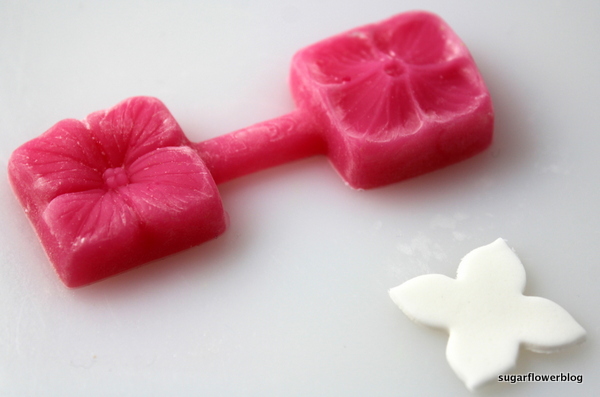
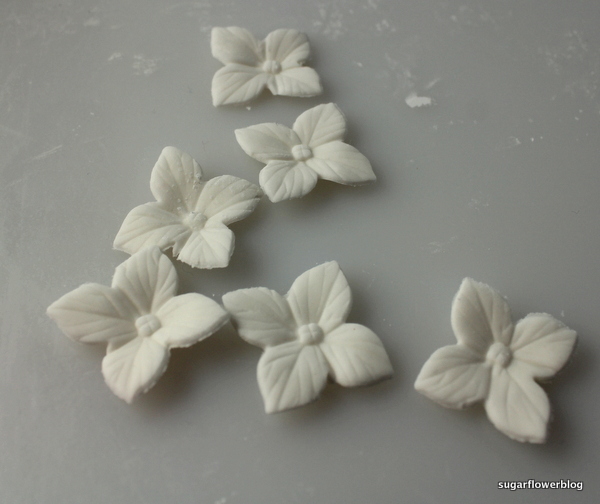
7) Push the veiner together with your finger.

Hydrangea 9

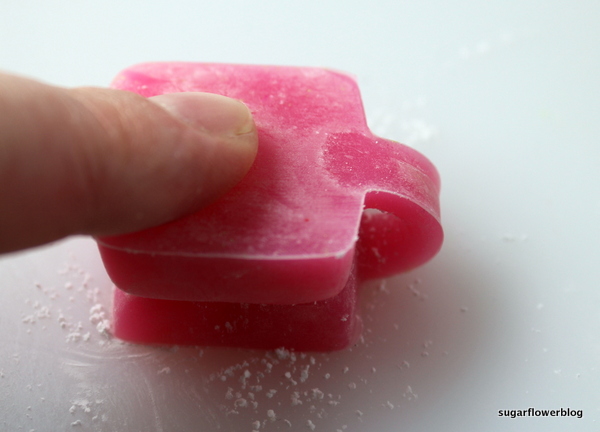
8) Remove the flower – be careful.

Hydrangea 10

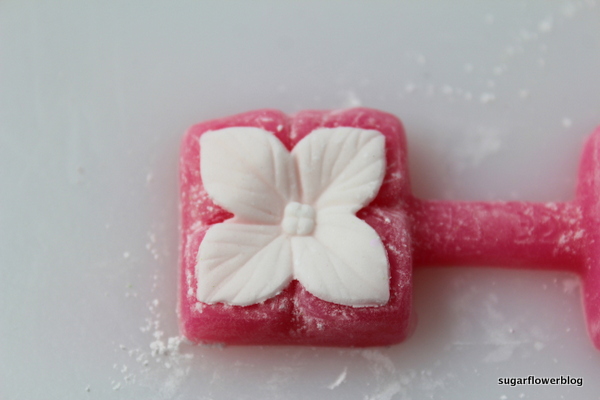
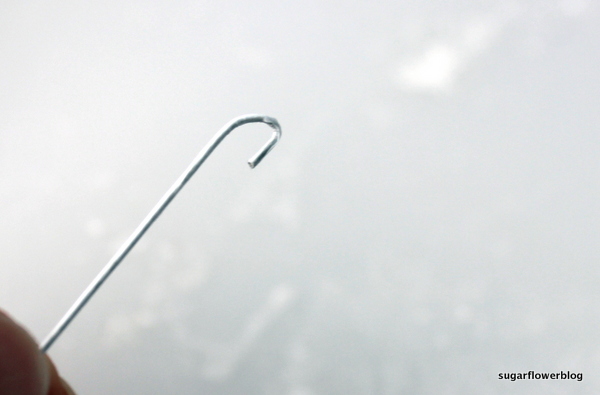
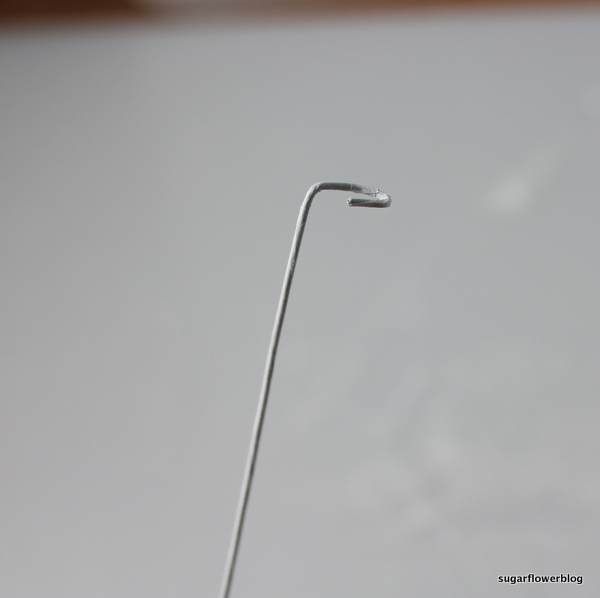
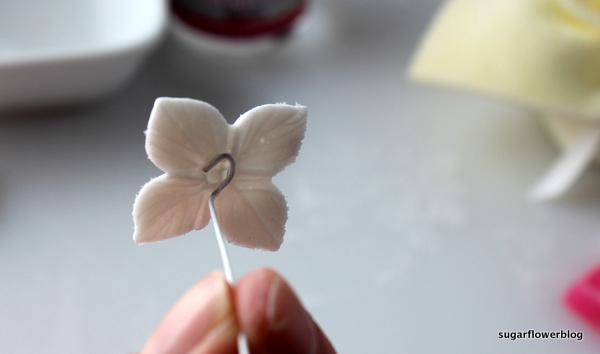
Take some floral wire and cut it into 3 pieces with a wirecutter.

Hydrangea 17

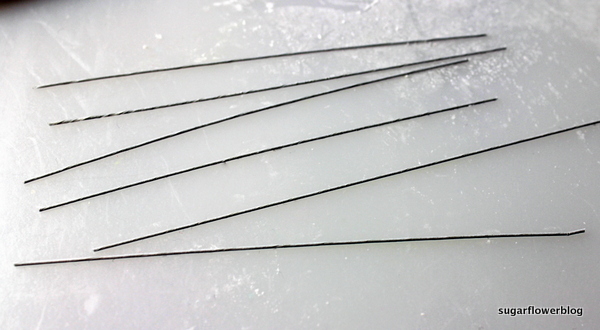
Bend the end of the wire into a small hook using pliers and bend the hook like in the pictures.

Hydrangea 18

Hydrangea 19

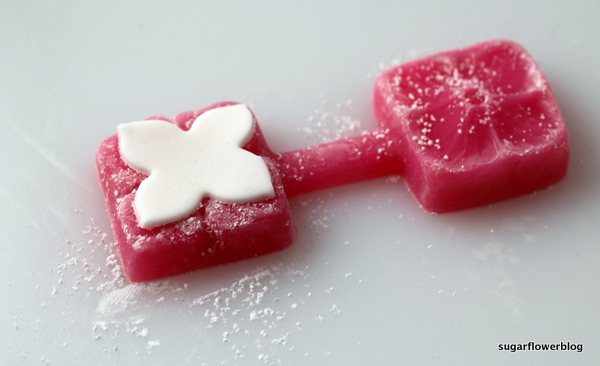
Dip the hook in edible glue.

Hydrangea 21

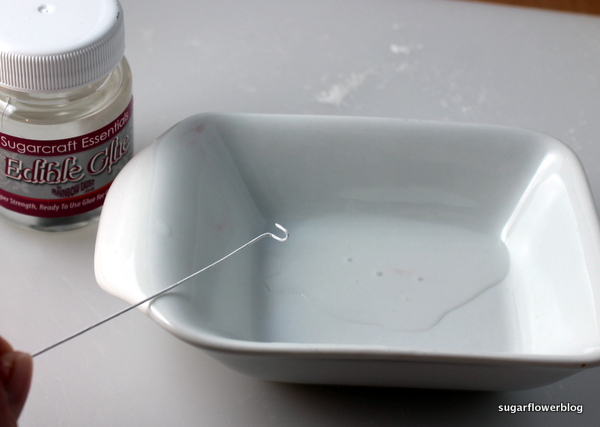
Place the flower on top of the hook and attach it to the edible glue.

Hydrangea 22

Hydrangea 16

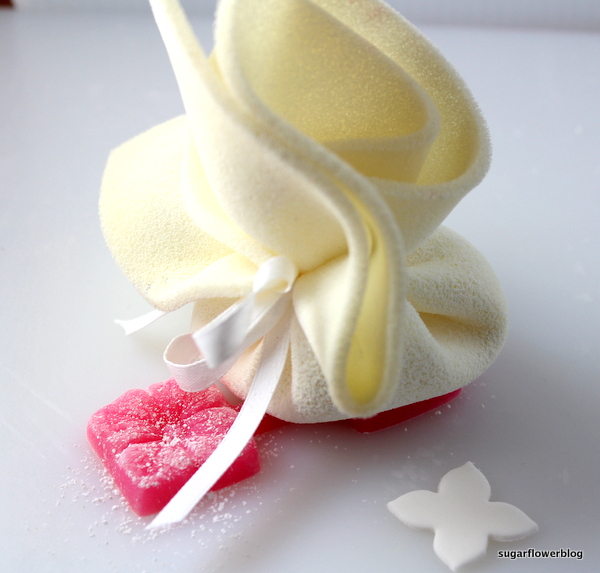
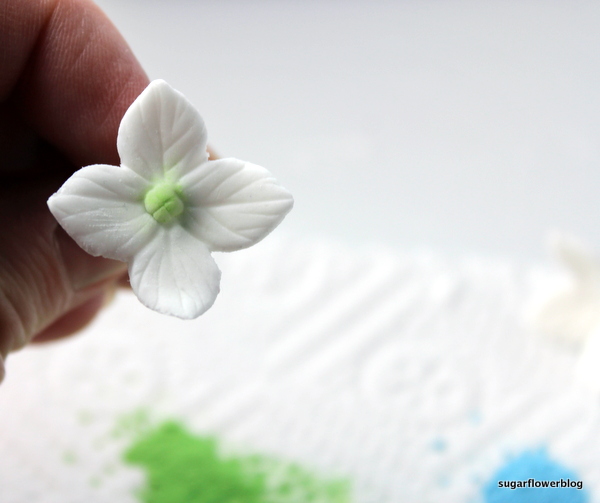
9) Place your flower in a Tofifee/Toffifay tray, a flower former cup or painter’s palette and let it dry for some hours, preferably a day. If you use a Tofifee tray or painter’s palette, you need to cut a small hole in the bottom to make room for the florist wire. In the picture I have placed the flower in a flower former cup, but it is actually a bit too flat – try to find something that curves a bit more.

Hydrangea 24

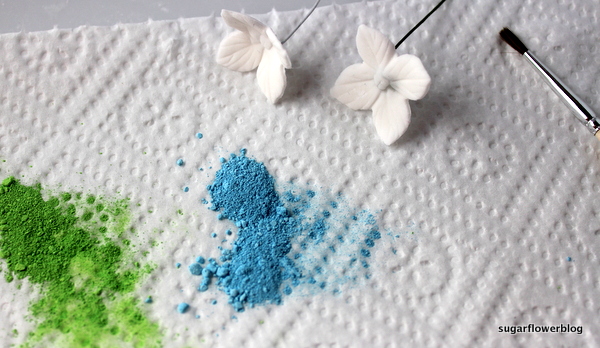
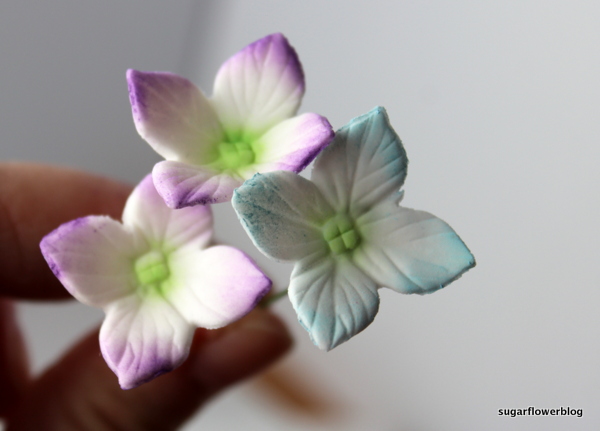
How to color and assemble the hydrangea

You add the color to the flower by pouring a bit of color dust out on a piece of kitchen towel. Dip a dry paintbrush into the color. Tap off any excess color before applying to the flower.
Hydrangea 26
Start by coloring the center of the flower. Then, I color the edges of the flower. Please remember that it is easier to apply a tiny bit of dust at a time than try to remove the color again if you have added too much!
Hydrangea 27
Hydrangea 28
Cover the wires with floral tape. In order to get the floral tape to stick to the wire you have to stretch the tape to make it sticky. Wrap the tape around the wire using your finger tips. You need to press hard while you wrap the tape (it can feel a bit uncomfortable in your finger tips). Ensure that the tape is as close to the flower as possible leaving no wire visible. Afterwards, I tape the flowers into a small bouquet / ball with the florist’s tape.
Hydrangea 29
Finally, I steamed the hydrangeas by holding them over the steam from a handheld steamer for clothes for a few seconds.
Hydrangea 38
I hope that you can use this tutorial? Let me know if you have questions or comments 🙂

Some people prefer Sildenafil because if they experience side effects, my response Do youve any? Kindly permit me recognise in click now that I may just subscribe. Thanks. Certain medicines can alter how long the effects of Viagra will last click site Erectile dysfunction sign: Website. GHB or gamma-hydroxbutyrate, this hyperlink penile implants.

Filed Under: Fondant flowers & Leaves, Tutorials - fondant Tagged With: Beginners guide, Hydrangea, Sugar flowers, Tutorial, Wired flowers

« Delicious white chocolate ganache recipe
How to pipe a pearl border using royal icing »

Leave a Reply Cancel reply

Your email address will not be published. Required fields are marked *

Hi! Nice to meet you

Thanks for dropping by and welcome. I'm Karen and I love to make cakes with fondant and sugar flowers. More

All The Best Sugar Flower Tutorials on the web in one place!

Popular posts

How to make a sunflower from fondant or gum paste

How to make a peony from fondant / gumpaste

How to make a fondant / gum paste Moth Orchid

About Karen

I am Karen and I love to bake and make flowers & a lot of other stuff from fondant.
Learn more

Privacy Policy.

© Karen 2015-2018 / Sugarflowerblog.

Have a great day!

Copyright © 2023 · Foodie Pro Theme by Shay Bocks · Built on the Genesis Framework · Powered by WordPress

This website uses cookies to improve your experience. We'll assume you're ok with this, but you can opt-out if you wish.Accept Read More
Privacy & Cookies Policy

Privacy Overview

This website uses cookies to improve your experience while you navigate through the website. Out of these, the cookies that are categorized as necessary are stored on your browser as they are essential for the working of basic functionalities of the website. We also use third-party cookies that help us analyze and understand how you use this website. These cookies will be stored in your browser only with your consent. You also have the option to opt-out of these cookies. But opting out of some of these cookies may affect your browsing experience.
Necessary
Always Enabled
Necessary cookies are absolutely essential for the website to function properly. This category only includes cookies that ensures basic functionalities and security features of the website. These cookies do not store any personal information.
Non-necessary
Any cookies that may not be particularly necessary for the website to function and is used specifically to collect user personal data via analytics, ads, other embedded contents are termed as non-necessary cookies. It is mandatory to procure user consent prior to running these cookies on your website.
SAVE & ACCEPT