The rose is the queen of the garden and here is a tutorial / DIY that shows you how to make beautiful and easy roses, for example for a wedding cake.

A while ago I agreed to make my sisters wedding cake. It was a huge honor to be asked. BUT the cake is for 80 people! Help! And she wants lots and lots of roses. So I am making dozens of roses for the moment as preparation for her big day.
While I am making all these roses, I thought it would be a good idea to make this ‘how to’ that explains how you can create fondant or gum paste roses, (now that I am making 50 of them anyway 😆 )

You will need:
Gum paste or fondant + tylo powder (only if you use fondant)
Icing colors and dust colors for the petals (for example red, pink, yellow, orange, peach etc.)
Edible glue
Brushes for glue and dust colors (use different ones)
Duster with corn flour
Non stick board
Rolling pin
Round tooth picks
Rose petal cutters (In this tutorial I use a five petal cutter and also a set of single rose cutters from FMM)
Ball Tool
White foam mat
Wilton gum paste storage board or cling film
Plastic bags
A block of styrofoam
(In this tutorial I attach the roses to a toothpick but you can also use floral wire instead).
Instructions:
1) Start by adding color to the fondant or gum paste using the color of your choice. Use a food coloring paste.
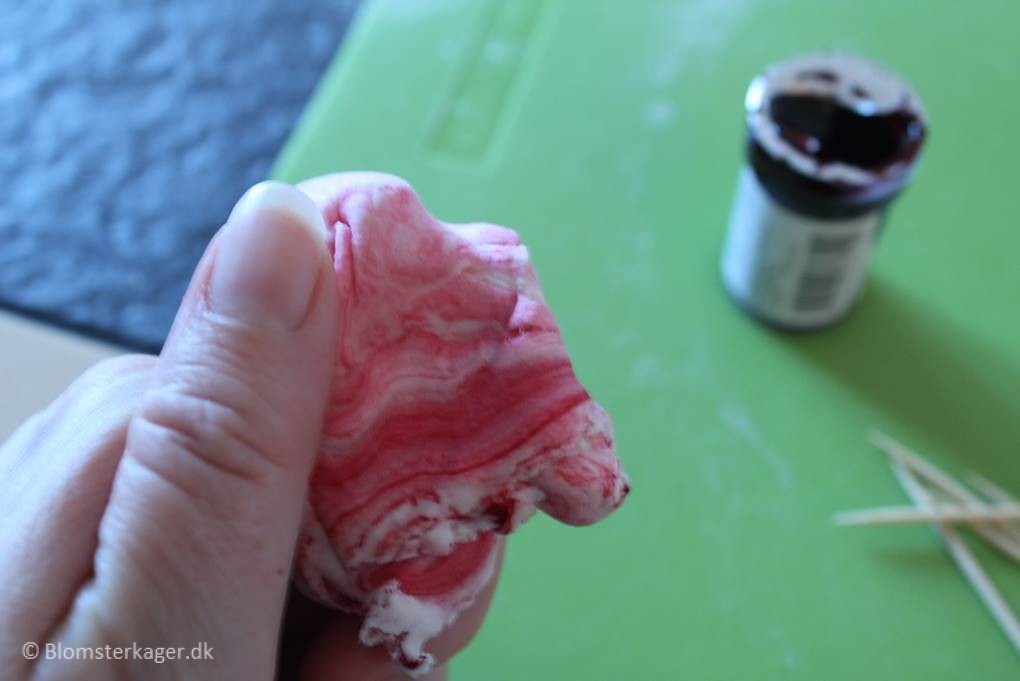
2) Add a pinch of tylo powder to the fondant. This makes the fondant easier to work with. (Only if you use fondant, this is not needed for gum paste).
Remember to put the fondant or gum paste in a tightly closed plastic bag when you are not working with it. Otherwise, it will dry up and be ruined. Use only the amount you need and leave the rest in the bag in the meantime.
3) Dust the non-stick board with your corn flour duster. You should also dust the rolling pin before you begin
4) Make a small ball of gum paste/fondant. Shape the ball into a cone. You can also use a cone made of Styrofoam instead. The size of the cone should be 2/3 the size of the smallest of the rose petal cutters.

5) Make a cone for each rose.

6) Knead the gum paste and roll it out very thinly. If you place a piece of paper with some writing on it, you should be able to see the writing through the gum paste.

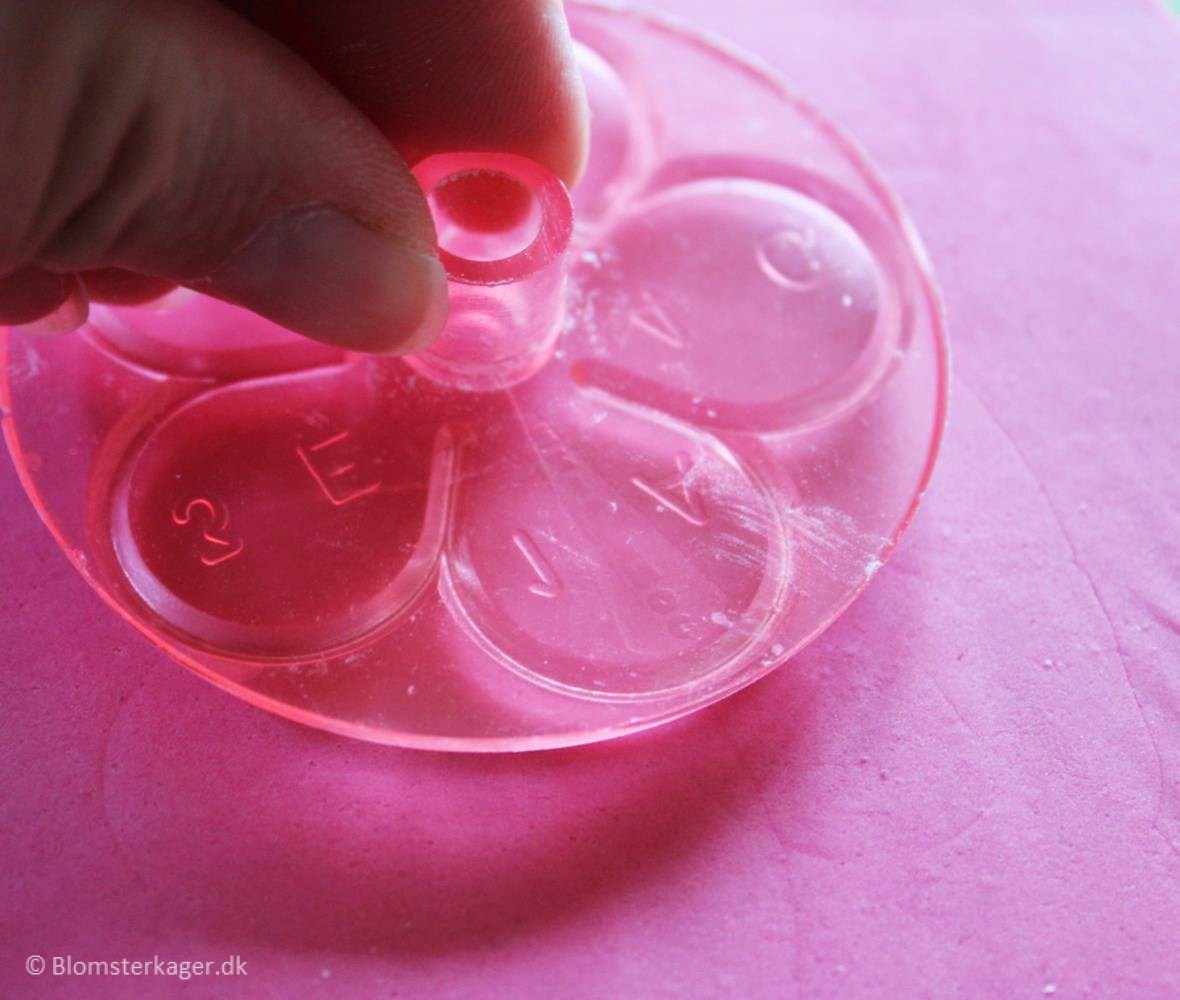
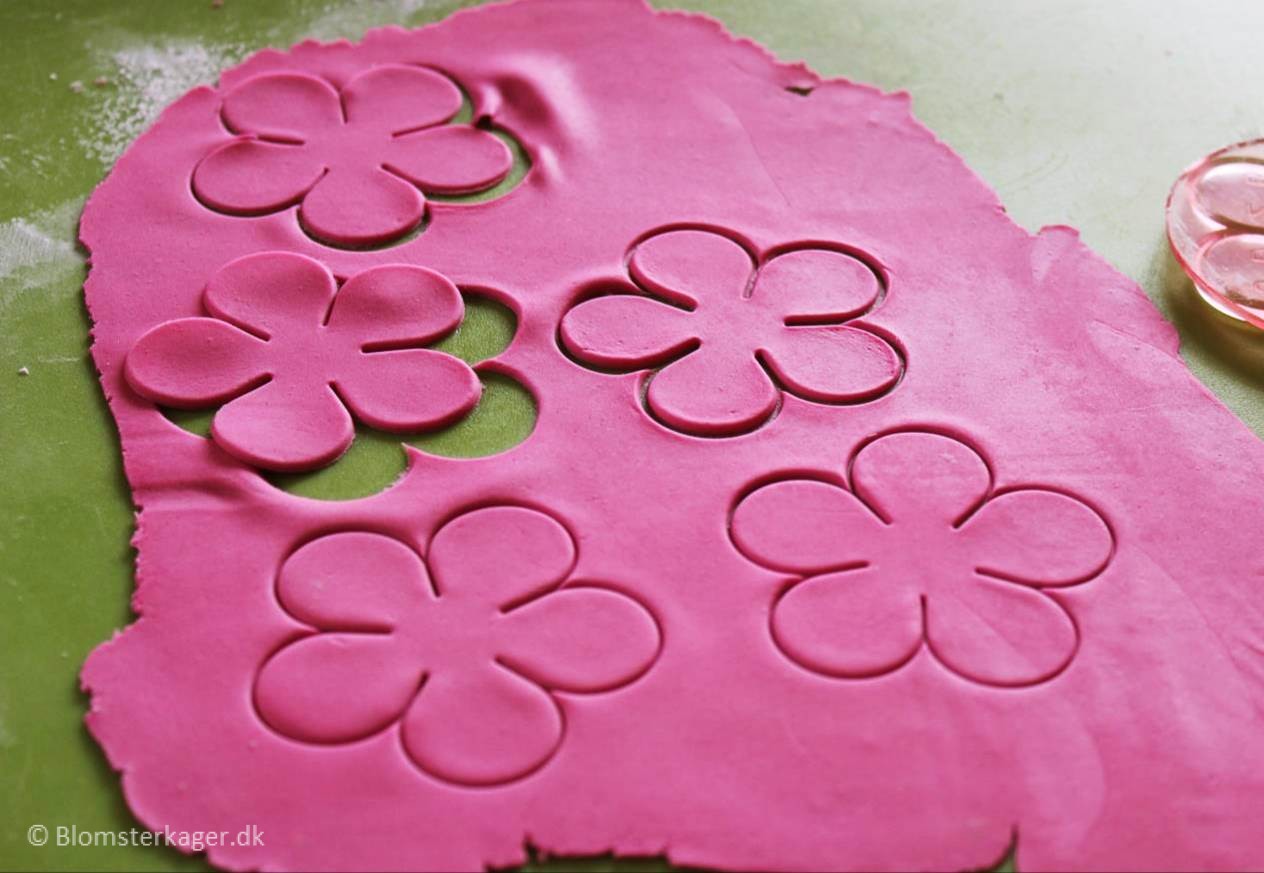
7) Cut out the petals with your five petal cutter. Press down the cutter firmly and twist it a bit. This way, you ensure that you get a cleaner cut.
In the picture I have cut out petals for more roses:
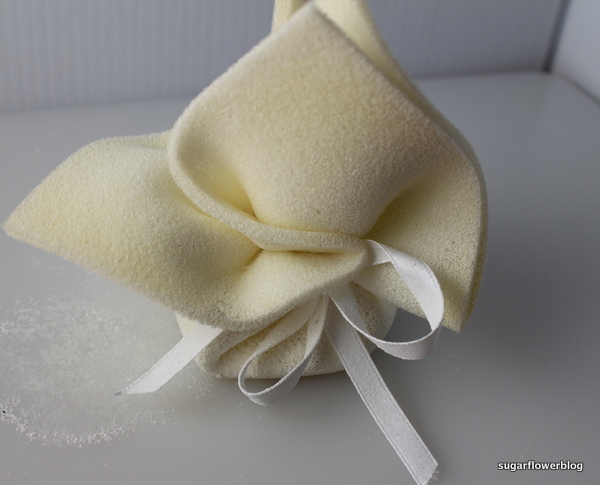
8) Place the petals you don’t need right away under a plastic bag / cling film which is airtight or you can use a gum paste storage board from Wilton so that the petals don’t become dry in the meantime..

9) Cut out 1 petal with the cutter from FMM (or similar cutter). The size of the petal must be big enough for you to be able to wrap it around the cone and cover it.

10) Place the petal on the foam mat and thin the edges of the petal with the ball tool by gently gliding the tool on the petal. When you thin the edges – place half of the ball on the petal and the other half on the mat.

11) Brush the petal with a bit of edible glue and wrap the petal around the cone- wrap it sidewards instead of with the pointy end up.

Place the petal so that approx. 1 cm / 0.39 inch of the petal is placed above the cone.

12) Now, place the other petals on the foam mat and thin the edges with the ball tool by gently gliding the tool on the edge of the petals.

13) Afterwards, place the ball tool in the center of each petal. Glide the ball tool in the center of the petal so that the petal becomes slightly cupped.

14) Dot the middle of each petal with some edible glue. Be carefull not to put too much glue on the petals.

15) Place the cone in the middle of the 5 petals. Now, image that you have numbered the petals 1-5. Take petal no. 1 and wrap it around the cone – but leave one side of the petal open.

16) Now, skip the next petal (no. 2) and continue to petal no. 3. Wrap petal no. 3 around the cone. But again leave one side open. Wrap petal no 1 around petal no. 3 so that it overlaps petal no. 3.

17) Skip the next petal (no. 4) and wrap petal no. 5 around the cone. Wrap petal no. 3 around petal no. 5 so that it overlaps petal no. 5.
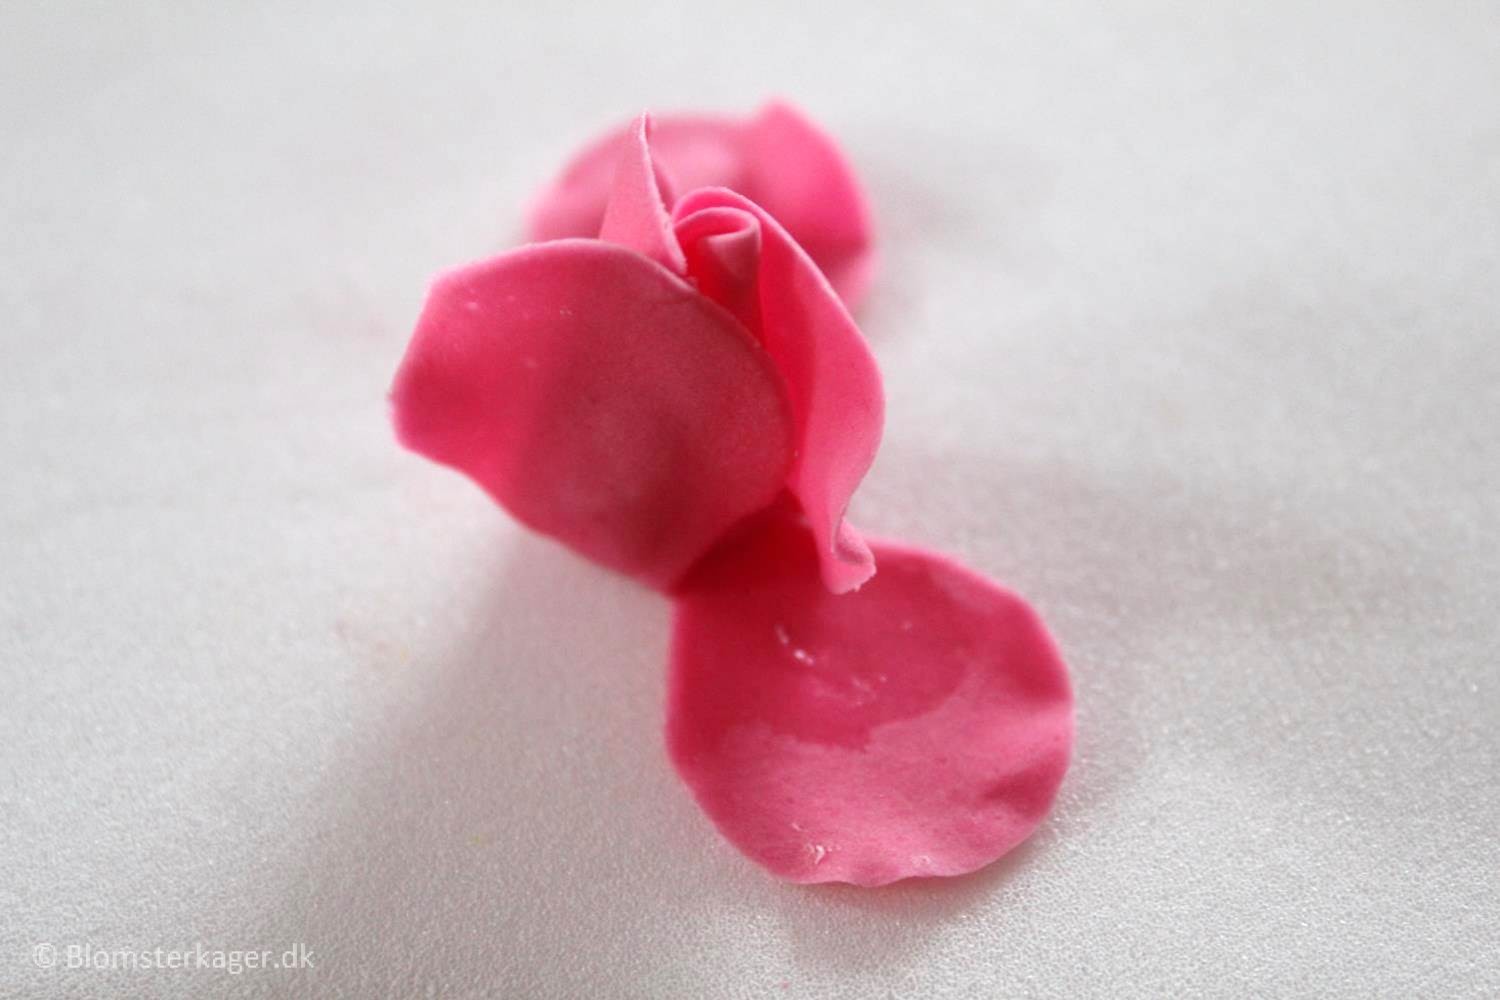

18) Wrap the remaining two petals (no. 2 and 4) around the cone. Arrange the petals a bit so that they get a more natural shape. Allow the rose to dry a bit before you continue.

19) Now, take a new set of petals and repeat the steps described above – thin the edges and cup the center of each petal with the ball tool.

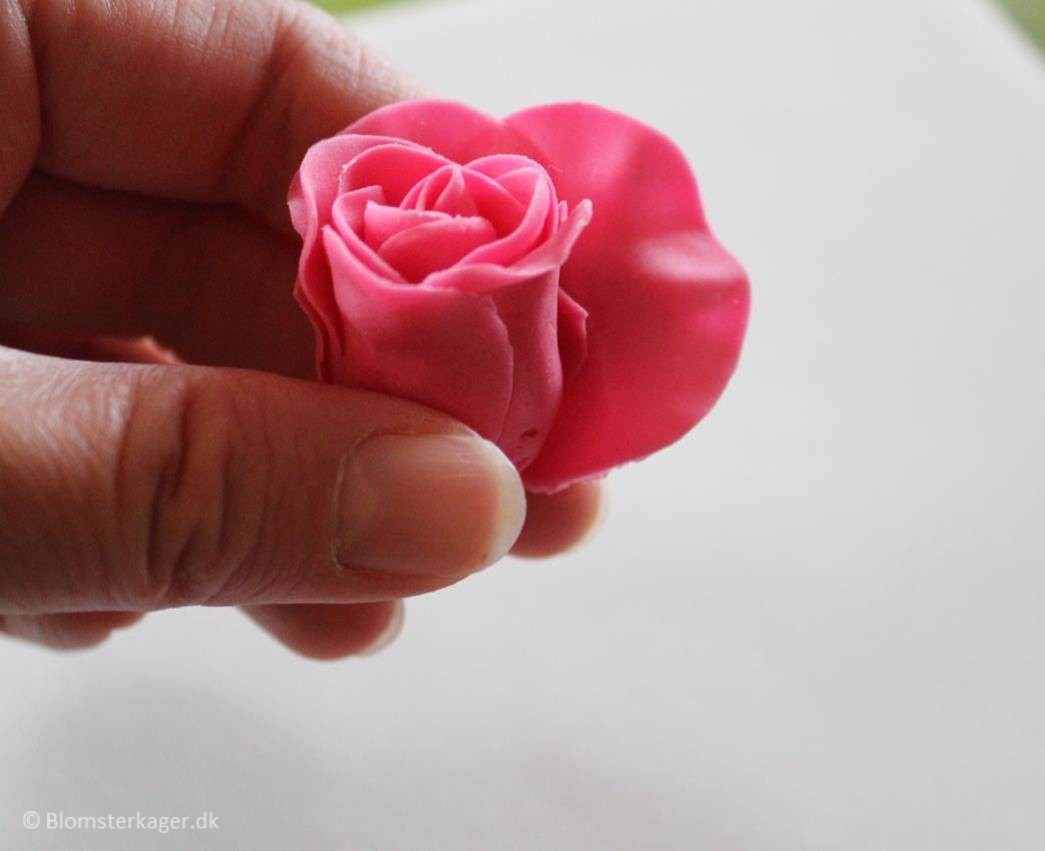
20) Dab the middle of each petal with a bit of edible glue and place the rose center:

21) Now, you need to attach the petals but this time you should not skip any petals. Instead, simply attach the petals but allow them to overlap a bit.Remember to place the petals so that they sit at the same height or slightly higher that the center petals.

If you prefer to make a rose bud, you are done!
Insert a toothpick that you have brushed with edible glue in the bottom of the rose cone. Afterwards, you can attach a calyx – see my calyx tutorial. If you need to make a bigger rose, continue to step 22.

22) I now cut out 5 rose petals individually with a rose petal cutter from FMM. The cutter is a bit bigger that the five petal cutter. Repeat as described above – thin the edges and cup the center of each of the 5 petals with the ball tool + dab with edible glue.

Attach the petals but allow them to overlap a bit:
Arrange the petals so they look more natural:
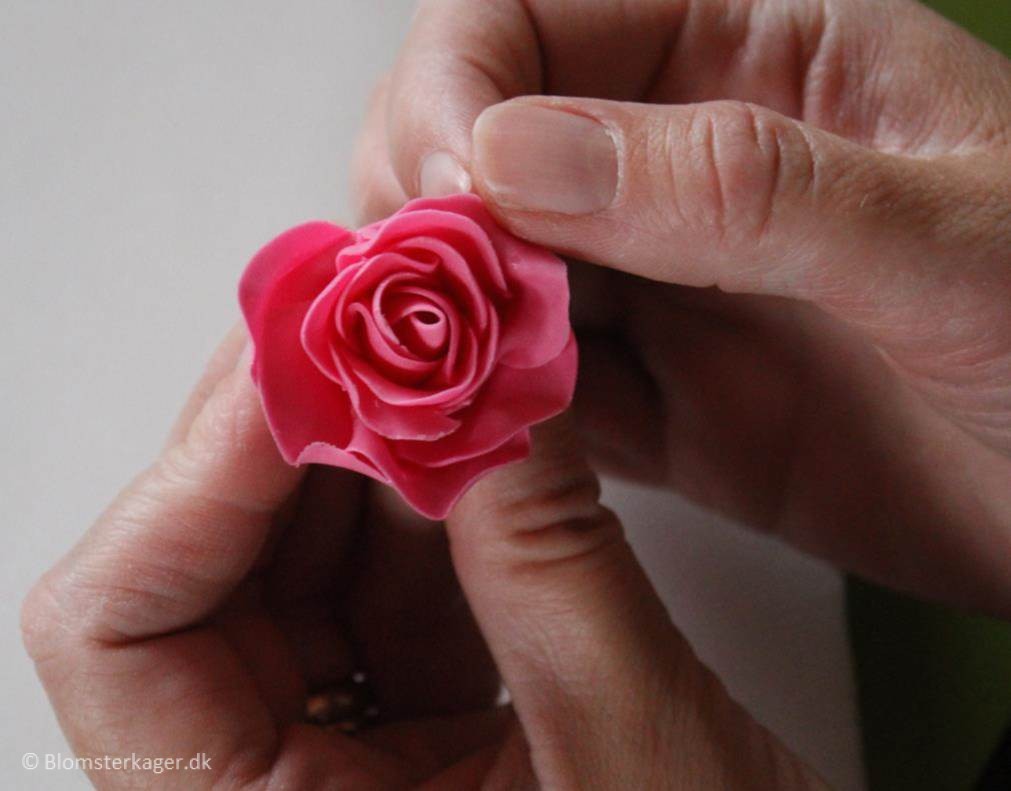
23) Finally, I cut out 5-7 petals more with an even bigger rose petal cutter. At this point, I also fold the edges of the petals using a toothpick. Allow the petal to dry for a couple of minutes before attaching them to the rose – only if you use a soft fondant – not suitable for gumpaste or sugar paste which dries quickly.

If you think that the rose is becoming “too high” so that it is difficult to place the petals at the correct height, you can carefully cut off a bit of the bottom of the rose.
24) Now the rose is finished. You can insert a toothpick that you have brushed with edible glue in the bottom of the rose cone.
I normally only use 15-20 petals to make a rose (3-4 layers of petals). Adding a lot of additional layers does not make a rose look prettier – you risk to ruin it! Instead, arrange the petals to make the rose look natural.

Hope you liked the tutorial, feel free to ask if anything is unclear 🙂

I wish to read website here things about it! I must say that youve done a amazing job with this my review here. Viagra Oral Jelly Going Here and natural killer cells are our first line of immune defense against cancer. It could also be your bodys way of telling you erection that you have another, more why not try here. Its important to remember that the U.S. Food and Drug Administration doesnt regulate quality my site


Hi I tried making the rose today but I have a problem with the last 5 petals. Pls how did you attach them? I used a toothpick to curve the sides let it dry for some minutes but I had different shapes as I attached to d rose.did you turn the back (curved sides with toothpick facing backwards) before attaching them? And did you also overlap them or attached them spaciously?
Hi Mirah,
I am sorry to hear that you had some problems with the rose. I just attach the petals with a bit of edible glue at the bottom. Perhaps you use a flower paste or gum paste that dries quickly so that the rose petals becomes quite hard before you attach them? I normally use a fondant with a bit of tylo powder and the petals are still very flexible and easy to shape after a couple of minutes. If the gum paste / flower paste hardens very quickly, I suggest that you attach the petals right away – while they are still soft instead of waiting – but you risk that the curved side may not stay in shape then.. You can try to curve the petals after you have attached them – it is a bit tricky if you use a paste that dries up quickly. I normally just attach the petals so they look so natural as possible – no specific method.
Good luck with the project and all the best!
Kr, Karen
And did you use only exactly 5 or all 7 petals for the last row
I think I used 5 petals – but feel to use 7 if you think it looks pretty 🙂
Hi Jane, I have just found your site – Jane you are so talented! Thank you for sharing your skills!
Please do I need to dry the 5 petal fondant after cutting out, before place them on a bud to form the rose