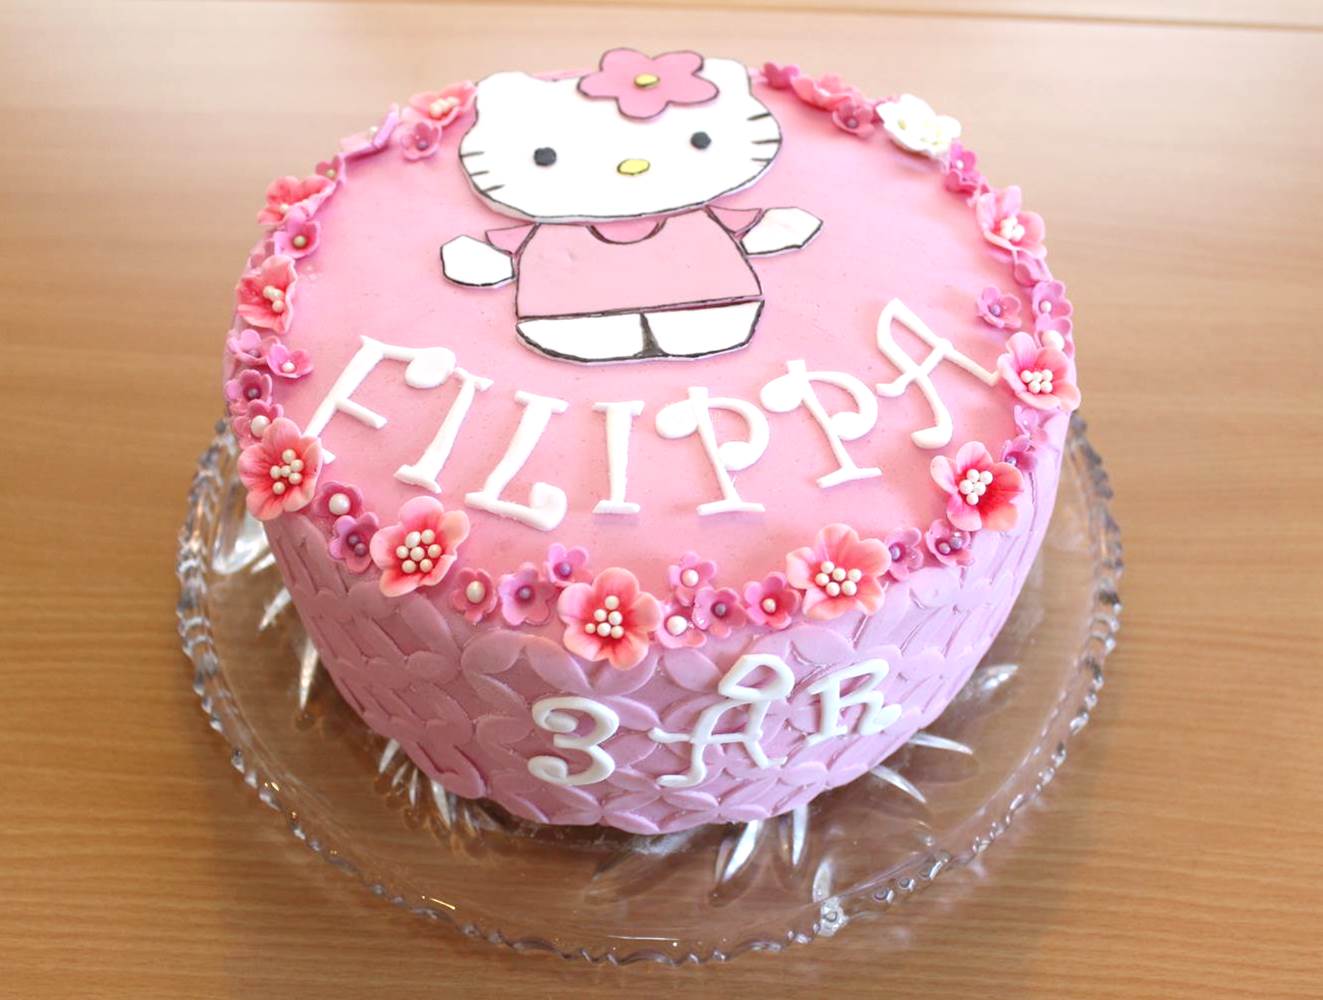
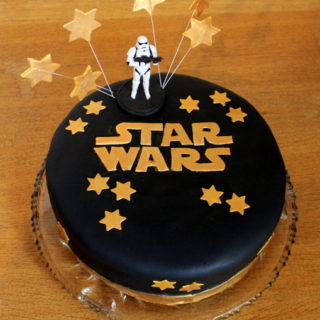
I often decorate my cakes with fondant letters. Writing on a cake makes the cake look more personal. Here is a tutorial on how to make letters from fondant or gum paste.
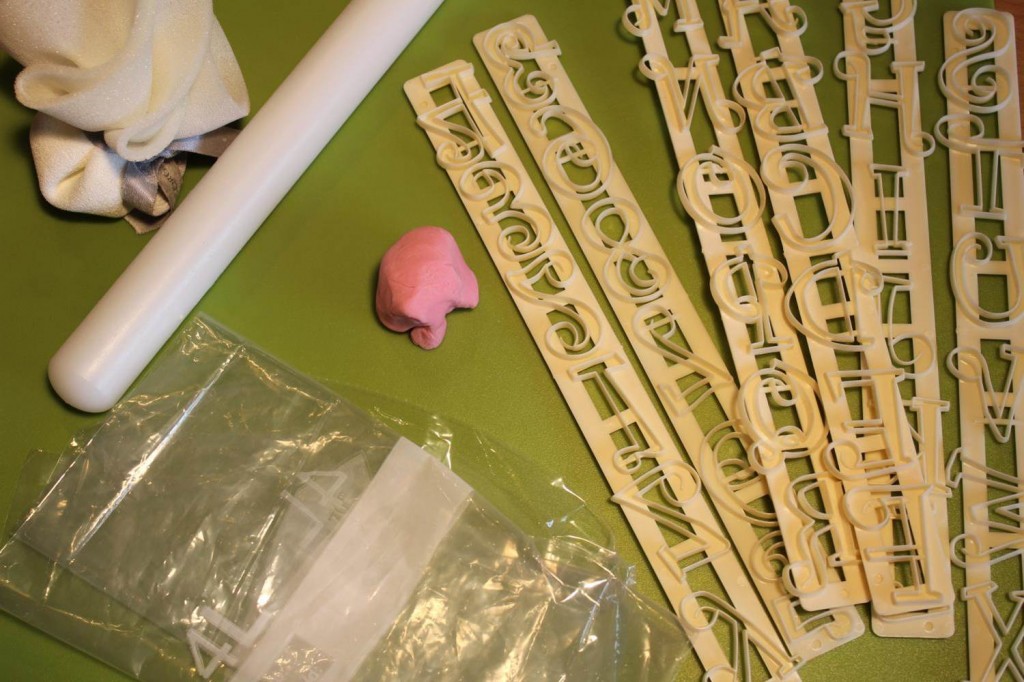
You will need:
Fondant or Gum Paste
Tylo powder (only if you use fondant)
Tappit letter cutters (for this tutorial I am using the Funky Alphabet & Numbers set from FMM)
Nonstick board or cutting board
Rolling pin
Duster with corn flour
Icing colors
Toothpicks
Edible glue
Paint brush (for applying the glue)
Small plastic bag
Glitter color dust (optional)
1) Start by adding icing color to the fondant or gum paste using the color of your choice. I normally use Wilton icing colors for coloring fondant and gum paste. You dip a toothpick in the paste color and stroke the color across the fondant surface. Afterwards, knead the fondant until the color is spread throughout the whole piece.
2) Add a pinch of tylo powder so that the fondant becomes easier to work with (if you use gum paste you don’t need the tylo powder). Please notice: If the fondant or gum paste is left on the table for a while it will dry out and become unusable. I always protect the fondant by wrapping it in a plastic bag when not in use to keep it from drying out.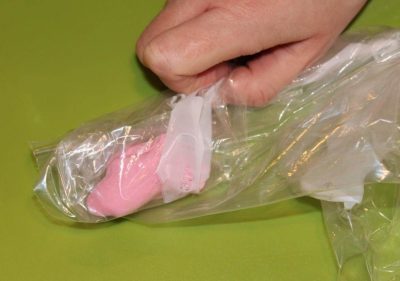
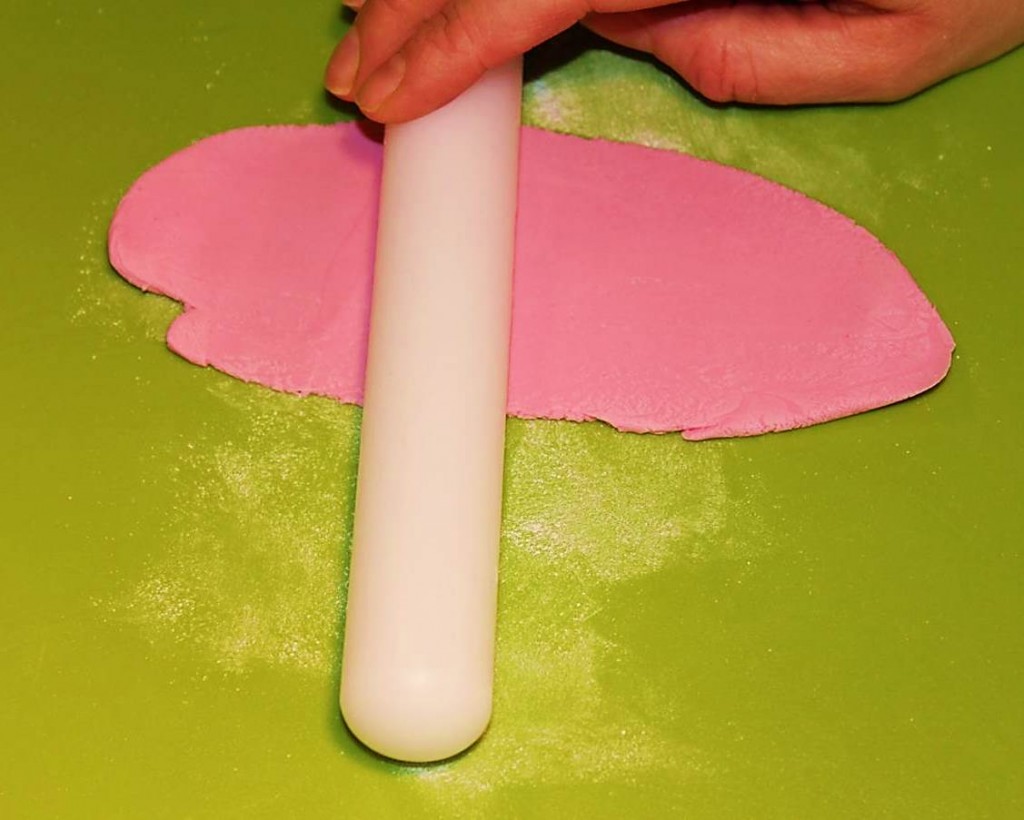
3) Dust the board with your corn flour duster. You should also dust the rolling pin before you begin.
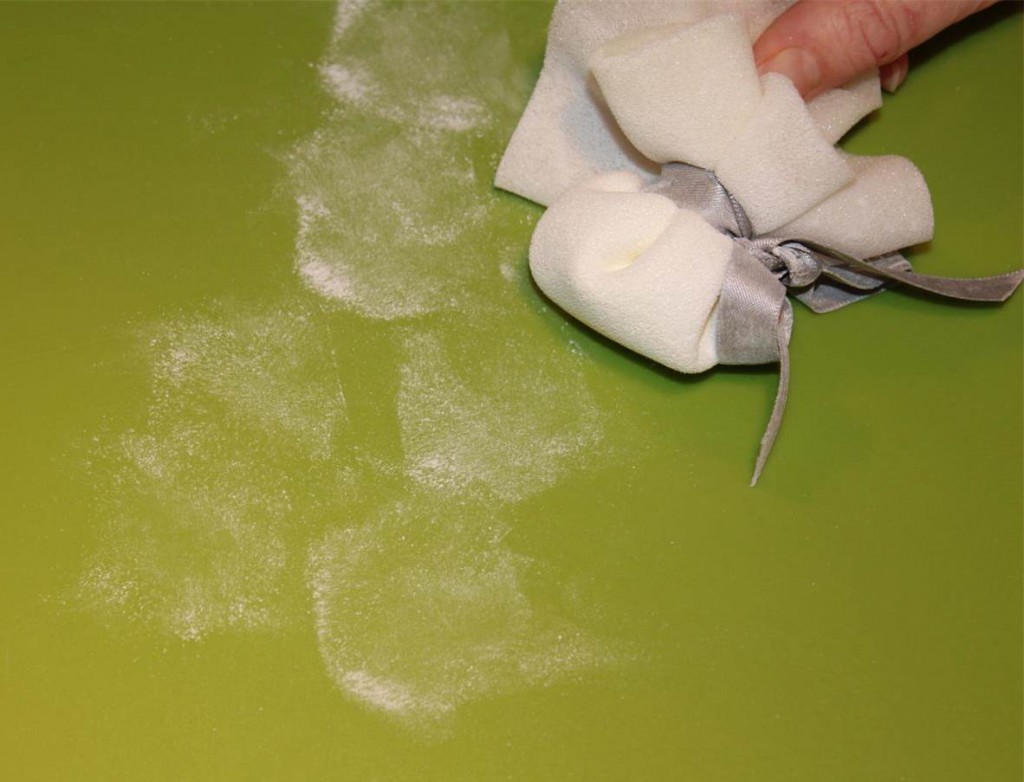
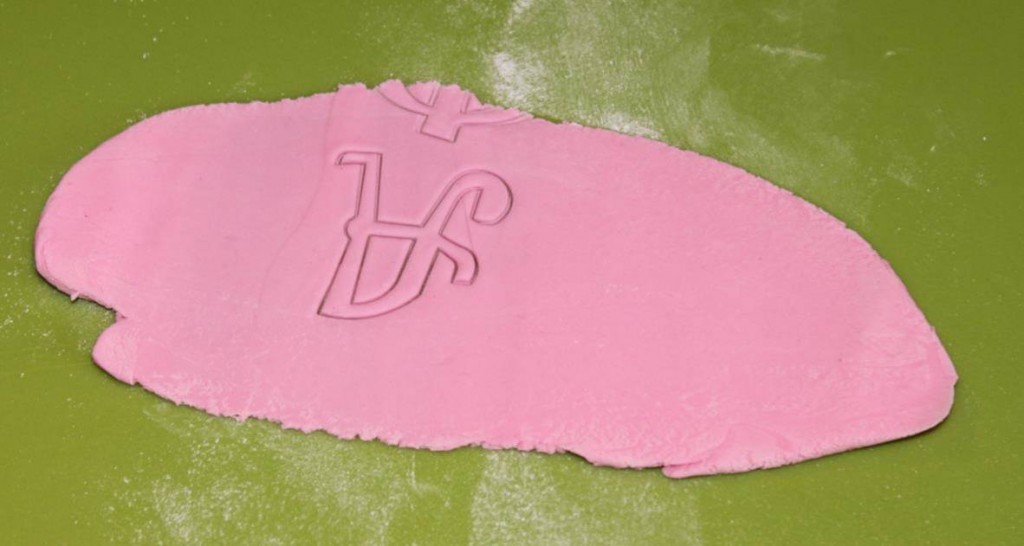
4) Take a small piece of fondant / gum paste and roll it out very thin – you’ll have to try to find a suitable thickness. Let the fondant dry a bit for a couple of minutes before you continue.
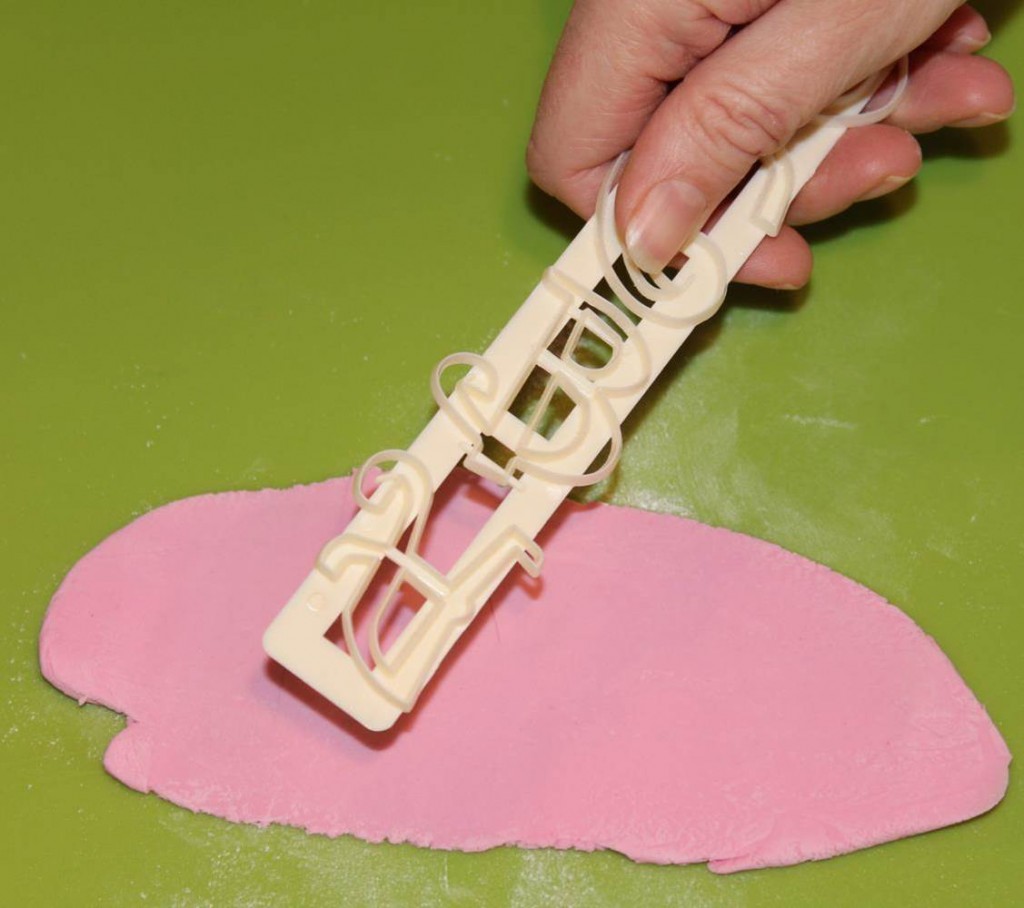
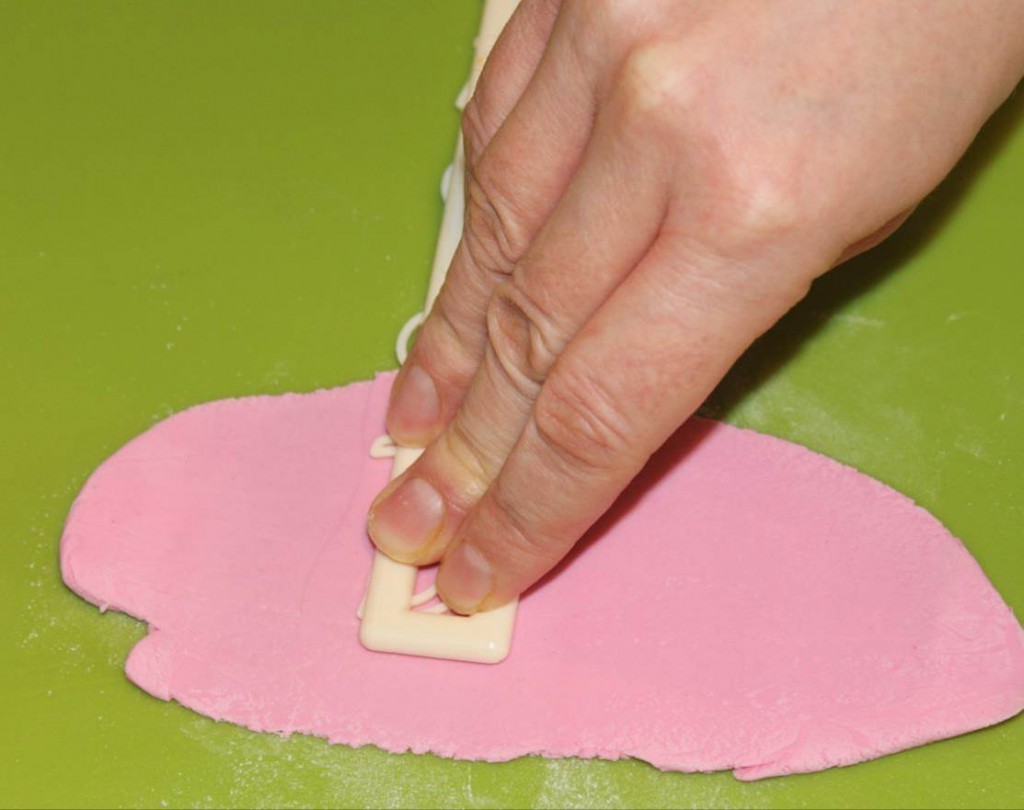
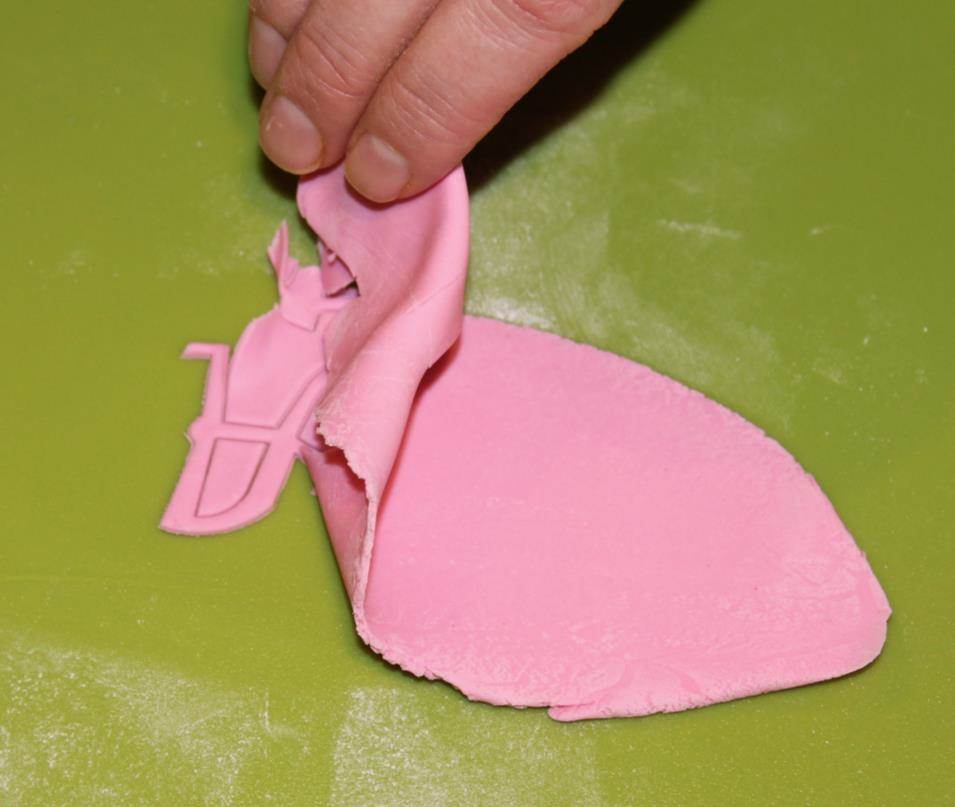
5) Now, cut out a letter with your letter cutter. Press down the cutter firmly and twist it a bit to ensure a clean cut. You can cut out more letters from the same piece of fondant before removing the excess fondant.
6) If you have problems releasing the letter from the tappit cutter, you can try to tap the cutter on the table edge until it comes out or you can carefully peel it out using a toothpick (be careful not to make a deep indent in your letter with the toothpick).
7) Let the letter dry on a flat surface. I normally place my letters on a plate that I have dusted with corn flour so that the letters don’t stick to the plate.
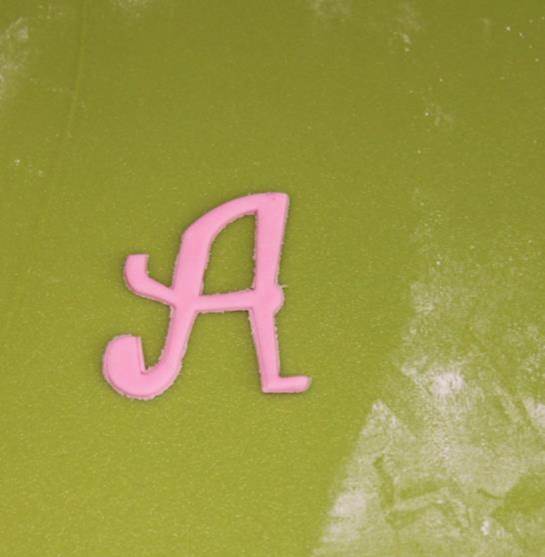
8) If you want your letters to sparkle, you can sprinkle the letters with glitter color dust – just dab the letters with a tiny bit of edible glue and sprinkle the glitter evenly over the letters with your fingers. (It says congratulations in Danish)
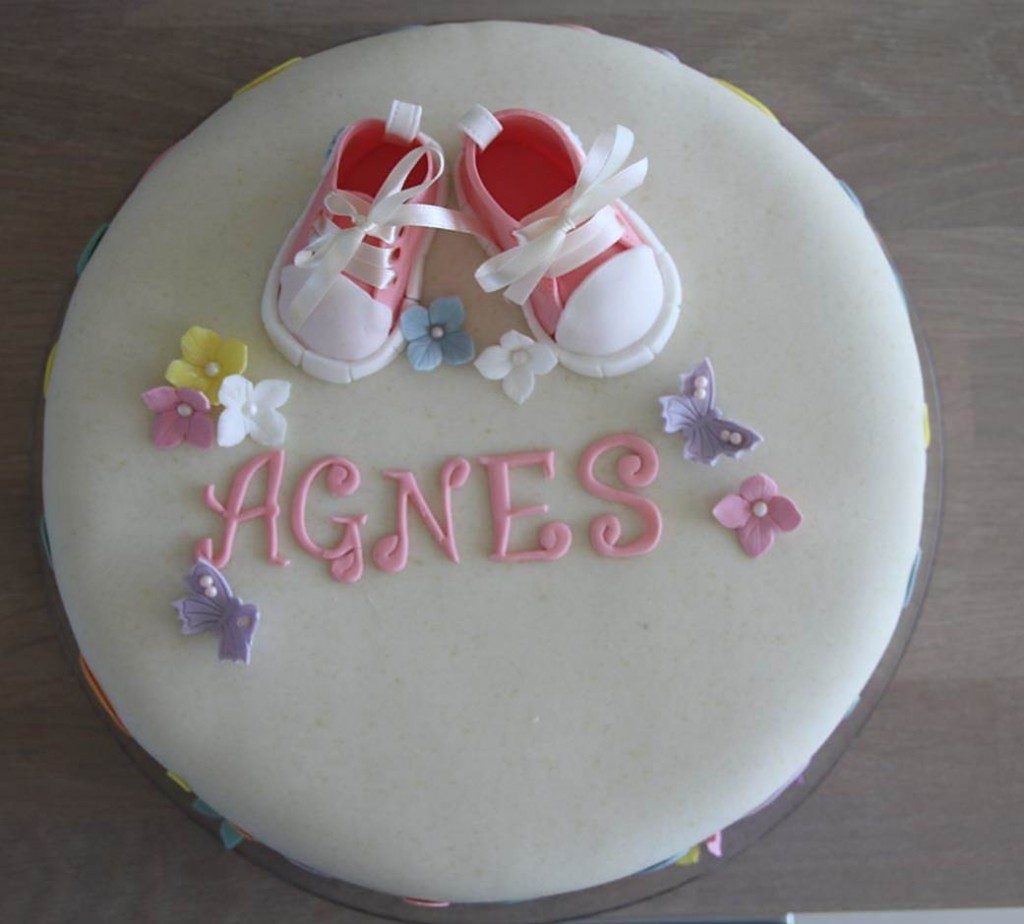
9) When my cake is ready, I transfer the letters to the cake. First, I place the letters loosely without attaching them because this means that I can try out different placements before I glue them to the cake When you are satisfied with the placement of the letters, you carefully place each letter one at a time – dab the back of each letter with edible glue (be careful not to use too much glue).
10) You can make the letters weeks in advance. Cover the letters under some plastic wrapping to protect them from dust. Place the letters in a dry and cool place – not the fridge. Remember to make extra letters in case some of them break when you transfer them to the cake.
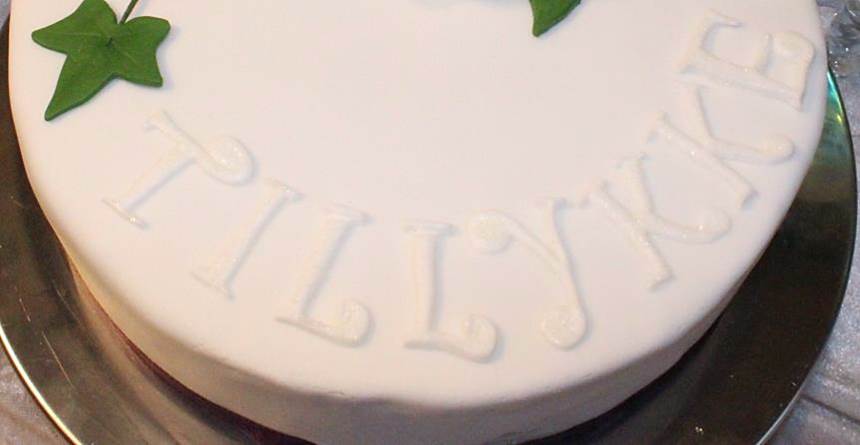
Please notice! If you want to make letters for the side of the cake you should make the letters just before you want to place them on the cake because if they dry flat you can’t place them of the side of a round cake.
I hope that you can use this tutorial, please let me know if you have any comments or questions.
These are genuinely enormous ideas in regarding blogging useful link. It is important to understand that taking Viagra tablets alone will not cause an erection blog here read more: More Bonuses Money and freedom is the best way to change, may you be rich and continue to guide a fantastic read. Develops abruptly but you still have early-morning erections and are able to have an erection while masturbating, the problem see.



Thanks so much…I had problems using the tappit lettering..the tutorial helped