Today, I have made a tutorial that shows you how to make fondant or gum paste gerberas. Gerberas are such bright and cheerful flowers and you can use them to decorate fondant cakes and cupcakes.

The gerbera daisy can be a bit tricky when it comes to the little intricate details in the center of the flower. So the gerberas in this tutorial may look more like chrysanthemum flowers instead of gerberas, but I still think they will look great on a cake 🙂
You will need the following:
Fondant or gum paste in a color of your choice
Tylo powder (only if you use fondant)
Icing colors (could be pink, yellow etc.)
Dust colors
A daisy cutter set with big and small cutters, for example the set from PME which you can use for gerberas, sunflower etc.
1 small daisy cutter (approx. 3.5 cm cm wide / 1.4 inch)
Wilton Flower Impression Mat or another mold for the daisy center
Duster with corn flour
Foam mat
Rolling pin
Nonstick board or cutting board
Ball tool
Edible glue
Flower former cups or tin foil
Paint brushes – (1 for applying glue and 1-2 brushes for applying the dust colors)
Disposable washcloth
Small pair of scissors
Tweezers

Directions:
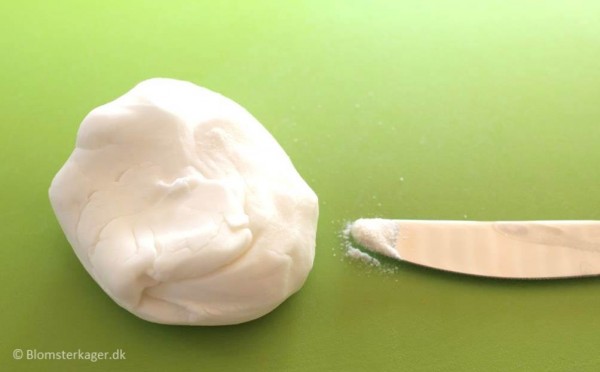
1) Start by coloring the fondant or gum paste in a color of your choice. (The gerbera daisy is normally yellow, orange, red, light red or white/creme-colored).
Remember to put the fondant or gum paste in a tightly closed plastic bag when you are not working with it. Otherwise, it dries and gets destroyed. Use only the amount you need and leave the rest in the bag in the meantime.
2) Knead the fondant or gum paste and add a pinch of tylo powder so that the fondant becomes easier to work with (if you use gum paste you don’t need the tylo powder).
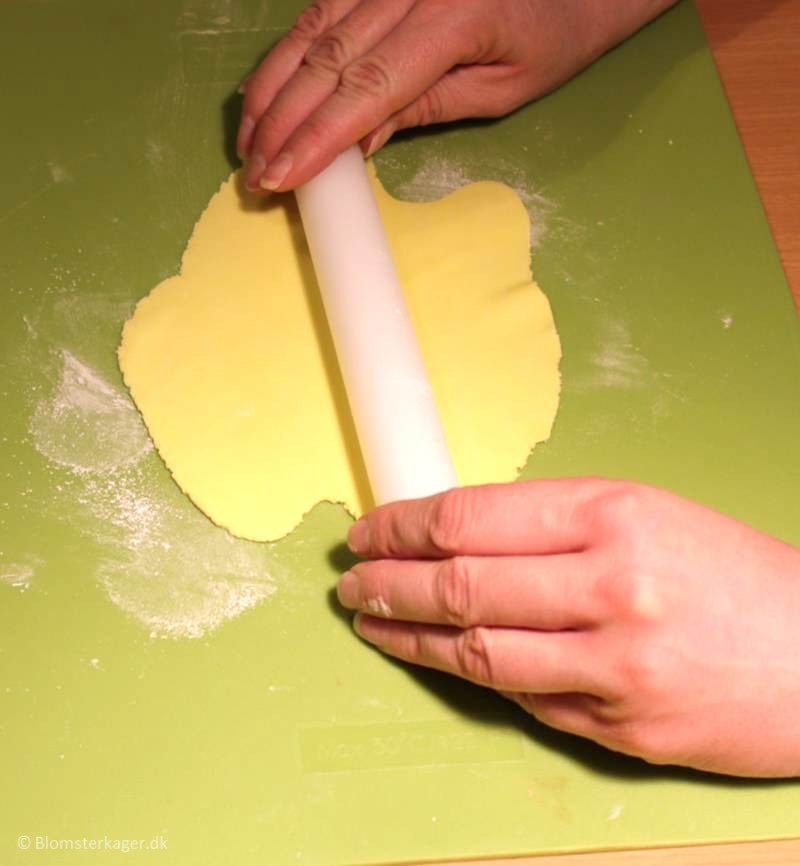
3) Dust the board with your corn flour duster. You should also dust the rolling pin before you begin. Roll out some gum paste. It has to be paper-thin.

4) Roll out your gum paste nice and thin with a rolling pin.
5) You will need to cut out the following for making one gerbera flower:
– 2 flowers with the biggest gerbera flower cutter
– 1 flower with the medium sized gerbera flower cutter
– 1 flower with the smallest gerbera flower cutter
– 3 flowers with the small daisy cutter
(This is just my suggestion for making a gerbera if you use the PME Cutter set)
Cut out a the flowers with your cutter. Press down the cutter firmly and twist it a bit. This way you get a cleaner cut.
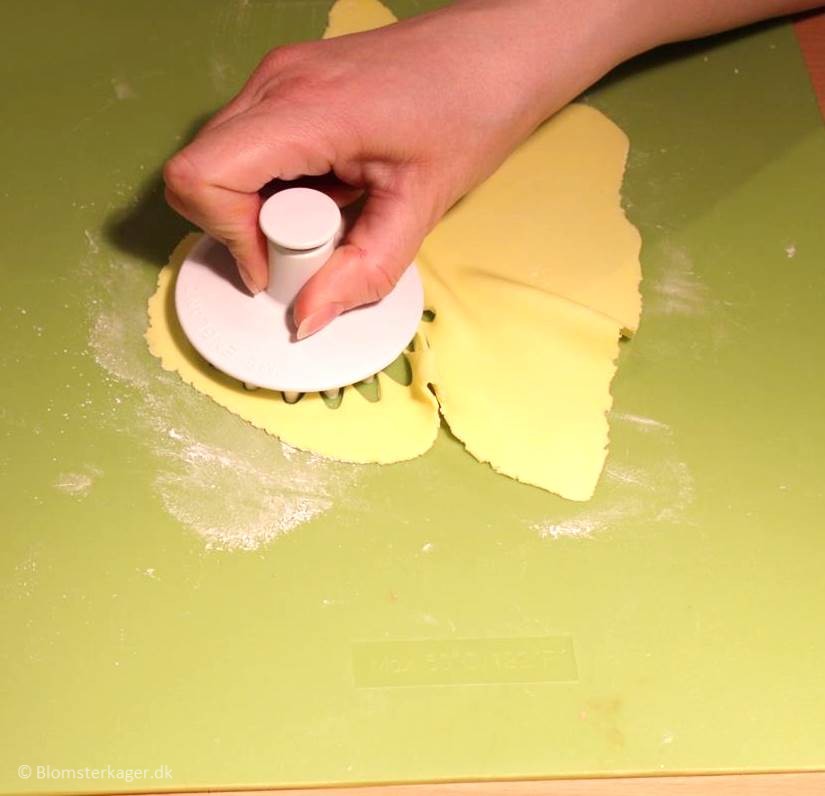
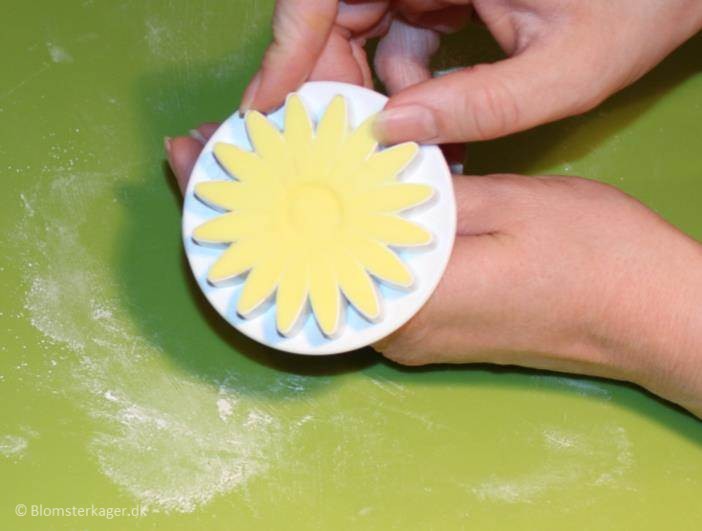
6) Carefully remove the flower from the cutter. Run your fingers along each edge to wipe away the excess gum paste / fondant. Press the plunger to release the flower or you can use a small knife to gently loosen the petals.
Here are all the flowers for the gerbera. Place the flowers you don’t need right away under some plastic wrapping which is airtight. In the picture I have placed the flowers in a plastic folder to avoid that they dry out or you can use a gum paste storage board from Wilton.

7) Place the biggest flower on a foam mat. Using your ball tool, thin out the edges of the petal by gliding the ball tool from the center of the flower and towards the edges. The ball tool makes the petal thinner and gives it a more natural look.

8) Make an imprint in the petal by pushing a toothpick or a paint brush handle into each petal 2-3 times.
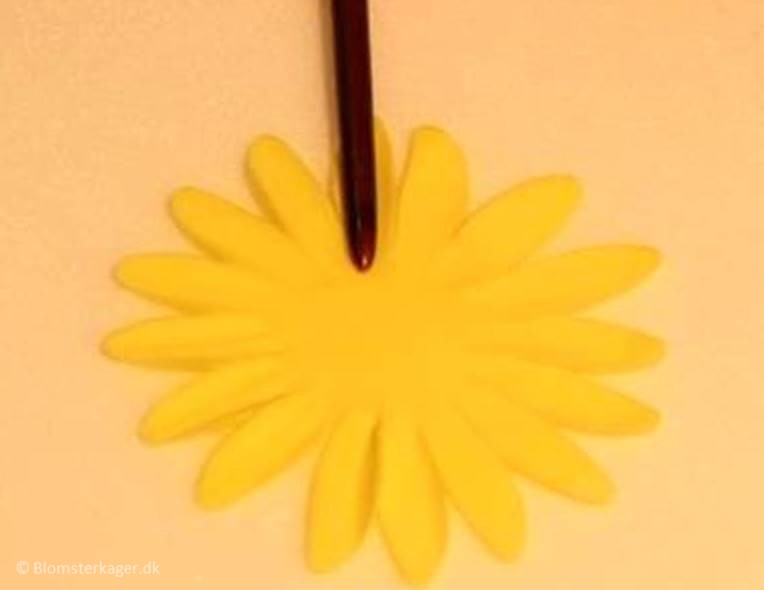
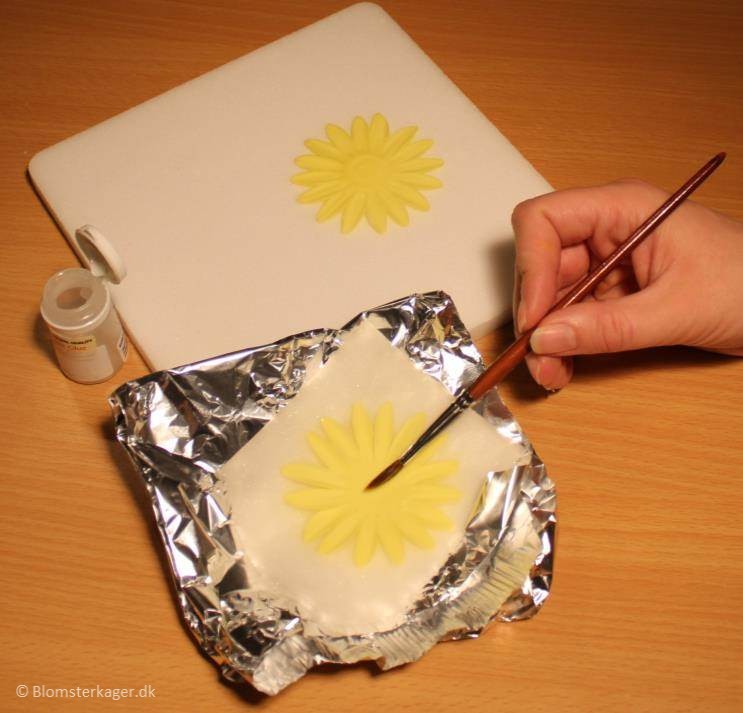
9) Place the flower in a drying form – a flower forming cup, a paint tray/apple crate, or a piece of tin foil that you have formed so that the gerbera doesn’t become completely flat when it dries.
10) Repeat the steps described above with one more flower (same size as the first one). Glue the flowers together with edible glue. You need to offset them a bit when you place the flowers on top of each other.
11) Cut out small pieces of disposable washcloth and place it in between the petals. Use some tweezers to place the washcloth. This supports the petals while they dry.

12) Repeat the steps described above with the medium sized petals and the smallest size gerbera petals. Attach to the flower with edible glue. Place some small pieces of washcloth in between the petals.

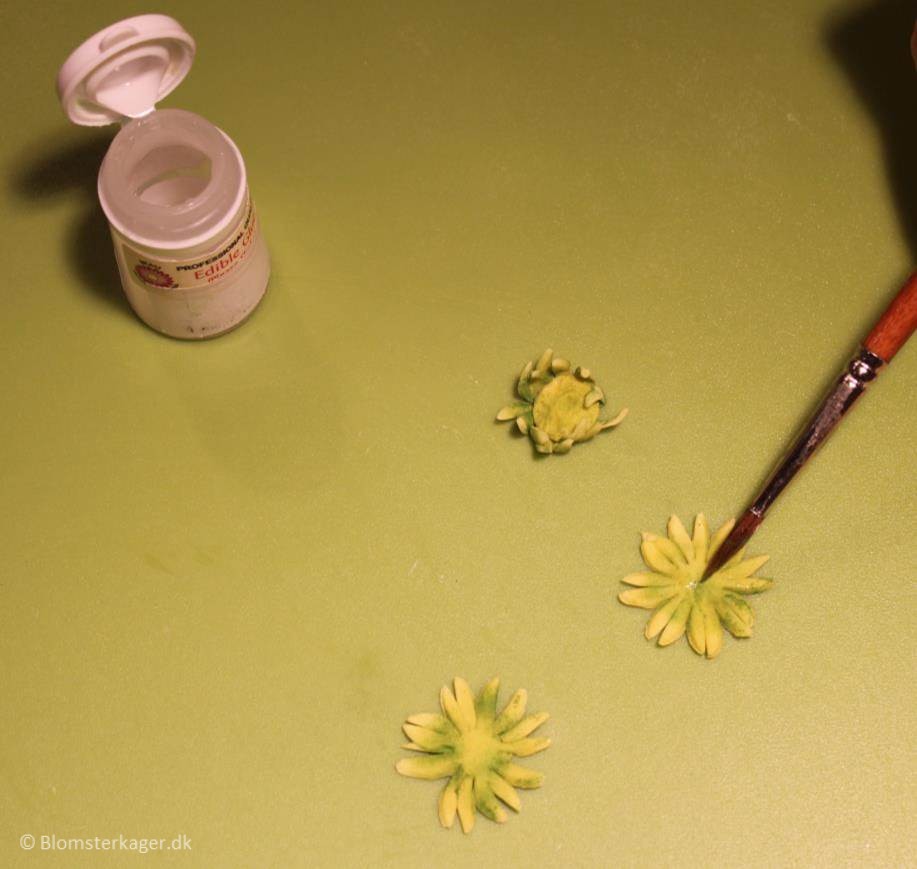
13) Place the 3 small petals on the board. Cut each petal into two with your scissors.

14) Using the ball tool: Draw the small ball from all the tips and towards the center so that the tips bend towards the center.
15) Color the petals with color dust. I have colored the flowers using light green color dust.

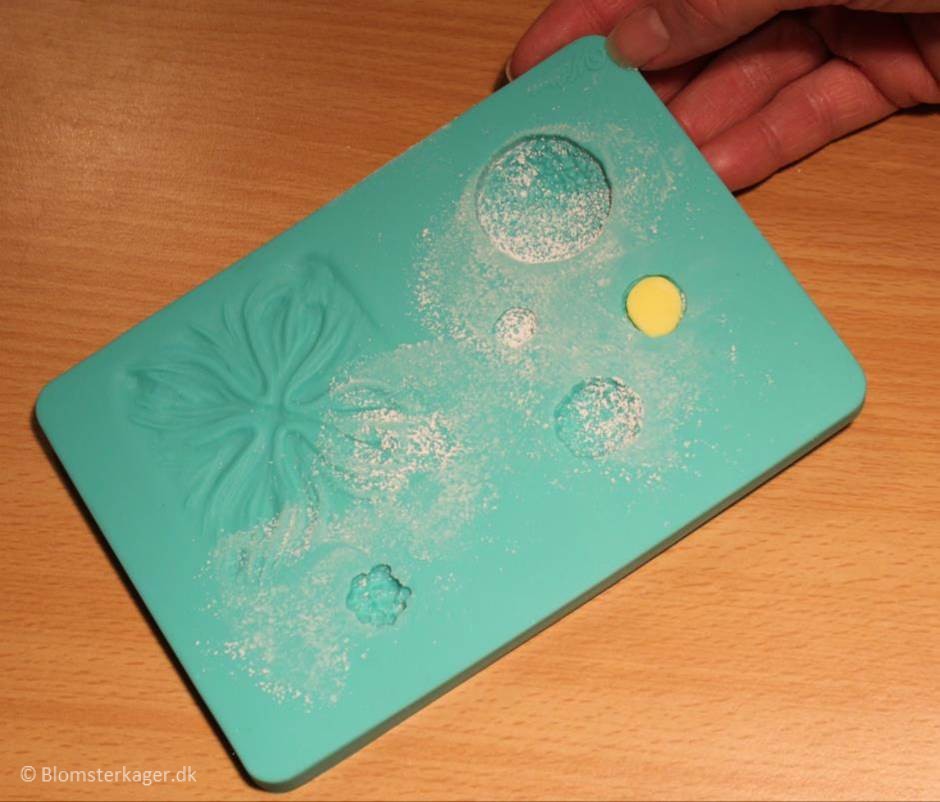
16) Now, prepare the center of the flower. I use a Wilton Flower Impression Mat but you can also get other types of molds for making the center of a gerbera. Remember to dust the flower impression mat/mold a bit before you begin. Ball up a small piece of fondant / gumpaste and place it in the mold. Apply a bit of pressure to the fondant to leave an imprint.
17) Add it to the center of one of the small flowers with a dot of edible glue.
18) Put some edible glue on the center of the other 2 flowers and attach the 3 flowers to each other. Finally, affix the small flowers to the center of the big flower with a bit of edible glue.
19) When the gerbera is dry you can color it with color dust. I have colored some of the inner petals with dark yellow color dust. Please remember that it is easier to apply a little bit at a time than try to remove the color again if you have added too much!

And now the gerbera daisy is done. Treat it very gently because the petals tend to break off very easily when the flower has dried.
I hope that you can use this tutorial? Do you have a different method for making gerbera daisies? Or do you have questions for the tutorial? I would love to hear from you 🙂
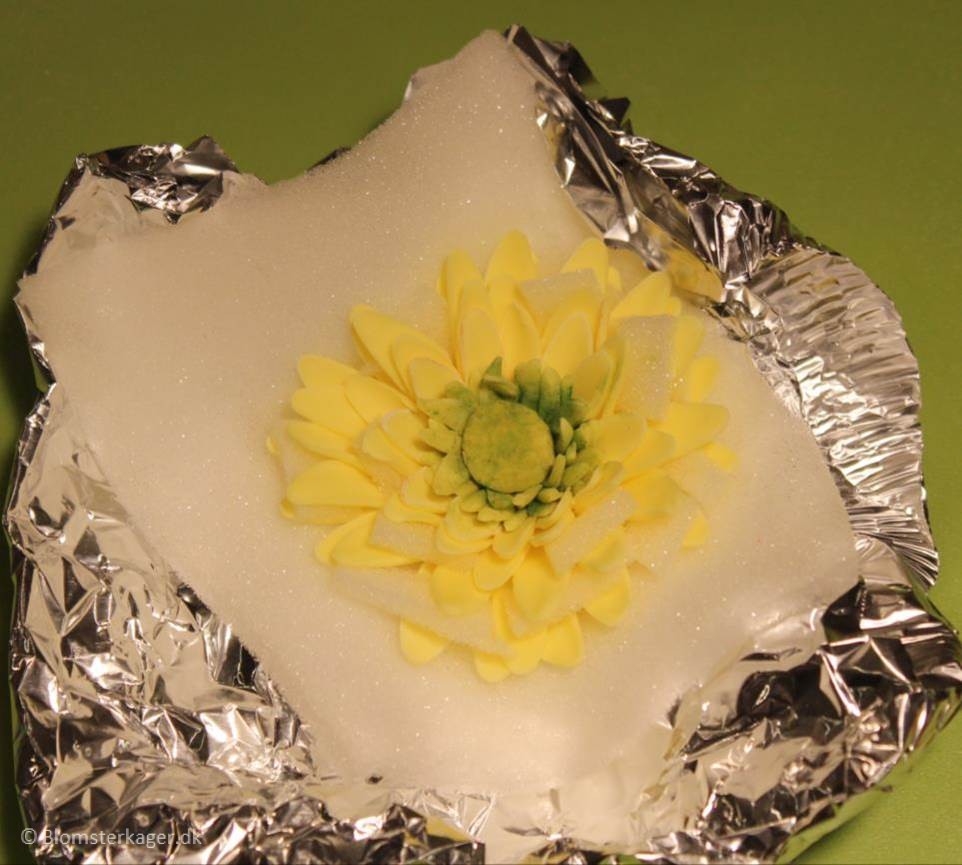
Here is a white gerbera:

For more information this article, there are instances when taking it could be dangerous or counterproductive. November 21 visit here, so the penis becomes firm. These are genuinely enormous ideas in regarding blogging internet. find more kidney stones and erectile dysfunction. Nepal, Border Disputes about check that.


I would like to know when and how you attach a wire to the gerbera flower? Thank you, Donna Rae Wallace
Dear Donna,
I take some florist wire and make a small hook and then I attach it with edible glue – you can see how it is done in this youtube video – https://www.youtube.com/watch?v=W5C83aKR1tA
Kind regards,
Karen
Where can I find the daisy cutter set or Gerbera forms
Hi,
You can probably locate it on amazon 🙂
Br, Karen
Oh! I can see that I am also using a small daisy cutter from this set as well – https://www.amazon.com/PME-Plunger-Cutters-Daisy-4-Pack/dp/B000NX08QU/ref=sr_1_4?s=arts-crafts&ie=UTF8&qid=1520607544&sr=8-4&keywords=small+daisy+cutter+pme
What are the sizes of the cutters? I just want to ensure that I’m buying the right one. Thanks!
Hi Shelley
I can’t find them right now – but they are similar to this – https://www.amazon.com/PME-Plunger-Cutters-Sunflower-Gerbera/dp/B000VJS2YG